A Checklist on How to Clean and Maintain your Miter Saw
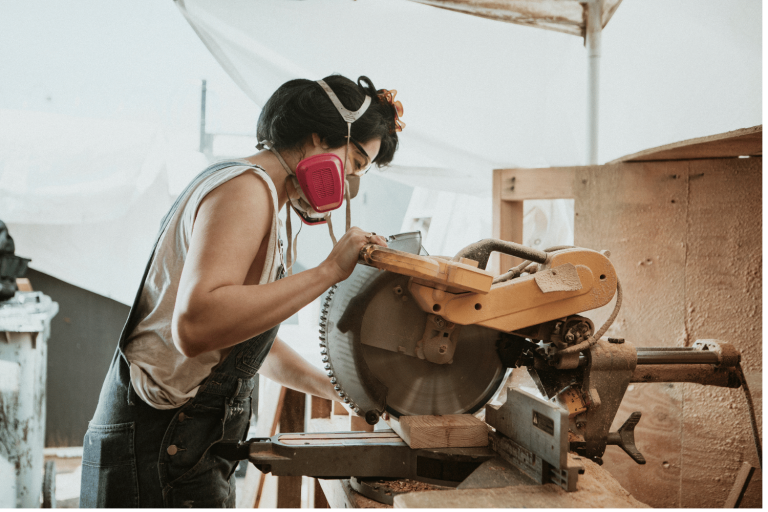
Miter saws are one of the most useful power tools for trim carpentry and woodworking. The ability to make precise, angled cuts makes them indispensable for projects like crown molding, door and window trim, and picture frames. However, like any power tool, a miter saw needs regular cleaning and maintenance to keep it performing at top capacity. In this article, we’ll discuss the materials and steps involved in properly caring for your miter saw. Proper cleaning and lubrication will maximize the saw’s accuracy and longevity while replacing worn parts as needed will keep it running smoothly for years to come.
A Checklist of Materials Needed
Cleaning and maintaining your miter saw doesn’t require much in the way of supplies. Having the following basic items on hand will allow you to keep your saw in tip-top shape:
- Compressed air – Great for blowing out dust and debris from the saw’s internal areas.
- Soft cloth – For wiping down the machine during cleaning.
- Toothbrush – Helpful for scrubbing in tight spaces and vents.
- Mild soap and water – Mixed to make a soapy cleaning solution.
- Lubricating oil – consult your owner’s manual for recommended types.
- Replacement parts – Like brushes, blade, belt. Replace worn parts as needed.
Inspecting the Miter Saw
Along with cleaning the miter saw, it is important to inspect it regularly and fix the issues. Make sure the saw is unplugged and has fully cooled if recently used. Visually look over the entire saw for damaged, loose, or worn parts. Check the miter and bevel adjustments to ensure they move smoothly and can be locked in place. Examine the saw blade for any nicks, dull spots or material buildup on the teeth. Make note of any problems that need addressing. Also ensure any sawdust has been brushed away before wiping down surfaces.
Cleaning the Miter Saw
With your materials ready and inspection complete, you can move on to cleaning the miter saw. First use compressed air to blow out any loose debris and dust particles, especially in motor vents and other internal areas. Then dampen a clean cloth or sponge with mild soapy water and wipe down the exterior to remove any dirt, oil or residue. Use a toothbrush dipped in soapy water to scrub any remaining debris or buildup with a circular motion.
Be sure to clean the table, guide rails, fence and other components. Avoid using abrasive cleaners or scouring pads. For the blade, remove it if very dirty and clean with soapy water and a toothbrush. Rinse and dry all areas thoroughly with a dry cloth or rag after cleaning.
Lubricating Components
Proper lubrication is key for keeping the moving joints and sliding surfaces of your miter saw operating smoothly. Friction caused when two dry surfaces rub against each other can lead to wear and tear over time. Applying lubricant creates a thin layer that separates the rubbing surfaces, preventing them from directly contacting each other. This significantly reduces friction as the parts move.
Consult your owner’s manual to identify the specific pivot points, slides, gear assemblies and other joints that need lubricating. Often, there are specially designed oil ports that allow access to internal joints. Use a lightweight machine oil or lubricant specifically recommended for your miter saw model. Apply just a few drops of oil on the surface of each joint or mechanism. The oil will distribute evenly as the parts move.
Be sure to lubricate key areas like the guide rails, the sliding fence, the head bevel and miter pivot points, the gear assembly, and any points where metal or plastic surfaces meet. Take care not to over lubricate, as excess oil can attract dirt and sawdust. After applying the oil, rotate the saw head and move parts through their range of motion to evenly distribute the lubricant. Wipe away any globs of excess oil with a cloth. Properly lubricating the moving components of your miter saw reduces friction and wear, allowing parts to glide smoothly during operation.
Replacing Worn Parts and Sharpening the Blade
During cleaning and inspection, you may discover components of your miter saw that need replacement due to wear. Swapping out worn parts is important for keeping your saw running accurately and efficiently.
The saw blade is one of the most frequently replaced parts. Over time, the carbide tips on a blade become dull through repeated cutting. Dull blades require more effort to cut and can leave rough edges on your workpiece. Replace the blade if you notice significant dullness or any damaged or missing teeth.
Another option is to have the existing blade professionally sharpened. Many hardware stores have the right sharpening tools and provide services to restore the cutting edges. This is a more economical choice if the blade is otherwise in good condition. However, blades can only be sharpened a finite number of times before needing replacement.
Be sure to check carbon motor brushes and replace if worn down less than 1/4 inch. Worn brushes can lead to decreased power. Also inspect the drive belt and replace if cracked or excessively worn. Belts that slip can cause loss of blade speed.
Installing freshly sharpened or new replacement saw blades and other parts ensures your miter saw continues operating with maximum cutting efficiency and power. Periodically replacing worn components is key to prolonging the life of your miter saw.
Testing and Adjusting
After cleaning and lubricating your miter saw, it’s important to do some testing before regular operation. Power on the saw and listen for any abnormal sounds that could indicate issues. Make a few sample cuts on scrap wood and observe the blade carefully as it cuts. Watch for any wobble, vibration, or roughness that could indicate a damaged blade.
Examine the kerf, which is the width of the cut made by the blade. If the kerf is wider on one side, the blade could be misaligned. A clean, narrow kerf indicates proper blade alignment. You can adjust blade alignment if needed by consulting your owner’s manual.
Check that cuts are square by cutting a piece of scrap and measuring diagonally across the corners with a carpenter’s square. If the measurements differ, adjust the miter saw fence until square cuts are achieved.
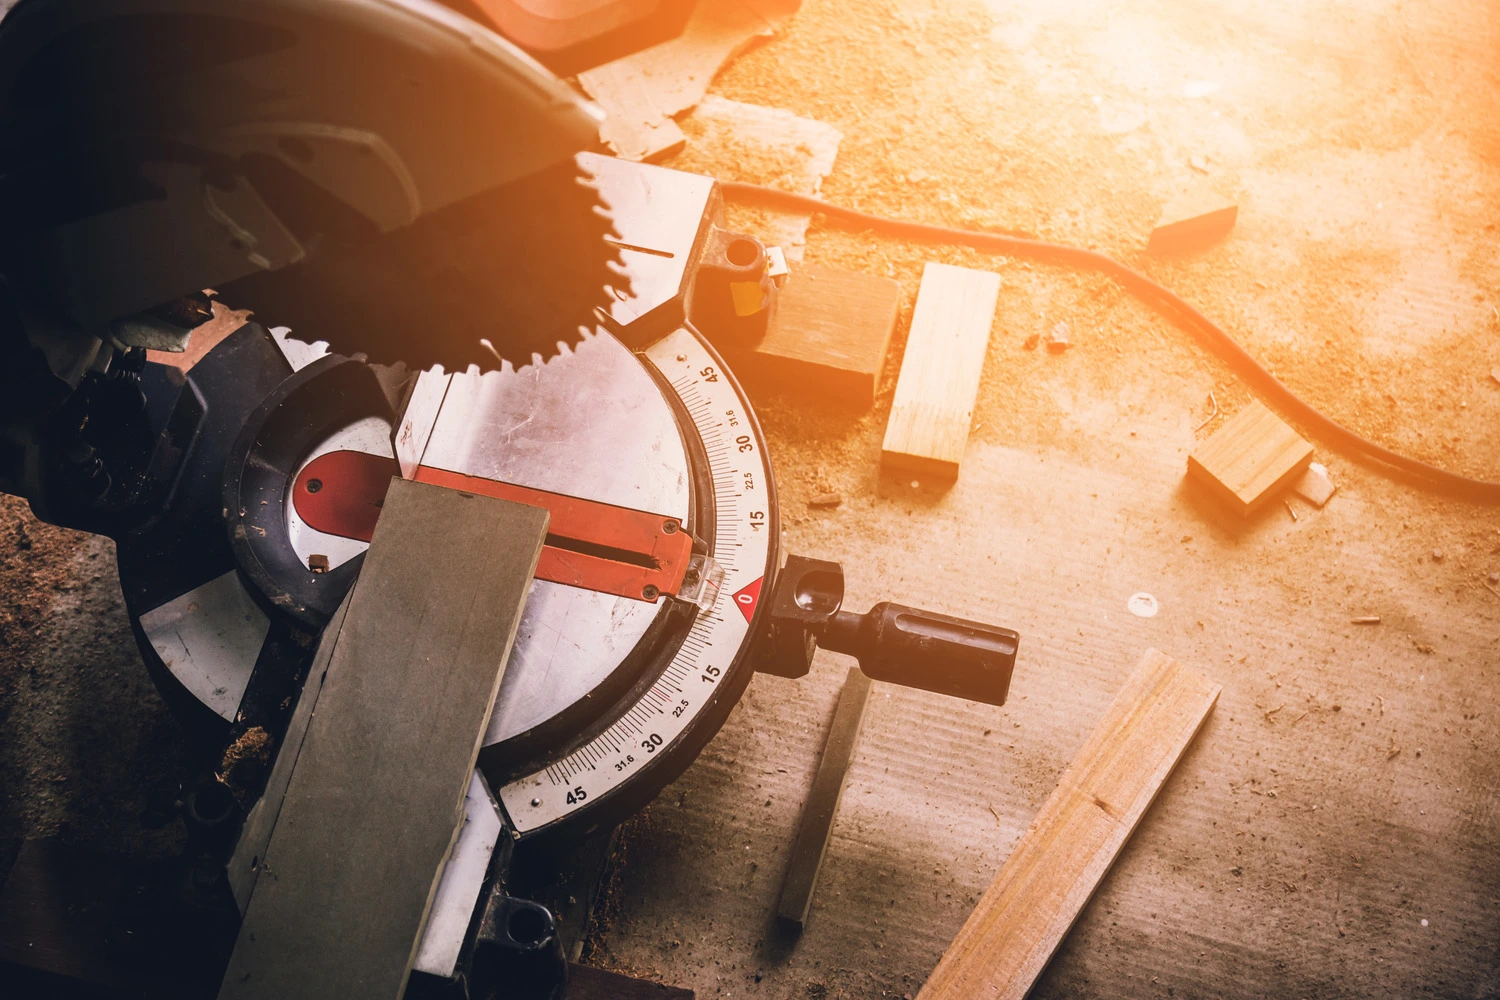
Make test cuts in both miter and bevel modes to verify accurate angle adjustments. Most miter saws have stops at common angles like 45 degrees. Confirm that the saw head locks securely at each of these stops. Make any adjustments to ensure cuts are precise.
Proper testing and adjustments are necessary before putting your miter saw back into regular service after maintenance. Taking the time to verify optimal operation will result in accurate cutting performance and the best end results for your projects.
Storing and Protecting
Properly storing your miter saw is crucial for maintaining its functionality and preventing any damage when not in use.
Always wipe down the saw after each use. Built-up sawdust, dirt and residue can cause deterioration over time. Covering the saw or storing it in a protective case keeps dust off the surfaces. This prevents abrasion of moving joints and keeps the saw clean.
Store the miter saw indoors in a dry location when not being used for extended periods. Moisture can cause rust on metal components. Temperature extremes in a garage or shed can damage plastic parts. Keep it in a room temperature environment.
Unplug the power cord from the outlet when storing to avoid accidental starting. Accidental power-on while moving the saw could lead to injury or machine damage. You can wrap the cord to keep it organized.
Lower the blade guard over the cutting blade for safety. If you have a blade cover, attach that as well to protect the delicate blade edges. Prevent anything from inadvertently bumping the coasting blade.
Proper storage habits prevent damage from dust, debris, moisture, and accidental starting. This keeps your miter saw in its best condition so it’s ready to deliver accurate cuts when you need it. Investing a few minutes in proper storage will extend the life of your miter saw for years to come.
Final Thoughts
Regularly cleaning and performing maintenance on your miter saw is the best way to keep it performing accurately for years of use. Follow the steps outlined above to clean, lubricate, and inspect your saw before making any necessary part replacements. With proper care, your miter saw will continue to deliver clean, professional cuts project after project. Remember to consult your owner’s manual for model-specific guidance as well. Proper miter saw maintenance is easy and worthwhile!