How to Use an Impact Driver to Level Up Your DIY Game
Welcome to our guide on how to use an impact driver! If you’re ready to take your DIY projects to the next level, an impact driver is a go to tool in your arsenal. In this article, we’ll explore the definition and purpose of an impact driver, as well as delve into its incredible versatility across a wide range of tasks.
Definition and Purpose of an Impact Driver
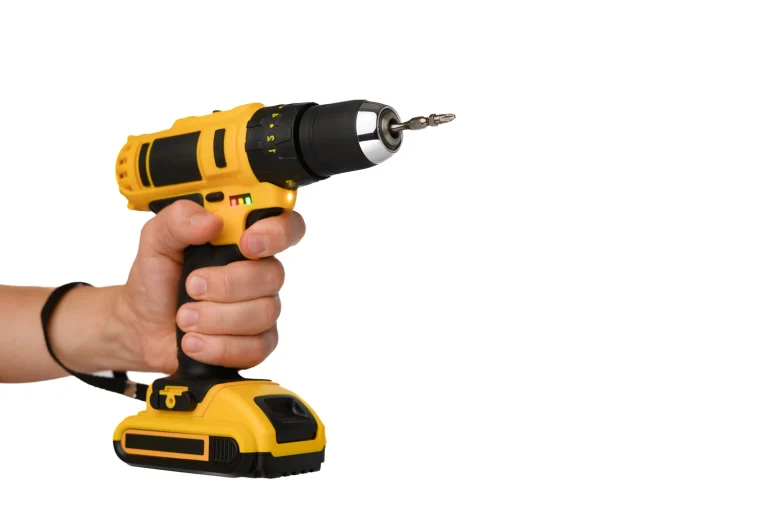
So, what exactly is an impact driver? Picture a compact and powerful tool that combines the functionalities of a drill and a screwdriver, with an extra punch. An impact driver is designed to provide high torque and rotational force, making it ideal for driving screws and fasteners with ease.
And, what is an impact driver used for? The purpose of an impact driver is to make your driving tasks faster and more efficient. It’s specifically engineered to tackle demanding jobs that require high torque, such as constructing furniture, building decks, installing cabinetry, or even working on automotive repairs. With its rapid rotational bursts, an impact driver can handle various materials and drive screws into even the toughest surfaces.
Importance and Versatility of Impact Drivers in Various Tasks
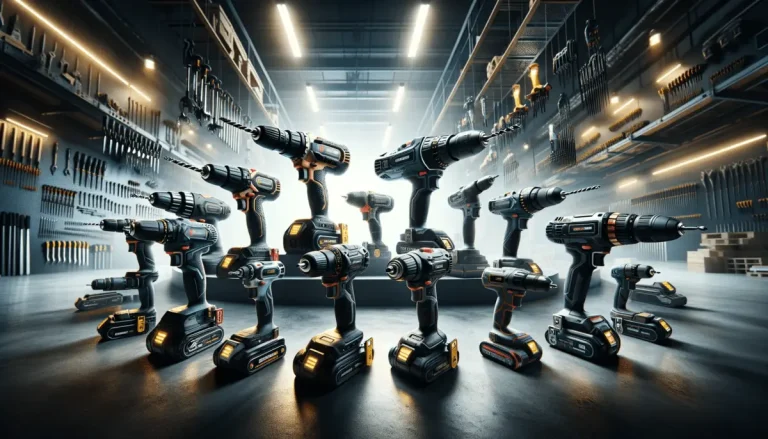
Impact drivers have gained tremendous popularity due to their significance and versatility in numerous projects. Whether you’re a DIY enthusiast, a professional contractor, or someone in between, impact drivers are incredibly useful tools with several key differences from regular drills.
One of the key advantages of an impact driver over other power tools is its ability to effortlessly drive long screws and bolts without straining your muscles. The high torque output allows for quick and efficient fastening, saving you time and effort. Additionally, an impact driver is highly useful when working with dense materials like hardwood or metal, where traditional drills may struggle to provide sufficient power.
From small-scale tasks like assembling furniture or hanging shelves to larger projects such as building structures or renovating spaces, an impact driver shines through its adaptability. It’s a versatile tool that excels in a wide range of applications, providing you with the confidence to tackle various projects around your home or worksite.
Now that we’ve covered the basics, let’s dive into the details of how to effectively use an impact driver to maximize its potential.

Preparing for the Task
Before you start using a cordless impact driver, it’s crucial to take a few important steps to ensure your safety, select the right accessories, and prepare your work surface. Let’s explore the essential preparations you need to make before diving into your project.
Safety Precautions and Protective Gear
First and foremost, prioritize your safety. Always wear appropriate protective gear such as safety glasses, gloves, and ear protection when operating an impact driver. These precautions will safeguard you from potential hazards like flying debris, sharp edges, and loud noise.
Furthermore, make sure to follow general safety guidelines, such as keeping your workspace well-lit and free from clutter. Secure your workpiece firmly to prevent it from moving unexpectedly while you work, reducing the risk of accidents.
Choosing the Appropriate Drill Bits or Screwdriver Bits
Selecting the right drill bits or screwdriver bits is vital for achieving optimal results with your impact driver. The type of bit you choose depends on the specific task you’re undertaking. For drilling holes, use drill bits specifically designed for your desired hole size and material.
When it comes to driving screws or fasteners, opt for screwdriver bits that match the type and size of the screw heads you’ll be using. Most impact drivers have a standard hexagonal chuck, which accommodates hex shank bits. Ensure a secure fit between the bit and the chuck to prevent slippage during operation.
Inspecting and Preparing the Work Surface
Before diving into your project, take a moment to inspect and prepare your work surface. Ensure that the area is clean, free from any potential obstructions, and properly secured. This will help you maintain control and stability while using the impact driver.
If you’re working with wood, mark the spots where you intend to drive screws or make holes, using a pencil or a marker. For metal or other hard materials, consider using a center punch to create a small indentation, which will provide a starting point for drilling or driving.
Additionally, for delicate surfaces, consider using a scrap piece of wood or a clamp to protect the material from scratches or indentations caused by the impact driver.
By taking these preparatory steps, you’ll set yourself up for a smoother and safer experience when using an impact driver. Now that you’re ready to go, let’s move on to the exciting part: operating the impact driver and driving screws and bolts like a pro!

Operating an Impact Driver
Now that you’re properly prepared, it’s time to dive into using an impact driver. In this section, we’ll cover the key aspects of operating the tool effectively, including holding it correctly, adjusting speed and torque settings, and making the most of the forward and reverse functions.
Holding the Impact Driver Correctly
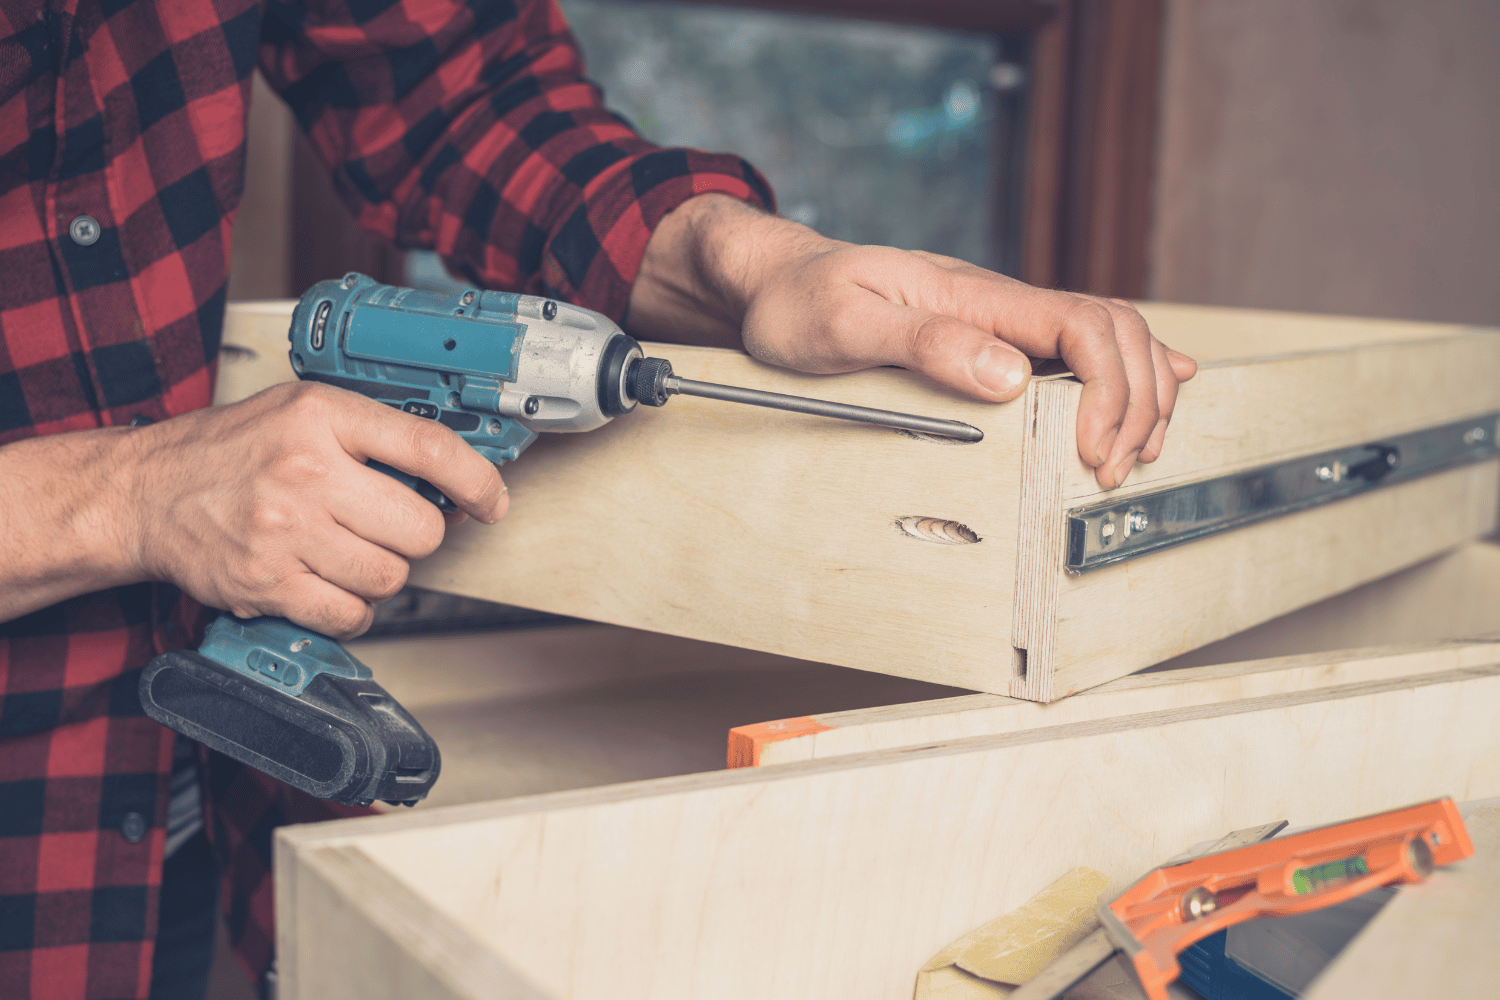
To maintain control and maximize the effectiveness of the impact driver, it’s essential to hold it correctly. Grip the handle firmly with one hand, placing your index finger on the trigger. Use your other hand to support the rear of the tool for added stability.
Position yourself in a comfortable stance with a solid footing, and keep your body aligned with the tool and the work surface. By holding the impact driver securely and maintaining a stable position, you’ll have better control over the tool’s movements and minimize the risk of accidents.
Adjusting the Speed and Torque Settings
Most impact drivers come with a variable speed design and adjustable torque settings to suit various applications. Before starting your task, take a moment to adjust these settings accordingly.
For driving smaller screws or working on delicate materials, opt for lower speed and torque settings to prevent overdriving and potential damage. When dealing with larger screws or denser materials, increase the speed and torque to ensure efficient driving.
Keep in mind that different impact drivers may have different methods for adjusting the speed and torque. Refer to the manufacturer’s instructions for your specific tool to learn how to make these adjustments effectively.
Using the Forward and Reverse Functions Effectively
The forward and reverse functions of an impact driver allow you to drive screws in and remove them as needed. The forward function drives screws into the material, while the reverse function loosens and removes them.
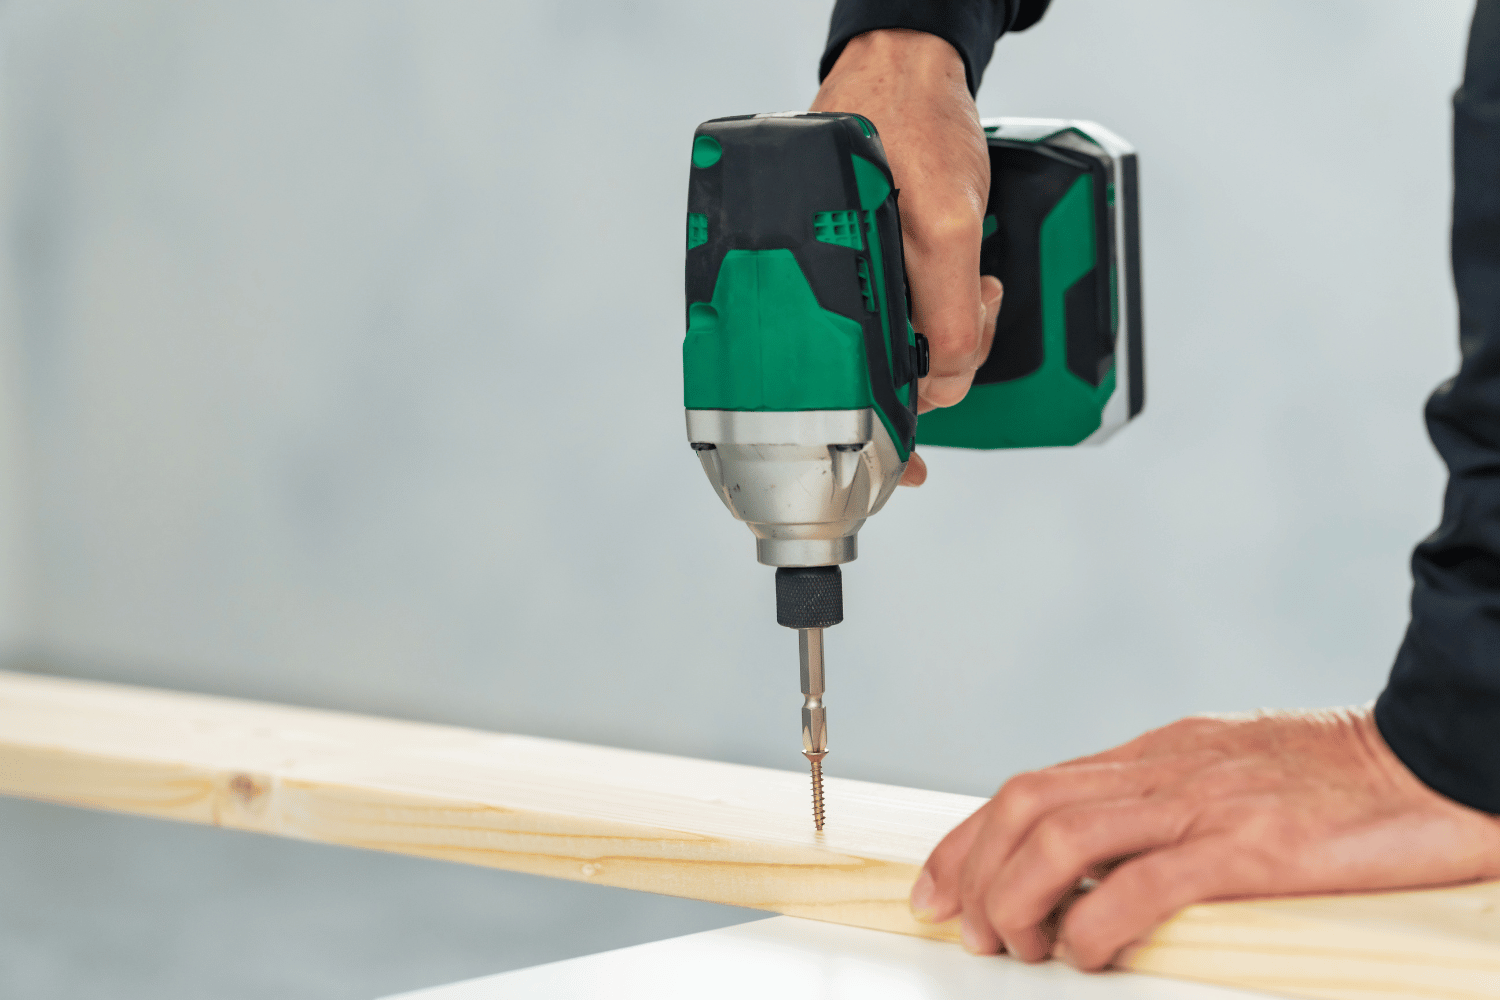
To use the forward function, press the trigger gently and steadily. The impact driver will start rotating, engaging the impacts to drive the screw into the material. Apply consistent pressure while keeping the tool aligned with the screw.
To utilize the reverse function, release the trigger and then press the reverse switch or button, typically located near the trigger or on the side of the tool. Once in reverse mode, the impact driver will rotate in the opposite direction, making it easier to remove screws or bolts.
Remember to switch between forward and reverse modes only when the impact driver is not in operation to avoid accidental triggering.
By mastering the correct grip, adjusting speed and torque settings, and effectively utilizing the forward and reverse functions, you’ll be well on your way to using an impact driver like a pro. In the next section, we’ll delve into the proper techniques for driving screws and bolts, ensuring you achieve precise and reliable results in your projects.
Proper Techniques for Driving Screws and Bolts
When it comes to using an impact driver, employing the correct techniques for driving screws and bolts is essential for achieving precise and reliable results. In this section, we’ll explore the proper techniques that will help you drive fasteners efficiently and avoid common pitfalls.
Aligning the Driver with the Fastener
Before engaging the impact driver, ensure that the driver bit is properly aligned with the fastener. Aligning the driver bit with the screw or bolt head will prevent slippage and ensure a secure grip.
Take a moment to position the driver bit squarely on the fastener. This will optimize the transfer of torque and minimize the risk of damaging the fastener or the work surface. Double-check the alignment before activating the impact driver to ensure a smooth and accurate drive.
Applying Consistent Pressure and Maintaining Control
When operating the impact driver, apply consistent pressure on the tool to drive the fastener smoothly into the material. Avoid excessive force, as the impact driver’s high torque will do most of the work for you.
Maintain control over the impact driver throughout the driving process. Hold the tool firmly, keeping it aligned with the fastener and the work surface. Applying too much pressure or angling the driver off-center may lead to slippage or stripping of the screw head, resulting in a less secure connection.
Recognizing Signs of Overdriving or Stripping
It’s crucial to be attentive and recognize signs of overdriving or stripping. Overdriving occurs when the screw is driven too deep into the material, potentially causing damage or weakening the connection. Stripping happens when the driver bit loses its grip on the screw head, resulting in a smooth rotation without further driving.
To avoid overdriving, periodically check the depth of the screw or use a depth stop attachment if available. If you notice the screw head is starting to strip or the driver bit is slipping, release the trigger immediately. You may need to readjust your technique, reposition the driver bit, or consider using a different screw or bit.
By aligning the driver with the fastener, applying consistent pressure, and recognizing signs of overdriving or stripping, you’ll be able to drive screws and bolts with precision and confidence. In the next section, we’ll address how to handle challenging situations and make the most of your impact driver’s capabilities.
Handling Challenging Situations
While an impact driver is a powerful tool, you may encounter certain challenging situations that require some additional know-how. In this section, we’ll explore how to handle driving screws into dense materials, removing stubborn or stripped screws, and effectively using an impact driver in tight or awkward spaces.
Driving Screws into Dense Materials
When driving screws into dense materials like hardwood or metal, it’s important to adapt your approach for optimal results. Start with a cordless drill to create a small pilot hole as an indentation or a guide for the screw. This will help prevent the wood from splitting or the metal from getting damaged.
Next, choose a drill bit that matches the diameter of the pilot hole. Start driving the screw into the material at a slower speed, allowing the impact driver’s torque to gradually bite into the dense surface. Applying steady and controlled pressure will ensure the screw is driven smoothly and securely.
Removing Stubborn or Stripped Screws
Encountering stubborn or stripped screws can be frustrating, but with the right techniques, you can overcome these challenges. If a screw is stubborn and won’t budge, apply gentle but firm pressure while engaging the reverse function of the impact driver. The combination of torque and impacts should help loosen the screw, allowing you to remove it successfully.
In the case of a stripped screw head, try using a screw extractor or a set of pliers designed for gripping rounded surfaces. The extractor or pliers can provide the necessary grip to turn the screw and remove it from the material. Alternatively, you can drill a small hole into the center of the stripped screw head and use a screwdriver bit with a higher torque setting to drive it out.
Using an Impact Driver in Tight or Awkward Spaces
Working in tight or awkward spaces can present unique challenges when using an impact driver. However, there are a few techniques that can help you maneuver the tool effectively.
If the space is too confined for the impact driver to fit directly, consider using an extension bit holder or a flexible shaft attachment. These accessories allow you to reach screws in narrow or recessed areas.
Additionally, it may be necessary to adjust your grip or stance to accommodate the restricted space. Sometimes, holding the impact driver at an angle or using a different hand position can provide better access and control.
By implementing these strategies, you’ll be able to handle challenging situations with your impact driver confidently and efficiently. In the next section, we’ll explore maintenance and care tips to ensure the longevity and performance of your tool.
Final Thoughts
Congratulations! You’ve now learned the ins and outs of using an impact driver. As with any skill, mastering the use of an impact driver requires practice and experience. Don’t be discouraged if you don’t achieve perfection right away. Take the time to familiarize yourself with your impact driver, experiment with different techniques, and learn from your successes and challenges along the way. With practice, your confidence and efficiency will grow, enabling you to tackle more complex projects with ease.
Impact drivers have revolutionized the way we approach tasks that involve driving screws and fasteners. Their high torque output, compact size, and versatility make them indispensable tools in both professional and DIY settings. From assembling furniture to building structures, an impact driver empowers you to complete projects efficiently and with excellent results.
So, grab an impact driver for your personal tool collection, put your knowledge into practice, and enjoy the satisfaction of taking on projects with precision and ease. Happy driving!