How to Sharpen a Lawn Mower Blade with an Angle Grinder
Want to maintain a healthy and vibrant lawn? One of the essential tasks is sharpening your lawn mower blades regularly. And the good news is, you can easily accomplish this yourself! All you need is an angle grinder, a few tools, and a little know-how.
In this article, we’ll guide you through the step-by-step process of sharpening your lawn mower blades with an angle grinder. We’ll cover everything from safety precautions to balancing the blade for optimal cutting efficiency.
By sharpening your blades, you’ll ensure a clean, precise cut, promoting a healthier lawn. Plus, you’ll save money by avoiding professional services and have the satisfaction of taking control of your lawn care.
So, let’s get started and give your lawn the cut it deserves!
Key Takeaways
- Properly sharpening a lawn mower blade with an angle grinder requires removing the blade from the mower and securing it in a vise for safety and stability.
- Using the appropriate safety gear, such as goggles and gloves, is crucial to protect yourself during the blade sharpening process.
- When sharpening the blade, it’s important to maintain the original cutting angle by following the original bevel and avoiding excessive grinding that can weaken the blade.
- Regularly sharpening your lawn mower blade with an angle grinder can improve cutting performance, promote a healthier lawn, and extend the life of your mower.
Understanding Lawn Mower Blades
Lawn mower blades play a crucial role in maintaining a healthy and vibrant lawn. Understanding the anatomy of a mower blade is essential before diving into the sharpening process.
The blades are typically made of hardened steel and consist of several important components. The cutting edge, also known as the bevel, is the sharp portion that slices through the grass. The body of the blade extends from the cutting edge to the center hole, where it attaches to the mower’s spindle. On the body, you may find lift wings or other features designed to enhance the cutting performance and grass dispersal.
Now, how can you tell if your blade needs sharpening? Well, there are a few telltale signs of a dull blade that you should be aware of. First, take a close look at your freshly mowed lawn. If the grass blades appear torn, ragged, or have uneven lengths, it’s a clear indication that the blade needs sharpening.
Another sign of a dull blade is a decrease in cutting efficiency. If you notice that your mower is struggling to cut through the grass as smoothly as it used to, it’s likely time to sharpen the blade. Dull blades can also cause the grass to have a brownish tint after mowing, as the dull edges damage the grass rather than providing a clean cut.
Additionally, keep an eye out for an increase in vibration while operating the mower. Dull blades can cause excessive vibration, which not only affects the comfort of mowing but can also lead to additional wear and tear on the mower itself.
By familiarizing yourself with the anatomy of a lawn mower blade and recognizing the signs of a dull blade, you’ll be better equipped to maintain a healthy and well-groomed lawn.
Preparing to Sharpen Your Lawn Mower Blades
Before diving into the process of sharpening your lawn mower blade with an angle grinder, it’s crucial to take a few preparatory steps to ensure a safe and effective sharpening experience.
Safety Precautions
Sharpening a lawn mower blade with an angle grinder involves working with sharp objects and potentially hazardous tools. To protect yourself from potential accidents, it’s important to follow these safety precautions:
Safety Gear: Always wear safety goggles or a face shield to protect your eyes from sparks and debris. Additionally, wear heavy-duty gloves to safeguard your hands.
Stable Work Surface: Find a stable and secure work surface where you can comfortably work on your mower blade. This will help prevent any accidental slips or movements while sharpening.
Secure the Blade: Before starting the sharpening process, ensure that the lawn mower is turned off and the spark plug wire is disconnected. This prevents the mower from accidentally starting while you’re handling the blade.
Tools and Materials Required
To successfully sharpen your mower blade, gather the following tools and materials:
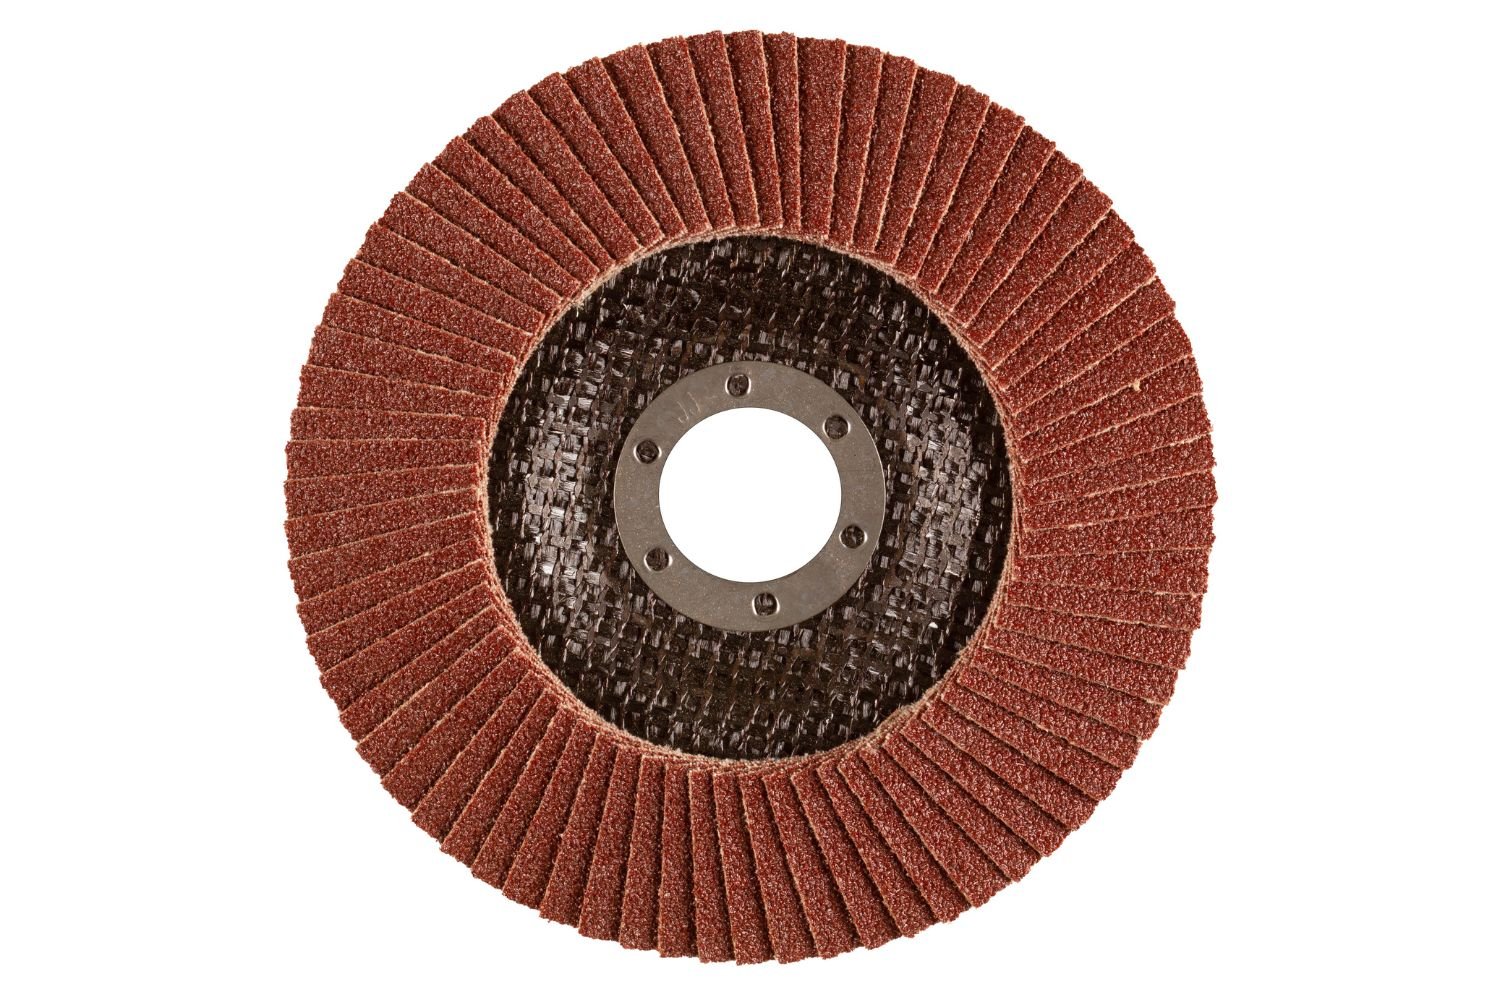
Angle Grinder: An angle grinder equipped with a grinding wheel suitable for sharpening metal blades is essential. Ensure you have the appropriate wheel grit for your blade.
Workbench or Clamp: Set up a sturdy workbench or use a clamp to secure the blade during sharpening. This will keep the blade steady, providing stability and reducing the risk of accidents.
Safety Gloves and Goggles: Protect your hands with heavy-duty gloves and wear safety goggles or a face shield to shield your eyes from sparks and debris.
Cleaning Supplies: Have a wire brush or scraper, a clean cloth, and a suitable cleaning solvent or degreaser on hand to clean the blade before and after sharpening.
Removing the Lawn Mower Blade
Before you can sharpen a mower blade, you’ll need to safely remove it from the lawn mower. Follow these steps:
Prepare the Mower: Turn off the lawn mower engine and disconnect the spark plug wire. This ensures that the mower won’t start accidentally while you’re removing the blade.
Raise the Mower: Lift the mower deck to expose the underside of the mower. Use a suitable method such as placing wooden blocks beneath the deck to keep it elevated.
Secure the Blade: Locate the bolt or nuts that hold the blade in place. Use a wrench or socket set to loosen and remove them, taking care to hold the blade steady as you do so.
Note the Orientation: Before removing the blade completely, take note of its orientation. This will help you reinstall it correctly later on.
By adhering to these safety precautions, gathering the necessary tools and materials, and safely removing the lawn mower blade, you’re now ready to move on to the actual sharpening process using an angle grinder.
Sharpening a Lawn Mower Blade with an Angle Grinder
Now that you have safely removed the lawn mower blade, it’s time to sharpen it using an angle grinder. Follow these steps to ensure a sharp and efficient cutting edge.
Setting up the Angle Grinder
Secure the Blade: Before you begin, clamp the blade securely to a workbench or use a vice grip to hold it in place. This will provide stability during the sharpening process.
Prepare the Angle Grinder: Insert a suitable grinding wheel into the angle grinder, making sure it is securely attached. Ensure that the grinder is unplugged before you attach or remove the grinding wheel.
Proper Grinding Technique
Wear Safety Gear: Put on your safety goggles or face shield and heavy-duty gloves before starting the grinder. These protective measures will shield you from sparks and debris.
Find the Correct Angle: Examine the cutting edge of the blade and determine its original bevel angle. This blade angle should be maintained during sharpening to retain the blade’s cutting efficiency.
Grind the Cutting Edge: Turn on the angle grinder and approach the cutting edge of the blade at the original bevel angle. Apply light pressure and move the grinder in a smooth, sweeping motion along the length of the cutting edge. Ensure that you maintain a consistent angle throughout the process.
Avoid Overheating: Take short breaks while grinding to prevent the blade from overheating. Overheating can cause the steel to lose its hardness and temper, reducing the blade’s effectiveness.
Check Progress Regularly: Pause occasionally to inspect the cutting edge. Look for a clean, even edge without any jagged or rough spots. Continue grinding until you achieve a sharp and uniform cutting edge along the entire length of the blade.
Balancing the Blade
After sharpening the blade, it’s essential to check its balance to ensure smooth operation. An unbalanced blade can cause excessive vibration and put unnecessary strain on the mower.
Hang the Blade: Insert a nail or screwdriver through the center hole of the blade and hang it from a secure point. The blade should hang freely and remain level.
Observe the Balance: If one side of the blade tilts lower than the other, it indicates an imbalance. To correct this, remove a small amount of material from the heavier side using the angle grinder. Repeat the process of hanging and checking until the blade hangs level.
Remember, maintaining a balanced blade is crucial for the longevity of your mower and a smoother mowing experience.
By following these steps to set up the angle grinder, employing the proper grinding technique, and ensuring the blade is balanced, you’ll achieve a sharp and efficient cutting edge that will make your lawn mowing tasks a breeze.
Reinstalling the Blade
Now that you have successfully sharpened the lawn mower blade, it’s time to reinstall it and get your mower ready for action. Follow these steps to ensure a proper and secure installation.
Cleaning the Blade and Mower Deck
Remove Debris: Before reinstalling the blade, take a moment to clean any grass clippings, dirt, or debris from both the blade and the mower deck. Use a wire brush or scraper to gently remove any built-up residue.
Inspect for Damage: While cleaning, inspect the blade for any signs of damage or wear. Look for cracks, bends, or excessive wear on the cutting edge. If you notice any significant damage, it may be necessary to replace the blade.
Cleaning Solvent: If the blade is particularly dirty or coated with stubborn residue, you can use a suitable cleaning solvent or degreaser. Apply it to a clean cloth and wipe the blade thoroughly, ensuring that it is free from any grime or substances that could affect its performance.
Proper Blade Alignment
Orientation: Take note of the orientation of the blade before removing it from the mower. Reinstall it in the same position to maintain proper cutting performance.
Align the Blade: Carefully position the blade onto the spindle of the mower, ensuring that the center hole lines up with the spindle shaft. Check that the lift wings (if present) align with the mower deck properly.
Tighten the Fasteners: Once the blade is aligned, secure it in place using the appropriate fasteners, such as bolts or nuts. Tighten them firmly but not excessively, as overtightening can damage the blade or the mower.
Securing the Blade
Use a Torque Wrench: For optimal blade security, consider using a torque wrench to tighten the fasteners to the manufacturer’s recommended specifications. This ensures that the blade is securely fastened but not overtightened.
Double-Check Fasteners: After tightening the fasteners, double-check their tightness. Ensure that they are snug and properly seated to prevent any movement during operation.
Spin the Blade: Before you lower the mower deck, give the blade a gentle spin to ensure that it rotates freely without any obstructions. This confirms that the blade is properly installed and ready for use.
By cleaning both the blade and the mower deck, aligning the blade correctly, and securely fastening it in place, you’ll ensure a smooth and efficient mowing experience while maintaining the longevity of your lawn mower.
Remember to always follow the manufacturer’s guidelines and recommendations for your specific mower model when reinstalling the blade. With a sharp and properly installed blade, you’ll be well on your way to achieving a neatly manicured lawn.
Maintenance Tips for a Sharp Blade
Congratulations on successfully sharpening and reinstalling your lawn mower blade! To ensure its longevity and optimal cutting performance, it’s important to follow these maintenance tips:
Regular Inspection and Sharpening Schedule
Visual Inspection: Regularly inspect your lawn mower blade for signs of wear, damage, or dullness. Look for any nicks, cracks, or uneven edges. If you notice any issues, it’s time to sharpen the blade again.
Sharpening Schedule: Establish a sharpening schedule based on your mowing frequency and the condition of your lawn. As a general guideline, aim to sharpen your lawn mower blade at least once per mowing season or whenever you notice a significant decrease in cutting performance.
Cleaning and Lubricating the Blade
After Mowing: After each mowing session, take a few moments to clean the blade. Use a brush or scraper to remove any grass clippings or debris that may have accumulated during mowing. This helps prevent buildup and keeps the blade in good condition.
Lubrication: Apply a thin coat of lubricating oil to the cutting edge of the blade to prevent rust and corrosion. This is particularly important if you live in a humid or coastal area. Avoid getting lubricant on other parts of the mower.
Proper Usage Techniques
Avoid Hitting Hard Objects: Be mindful of your mowing area and avoid running over rocks, roots, or other hard objects that can damage the blade. Clear the lawn of any debris that could potentially harm the blade.
Mow at the Right Height: Adjust your mower to the appropriate cutting height for your grass type and mowing conditions. Mowing at the correct height reduces stress on the blade and promotes healthier grass growth.
Take Care of the Blade: When mowing near the edges of sidewalks, driveways, or other hard surfaces, lift the mower deck slightly to prevent the blade from hitting the surface and becoming damaged.
By regularly inspecting and sharpening the blade, keeping it clean and lubricated, and practicing proper usage techniques, you’ll prolong the life of your lawn mower blade and ensure a consistently clean and precise cut for your lawn.
Remember, a well-maintained blade not only improves the aesthetics of your lawn but also contributes to the overall health and vitality of your grass.