How to Make Accurate Cuts with a Miter Saw
Struggling with getting your miter saw cuts just right? If you’re into woodworking, you know that making perfect cuts can be tricky. But don’t worry, this tutorial is here to help.
When you’re working on a woodworking project, you want everything to look perfect. But when you use your miter saw, the cuts don’t turn out how you want them to. It’s frustrating, right?
Well, there’s good news! With some simple miter saw tips and tricks, you can improve your cuts. Whether you’re a beginner or an experienced woodworker, this tutorial will show you how to make the cuts. We’ll teach you the secrets to getting clean angles and joints, so your projects will look amazing.
So, let’s get started on this journey to better woodworking. It’s time to make those miter saw cuts shine!
Key Takeaways
- Measurement and marking are essential for accuracy in making cuts with a miter saw.
- Properly securing the workpiece with clamps or a vice is crucial to prevent movement during cutting.
- Adjusting the bevel and angle of the blade is necessary for achieving desired cuts and aesthetics.
- Aligning the cut line with the blade and using clamps to hold the material in place ensures precise cuts.
Measure and Mark for Precision
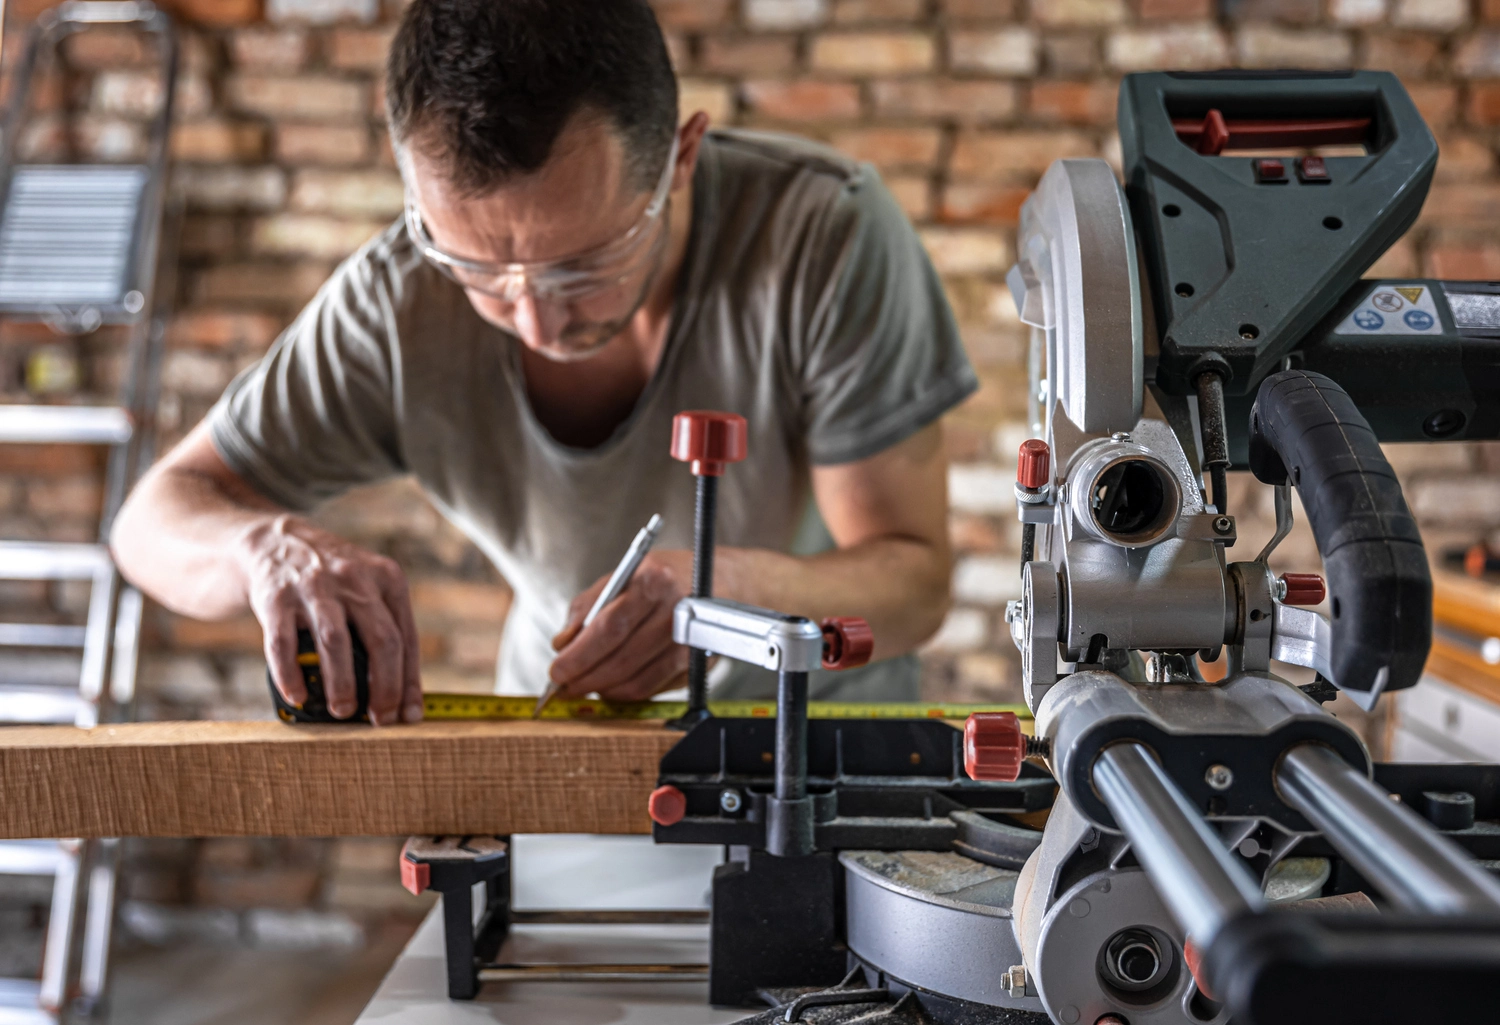
You should carefully measure and mark the piece of wood before making any cuts with the miter saw. This step is crucial to ensure accurate and precise cuts. Start by measuring the length of the wood using a tape measure. Hold the tape measure firmly against the wood, making sure it’s straight and aligned with the edge. Take note of the measurement, and then transfer it onto the wood by marking a small line or using a pencil. Repeat this process for all the cuts you need to make.
Once the wood is marked, double-check your measurements to ensure accuracy. Use a square to ensure that the lines are perpendicular to the wood’s edge. This will help you achieve clean and precise cuts. If any adjustments need to be made, carefully erase or modify the markings before proceeding.
Secure the Workpiece for Stability
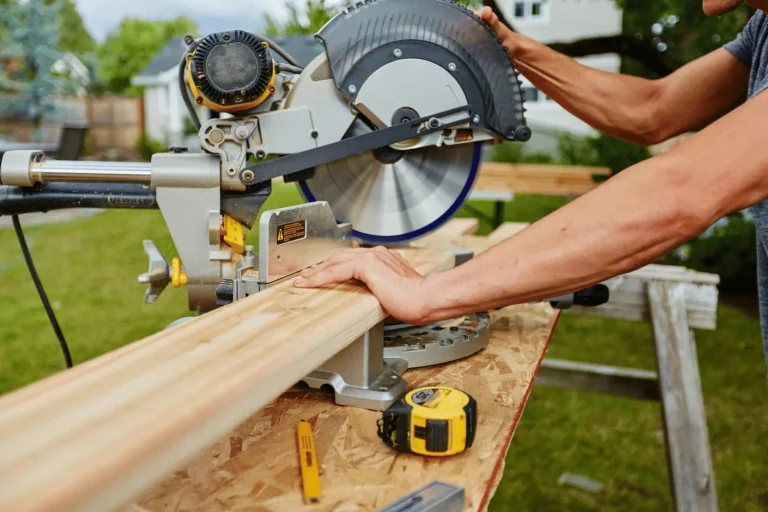
To ensure stability, use clamps or a vice to firmly secure the workpiece before making any cuts. This step is crucial to ensure both accuracy and safety when using a miter saw. By firmly securing the workpiece, you minimize the risk of it slipping or moving during the cutting process, which could result in inaccurate cuts or even accidents.
When selecting clamps or a vice, choose ones that are appropriate for the size and shape of your workpiece. Make sure they’re capable of holding the workpiece securely in place, without causing any damage or deformation. Position the clamps or vice in a way that allows you to have a clear view of the cutting line and the blade, while still maintaining a secure hold on the workpiece.
Before tightening the clamps or vice, ensure that the workpiece is properly aligned and positioned. Use a combination square or a speed square to verify that the workpiece is perpendicular to the blade or at the desired angle for angled cuts. Once everything is in place, tighten the clamps or vice firmly, making sure that the workpiece is held securely and can’t move during the cutting process.
Adjust Miter and Bevel for an Accurate Cut
To achieve the desired cut, make sure to adjust your miter saw by changing the bevel and miter angles accordingly. This step is crucial in ensuring accurate and precise cuts. Here’s what you need to know:
- Bevel Adjustment: The bevel adjustment allows you to tilt the blade of the miter saw to the desired angle.
- Miter Adjustment: The miter adjustment on the saw allows you to rotate the saw arm related to the fence to change the orientation of the cut.
- Precision is Key: Remember to double-check your measurements and angles before making any cuts. Take your time to ensure accuracy, as even a small mistake can compromise the entire project.
Align Cut Line With Blade or Laser Guide
Make sure to align the cut line with the blade for optimal accuracy and precision. When using a miter saw, it’s crucial to position the material correctly to achieve the desired results.
To begin, ensure that the blade is in the correct position and securely fastened. Next, mark a line on the material using a pencil or a marking tool. Take your time to make this mark as accurate as possible.
Once the line is marked, position the material on the miter saw table, making sure that the cut line aligns perfectly with the blade. If your saw has a laser guide, position the stock so the laser line appears over your markings. This alignment is essential to ensure that the cut is made exactly where you want it. Additionally, make sure that the material is held firmly in place using clamps or other securing methods. This will prevent any movement or slippage during the cutting process.
Use a Smooth and Controlled Motion to Make Accurate Cuts with Your Miter Saw
As you practice your cutting technique, focus on maintaining a smooth and controlled motion to ensure accurate cuts. This is crucial when using a miter saw, as any jerky or erratic movements can result in uneven cuts or splintered edges.
To achieve this smooth and controlled motion, keep the following tips in mind:
- Proper Body Positioning: Stand with your feet shoulder-width apart, ensuring a stable base. Position your body in line with the saw blade, allowing for a comfortable and balanced stance.
- Grip and Control: Hold the saw firmly with both hands, keeping your fingers away from the blade. Use a steady grip and let the saw do the work as you guide it through the material.
- Consistent Speed: Maintain a consistent cutting speed throughout the entire motion. Avoid rushing or slowing down abruptly, as this can lead to mistakes and inaccuracies.
Frequently Asked Questions
What is a miter saw?
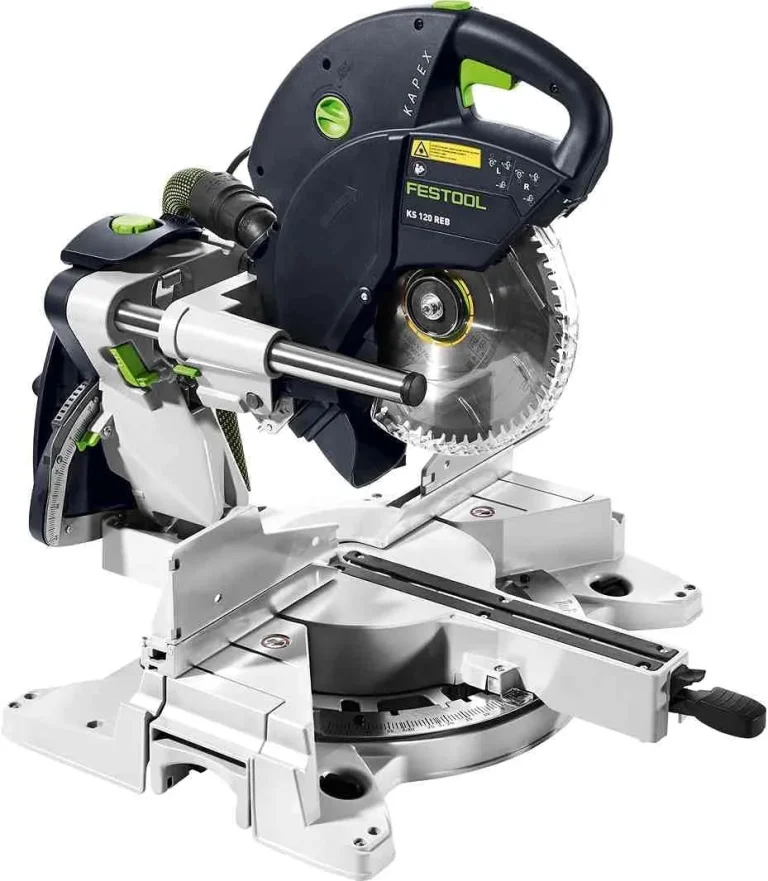
A miter saw is a specialized power tool that is used for making accurate and precise cuts in various materials, particularly wood. It is commonly used in woodworking and construction projects.
How does a miter saw work?
A miter saw works by using a circular saw blade that is mounted on a hinged arm. The arm can be pivoted to adjust the angle of the cut, allowing for bevel cuts and miter cuts. The material to be cut is placed against a fence, and the blade is lowered onto the material to make the cut.
What safety precautions should I take when using a miter saw?
When using a miter saw, always wear safety glasses to protect your eyes from flying debris. Make sure the blade is properly secured and sharp. Keep your hands and fingers clear of the blade and wear appropriate clothing and footwear. Always unplug the saw when not in use and follow all manufacturer’s safety guidelines.
How do I make accurate cuts with a miter saw?
To make accurate cuts with a miter saw, follow these tips:
- Ensure the blade is square to the table and properly calibrated.
- Use a straight edge or guide to guide the material for a straight cut.
- Use scrap wood to test your cuts before cutting your actual material.
- Make sure the material is properly secured against the fence and table.
- Take your time and make measured, controlled cuts.
How do I adjust a miter saw?
To adjust a miter saw, follow these steps:
- Start by loosening the bevel lock on the back of the saw.
- Set the angle you want to cut by tilting the saw arm.
- Tighten the bevel lock to secure the angle.
- To make a miter cut, loosen the miter lock and rotate the saw arm to the desired angle.
- Tighten the miter lock to secure the angle.
What is a miter saw stand?
A miter saw stand is a portable workbench or stand that is specifically designed to support a miter saw. It provides a stable and level surface for cutting and helps to improve accuracy and safety when using a miter saw.
Do I need to use a miter saw stand?
While a miter saw stand is not absolutely necessary, it can greatly enhance the stability, accuracy, and safety of using a miter saw. A stand provides a dedicated space for your saw and allows for easier positioning and movement of the material being cut. It also helps to reduce the risk of kickback and improves overall cutting performance.
How do I clean my miter saw?
To clean your miter saw, follow these steps:
- Unplug the saw and remove the sawdust bag (if applicable).
- Use a brush or compressed air to remove any sawdust or debris from the blade, table, and other parts of the saw.
- Wipe down the saw with a clean cloth or rag.
- Inspect the blade and make sure it is clean and in good condition.
- Reattach the sawdust bag and plug the saw back in.
How often should I change the blade on my miter saw?
The frequency of blade changes depends on how often you use your miter saw and the type of material you are cutting. However, as a general guideline, it is recommended to inspect the blade regularly and replace it if it becomes dull, damaged, or worn out. A sharp and properly maintained blade will help to ensure clean and smooth cuts.