How to Cut Tile Without a Wet Saw (Tips/Tools You Need)
Welcome to the world of DIY tile cutting! When it comes to home improvement projects, tiles are a popular choice due to their durability and aesthetic appeal. However, not everyone has access to specialized tools like a tile saw. Fear not! In this article, we’ll guide you through the art of cutting tiles without a wet tile saw, providing you with practical techniques and tips to achieve precise and clean cuts.
Whether you’re a seasoned DIY enthusiast or just starting out, learning how to cut tiles without a tile saw opens up a realm of possibilities for your projects. We understand that not everyone has the luxury of owning every tool, which is why we’ll explore alternative methods that utilize tools readily available or affordable. From tile cutters and nippers to angle grinders and scoring wheel cutters, we’ll break down each method step by step, ensuring you’re equipped with the knowledge to handle various cutting scenarios.
So, if you’re ready to roll up your sleeves and dive into the world of tile cutting craftsmanship, let’s get started on mastering the art of cutting tiles without a wet saw!
Essential Tools and Safety Precautions to Cut Tile Without a Wet Saw
To embark on your tile cutting journey without a wet saw, it’s crucial to have the right tools at your disposal. These tools will help you achieve clean and accurate cuts, even without a wet saw’s assistance. Additionally, ensuring your safety during the process is paramount. Let’s delve into the essential tools and safety precautions you need to follow.
List of Necessary Tools for Tile Cutting without a Wet Saw
Tile Cutter/Snapper
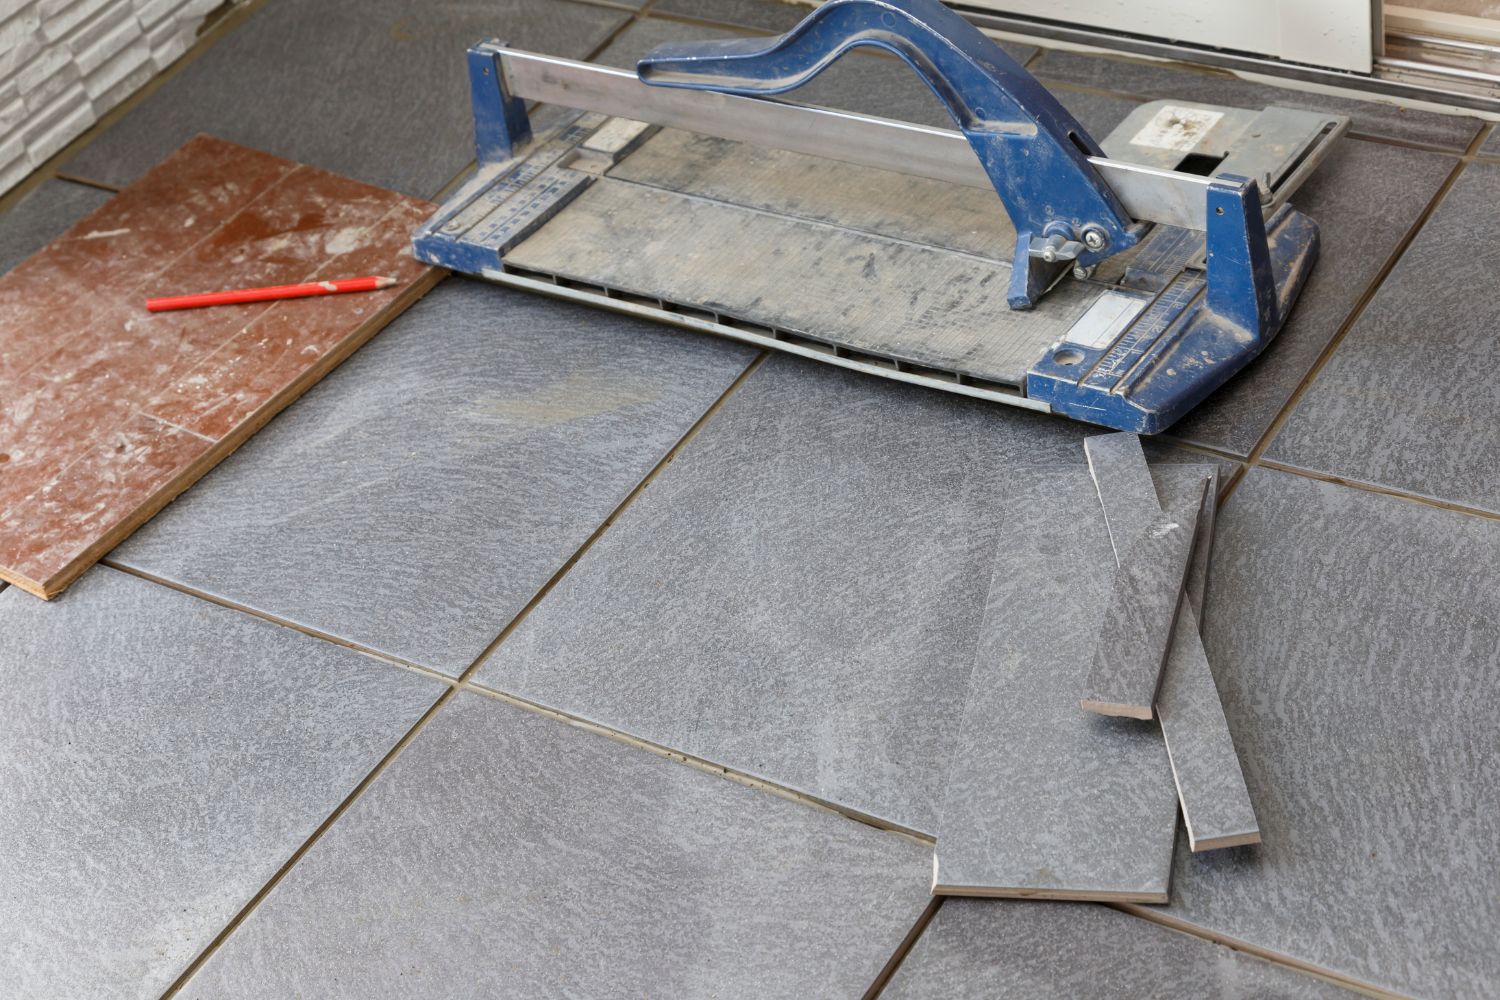
A tile cutter or snapper is a manual tool designed to score and snap tiles cleanly. It’s excellent for straight cuts and is particularly useful for ceramic and porcelain tiles. The cutter scores the tile’s surface, and then by applying pressure, you can snap the tile along the scored line.
Tile Nippers
Tile nippers are plier-like tools used for making small cuts, especially for intricate shapes or curved edges. They allow you to remove small pieces of tile gradually, offering precision in shaping the tile to fit your needs.
Angle Grinder with Diamond Blade
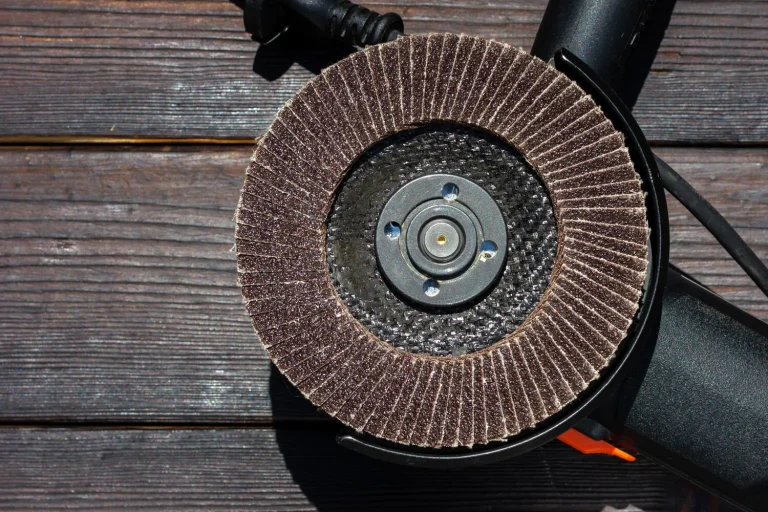
An angle grinder equipped with a diamond blade is a versatile tool for cutting tiles, especially thicker or tougher ones like natural stone or porcelain. The diamond blade’s abrasive edge cuts through tiles with efficiency.
Scoring Wheel Cutter
The scoring wheel cutter, also known as a glass cutter, is ideal for making straight cuts on tiles. It features a small, replaceable wheel that scores the tile’s surface, enabling you to snap it along the scored line.
Safety Measures and Protective Gear
Safety Goggles
Protect your eyes with safety goggles to prevent any tile fragments or debris from getting into your eyes while cutting. Safety goggles ensure clear vision and safeguard your eyes from potential hazards.
Dust Mask
Wearing a dust mask is essential to prevent inhaling fine tile dust, which can be harmful to your respiratory system. A dust mask filters out particles, ensuring you breathe clean air throughout the cutting process.
Gloves
Sturdy gloves offer protection to your hands from sharp tile edges and potential accidents. They provide a secure grip and minimize the risk of cuts or abrasions.
Ear Protection
The sound produced by some cutting tools can be loud and potentially damaging to your ears. Ear protection, such as earplugs or earmuffs, helps reduce noise levels and keeps your hearing safe.
By having the right tools and prioritizing safety precautions, you’re setting the foundation for successful and secure tile cutting without a wet saw. Now that you’re equipped with the necessary knowledge, let’s move on to exploring the methods for cutting tiles using these tools.
How to Use a Manual Tile Cutter and Tile Nipper
When the absence of a wet saw doesn’t deter your tile cutting ambitions, alternative methods come to your rescue. Let’s delve into these methods that prove that where there’s a will, there’s a way.
Using a Tile Cutter/Snapper
Explanation of the Process
A tile cutter, also known as a snapper, is a simple yet effective tool. It works by scoring the tile’s surface using a sharp wheel, followed by applying pressure to snap the tile along the scored line. This method is best suited for straight cuts and is particularly handy for ceramic and porcelain tiles.
Steps to Follow for Precise Cuts
- Measure and mark the tile where you want to make the cut.
- Place the tile on the cutter, aligning the marked line with the cutter’s guide.
- Use the cutter’s wheel to score along the marked line, applying consistent pressure.
- Once scored, press down on the tile’s edges to snap the tile along the line.
- Smooth any rough edges with a tile file or sandpaper.
Pros and Cons
Pros: A manual cutter is simple to use, cost-effective, and provides accurate straight cuts. They are great for beginners due to their user-friendly design.
Cons: Tile cutters are limited to straight cuts and are less suitable for complex shapes or curves. They might not be ideal for thicker or harder tile materials.
Employing Tile Nippers
Detailed Method of Using Nippers for Curved Cuts and Small Adjustments
- Mark the area you need to remove and score the tile.
- Begin by making small, gradual bites with the nippers along the marked line.
- Continue to nibble away small portions of the tile until you achieve the desired shape or curve.
Tips for Avoiding Tile Breakage
- Make sure to wear safety goggles and gloves for protection.
- Take your time and make small cuts, especially for intricate shapes.
- Gently squeeze the nippers to avoid excessive pressure and potential tile breakage.
Limitations of Tile Nippers
Tile nippers are excellent for fine-tuning shapes and curves, but they are less effective for straight cuts and larger removals. They are best used for small adjustments and detailed work.
Utilizing an Angle Grinder with Diamond Blade
Introduction to Angle Grinder Usage
An angle grinder equipped with a diamond blade is a versatile tool that opens up new possibilities in tile cutting. The diamond blade’s abrasive edge allows it to cut through tougher materials, such as natural stone or porcelain.
Cutting Technique and Safety Precautions
- Mark the tile with the cutting line.
- Secure the tile firmly in place.
- Hold the angle grinder steadily, aligning the blade with the marked line.
- Turn on the grinder and gently guide it along the line, allowing the blade to do the work.
- Wear safety gear to protect yourself from dust and debris.
Suitable Applications and Tile Types
Angle grinders are ideal for thicker tiles, intricate cuts, and materials that prove challenging for other methods. They offer versatility, making them suitable for various projects.
Scoring Wheel Cutter Technique
Exploring the Scoring Wheel Cutter Method
The scoring wheel cutter, also known as a glass cutter, is a simple yet effective tool for straight cuts.
Process of Snapping Tiles along the Score Line
- Score the tile’s surface along the marked line using the cutter’s wheel.
- Place the scored line along the edge of a flat surface.
- Apply pressure to both sides of the tile, causing it to snap cleanly along the score line.
Applicability and Limitations
This method is suitable for creating straight cuts quickly and accurately. However, it may not be as effective for complex shapes or thicker tiles.
By exploring these techniques—using an angle grinder with a diamond blade and utilizing a scoring wheel cutter—you expand your toolkit and elevate your tile cutting skills. Each method presents unique strengths and considerations, allowing you to approach various projects with confidence and expertise.
Practical DIY Tips and Tricks
Achieving seamless tile cuts without a tile saw requires more than just the right tools—it demands a keen eye and a steady hand. Let’s delve into some practical tips and tricks that will elevate your tile cutting game.
Marking Guidelines for Accurate Cuts
Before you embark on cutting, proper marking is essential to ensure precision. Here’s how:
- Use a Carpenter’s Pencil: Choose a carpenter’s pencil for clear and visible markings on tiles. Avoid using regular pens or markers, as they might not show up well on the tile surface.
- Measure Twice, Cut Once: Double-check your measurements before marking the tile. A small mistake in measurement can lead to inaccurate cuts.
- Masking Tape Method: Place masking tape over the area to be cut and then mark the line on the tape. This prevents chipping and makes the line more visible.
Minimizing Tile Chipping During Cutting
Chipping along the edges of tiles can mar the finished look. Follow these steps to minimize chipping:
- Use a Sharp Blade: Ensure the cutting tool’s blade is sharp. Dull blades are more likely to cause chipping.
- Cut Slowly: When using tools like tile nippers, make small, gradual cuts rather than exerting excessive force in one go.
- Apply Low Pressure: When using a tile cutter/snapper, apply even but not excessive pressure to avoid unnecessary stress on the tile.
Maintaining Blade Efficiency and Longevity
A well-maintained cutting tool performs better and lasts longer. Keep these pointers in mind:
- Clean the Blade: After cutting a few tiles, clean the tool’s blade to remove tile debris. A clogged blade can lead to inefficient cutting.
- Avoid Overheating: While using an angle grinder with a diamond blade, take short breaks to prevent the blade from overheating.
- Use Suitable Pressure: Apply steady, consistent pressure while cutting. Excessive pressure can strain the tool and lead to poor cuts.
Handling Intricate Cuts and Patterns
Tackling intricate cuts and patterns requires patience and finesse. Here’s how to navigate them:
- Practice on Scrap Tiles: Before attempting complex cuts on your project tile, practice on spare tiles to gain confidence.
- Go Slow: For intricate patterns, proceed slowly and cautiously. Rushing can lead to mistakes.
- Plan Ahead: Sketch out your design or pattern on paper before cutting. This visual guide helps you stay on track.
By incorporating these practical tips and tricks into your tile cutting approach, you’ll not only enhance the quality of your cuts but also gain valuable experience in mastering various cutting scenarios. As you proceed, remember that practice makes perfect, and each tile you cut brings you one step closer to becoming a proficient tile cutter.
As you embark on your tile cutting endeavors, keep safety at the forefront and embrace the learning process. Your patience and attention to detail will pay off in the form of precise, clean cuts that enhance the aesthetics of your space. So go ahead, explore, experiment, and create stunning tile arrangements that showcase your newfound expertise.


