Mastering the Brad Nailer: Your Ultimate Guide!
Are you ready to take your woodworking and crafting skills to the next level? Look no further than the ultimate guide to mastering the art of brad nailing!
With this comprehensive knowledge at your fingertips, you’ll gain the confidence and precision needed to tackle any project with ease.
In this guide, we will explore everything you need to know about using a brad nailer. From understanding its components and safety considerations to choosing the right size brads and perfecting the depth and positioning of your nails, we’ve got you covered.
You’ll learn the different types of brad nailers available and gain insights into loading and adjusting them for optimal performance. We’ll also share essential safety tips to ensure you remain in control throughout your nailing journey.
Don’t let common mistakes trip you up – we’ll highlight those to avoid, as well as provide guidance on maintenance and care for your brad nailer. Whether you’re a seasoned professional or a passionate DIY enthusiast, this guide will equip you with the knowledge and skills to become a brad nailing master.
Get ready to take control of your projects and create incredible woodworking and crafting masterpieces like never before!
Key Takeaways
- Brad nailers are automatic nailing tools used by carpenters, woodworkers, and crafters for crafting projects and light trim carpentry work.
- Brad nailers use 18-gauge brads between 5/8 and 2 inches long and can also be used with crown staples.
- Brad nailers can be powered by air compressors, electricity, or batteries, and operate by shooting a blast of air to drive the brads when the trigger is squeezed.
- Safety considerations when using a brad nailer include pointing the tool away when making depth adjustments, setting the controls to the midpoint between high and low settings, and removing the battery or discharging compressed air before reloading or freeing a jammed nail.

How to Use a Brad Nailer
To use a brad nailer, you’ll need to know how to load the magazine with brads and set the depth controls using the air pressure dial and depth gauge.
Loading the magazine is a simple process. First, make sure the nailer is unplugged or the battery is removed for safety. Then, open the magazine by sliding the latch or pressing the release button. Place the brads in the magazine, making sure they are positioned correctly with the heads facing towards the nailer. Close the magazine and secure it in place.
Once the magazine is loaded, it’s important to set the depth controls properly. Start by adjusting the air pressure dial to the desired level. Most brad nailers have a recommended air pressure range printed on the tool. Set the dial to the midpoint between the high and low settings for a starting point.
Next, locate the depth gauge on the front body of the nailer. This gauge allows you to control how deep the brads will be driven into the workpiece. Adjust the depth gauge according to the thickness of your workpiece. It’s a good idea to test the nailer on scrap material first to fine-tune the depth controls and ensure the brads are being driven to the correct depth.
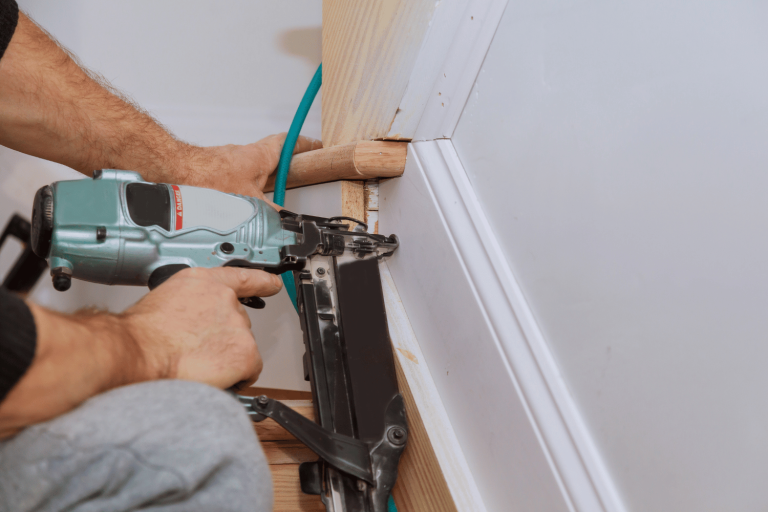
When it comes to brad nailing techniques, there are a few best practices to keep in mind. First, always position the nailer against the workpiece with the brad firing slightly ahead of the contact point. This ensures the brad is properly seated in the workpiece. Additionally, make sure to depress the contact point on the muzzle end of the nailer for safety reasons. This prevents accidental firing when the nailer is not in use.
Finally, firmly squeeze the tool trigger to drive the brad into the workpiece. The desired depth for driving the brads can vary depending on the project, but generally, having the brad heads level with the work surface is best. Avoid having the heads protrude too much or sink too far below the surface, as this can cause issues with holding the material in place.
By following these best practices and properly setting the depth controls, you’ll be well on your way to mastering the art of brad nailing.
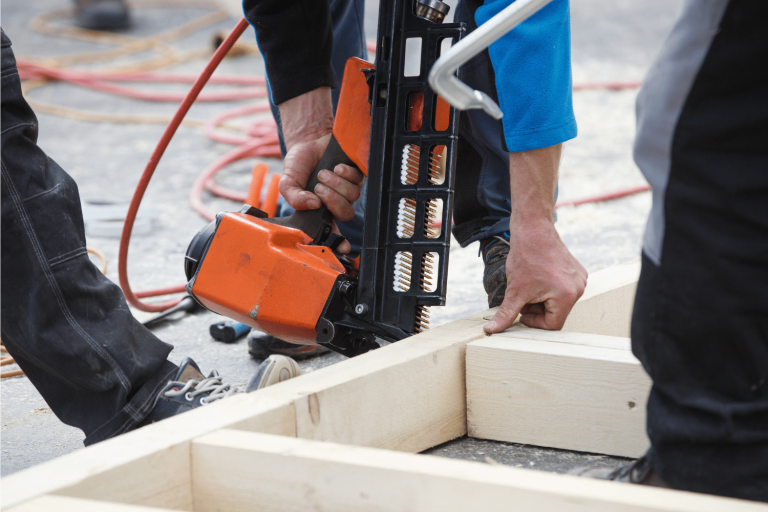
Different Types of Brad Nailers
Explore the various types of brad nailers available to suit your specific needs and projects. When it comes to different brad nailer brands, there are several options to choose from. Some popular brands include DEWALT, BOSTITCH, Makita, and Porter-Cable. Each brand offers a range of models with different features and capabilities.
DEWALT, for example, is known for its durable and high-performance brad nailers, while BOSTITCH is praised for its reliability and ease of use. Makita and Porter-Cable also have their own unique offerings, catering to different preferences and budgets.
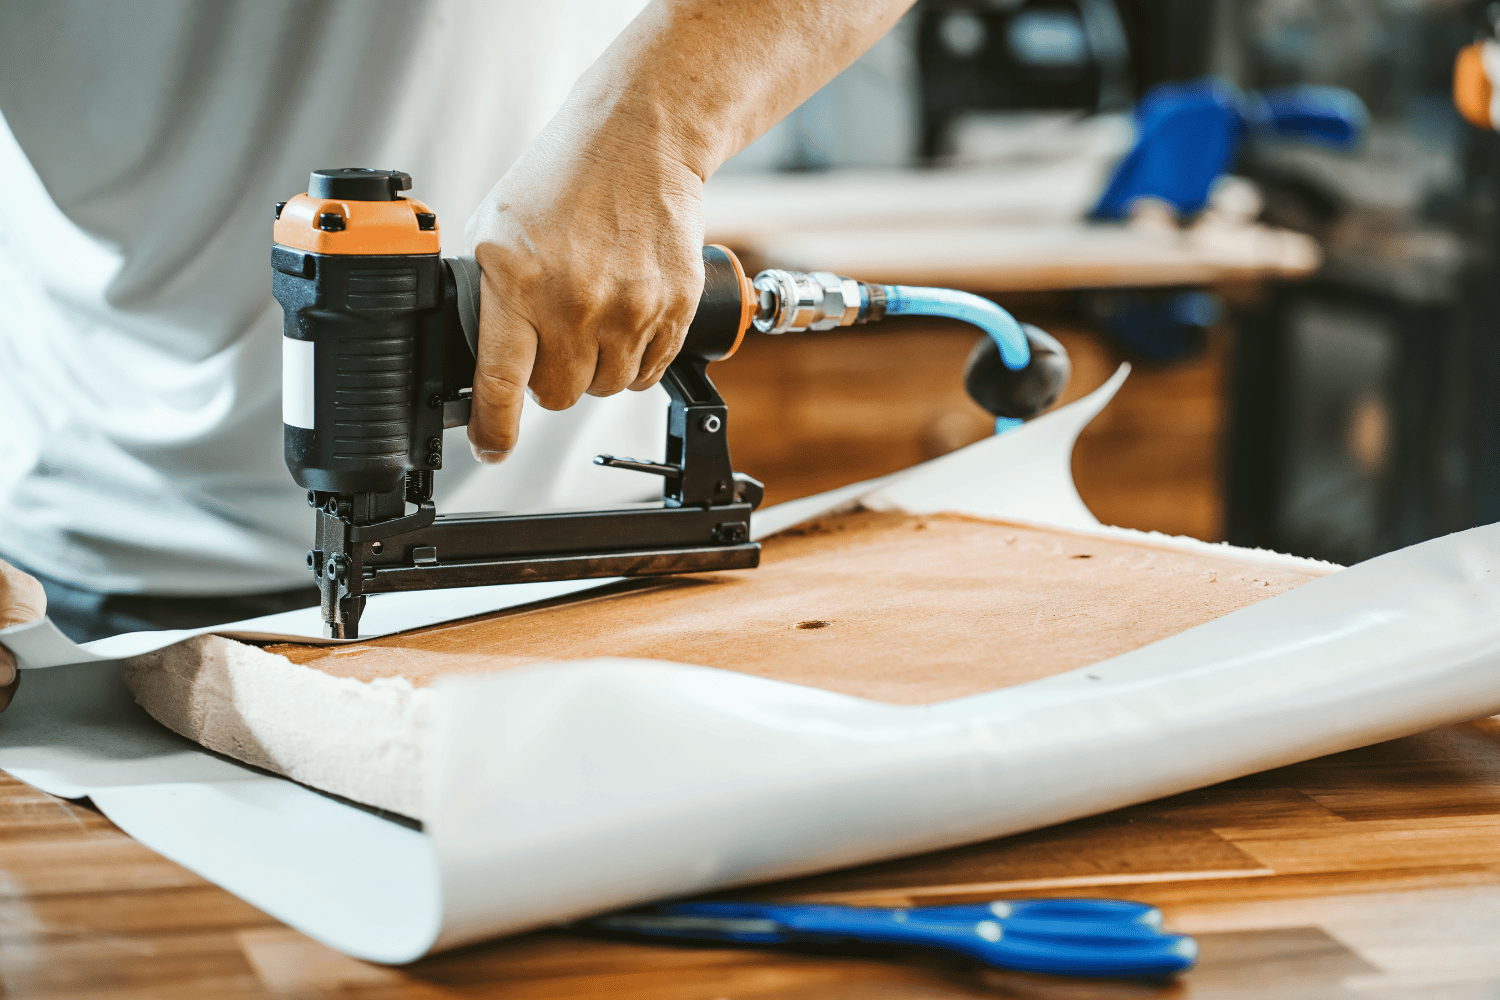
In addition to different brands, there are also various types of brad nailers for different applications. For instance, there are pneumatic brad nailers that are powered by air compressors, providing consistent power and precision. Electric brad nailers, on the other hand, offer the convenience of corded or cordless operation, making them suitable for both indoor and outdoor projects. Cordless brad nailers are especially handy for jobs that require mobility and flexibility.
When using a brad nailer, it’s important to troubleshoot common issues that may arise. One common problem is nail jamming, which can be caused by using the wrong size or type of brads or by overloading the magazine. To fix this issue, simply remove the jammed nail and check for any obstructions in the magazine.
Another common issue is misfiring, where the brad doesn’t fully penetrate the workpiece. This can be due to low air pressure or incorrect depth settings. Adjust the air pressure and depth controls accordingly to ensure proper firing.
By understanding the different types of brad nailers available and troubleshooting common issues, you can confidently choose the right tool for your projects and ensure smooth and efficient operation.
Choosing the Right Size Brads
When choosing the right size brads for your project, consider the thickness of the workpiece and select brads that are suitable for securing it securely. The ideal brad length will depend on the thickness of the material you’re working with.
For thinner materials, such as craft projects or light trim carpentry, brads between 5/8 and 1 inch long should work well. If you’re working with thicker materials, like baseboards or moldings, you may need longer brads, up to 2 inches in length.
It’s important to choose the right size brads to ensure a secure and professional-looking result. Using brads that are too short may not provide enough holding power, while using brads that are too long may cause the material to split.
When troubleshooting brad nailer problems, one common issue is brads not driving all the way into the workpiece. This could be due to using brads that are too long for the thickness of the material. In this case, try using shorter brads to ensure proper driving depth.
Another problem could be brads getting jammed in the nailer. To fix this, make sure to remove the battery or discharge the compressed air before attempting to clear the jam. It’s also important to regularly clean and maintain your brad nailer to prevent jams and ensure smooth operation.
By choosing the right size brads for your project and troubleshooting any issues that may arise, you can master the art of brad nailing and achieve professional results every time.
Safety Tips for Using a Brad Nailer
Ensure your safety when using a brad nailer by following these important tips:
- Always point the tool away from yourself and others when making depth adjustments or clearing a jammed nail.
- Before reloading or freeing a jammed nail, it’s crucial to remove the battery or discharge the compressed air from the nailer.
Wear safety goggles to protect your eyes from flying debris and use hearing protection to prevent damage to your ears from the noise produced by the nailer.
Keep your hands clear of the muzzle end of the nailer and depress the contact point for safety reasons.
When using a brad nailer, it’s important to be aware of common issues that may arise. Here are some troubleshooting tips:
- If the brad nailer isn’t driving nails correctly, check the air pressure. Adjust the air-pressure dial on the front body to ensure it’s within the recommended range for the brad length you’re using.
- If the brads aren’t sinking deep enough or are going too deep, adjust the depth gauge on the nailer. Start with the midpoint between high and low settings and test on scrap material to fine-tune the depth.
- If the brad nailer is jamming frequently, make sure you’re using the correct size and type of brads for your nailer. Check the manufacturer’s instructions for compatibility.
- Regularly clean the nailer and remove any debris or dust that may accumulate in the magazine or around the mechanism. This’ll help prevent jamming and ensure smooth operation.
By following these safety precautions and troubleshooting tips, you can confidently use a brad nailer and achieve professional results in your woodworking or crafting projects.
Loading and Adjusting the Brad Nailer
To load and adjust the brad nailer, start by selecting the appropriate brad length for your project and loading the magazine with the desired brads. Make sure to choose brads that are the correct gauge and length for the thickness of the workpiece you’ll be nailing.
Once you have the right brads, simply open the magazine by pulling back the magazine latch or pressing the release button, depending on the model of your brad nailer. Insert the brads into the magazine with the pointed ends facing down. Close the magazine and ensure that it’s securely latched before continuing.
Now that the brads are loaded, it’s time to adjust the nailer for optimal performance. Most brad nailers have adjustable depth controls to control how deep the brads are driven into the workpiece. Start by setting the air pressure dial and depth gauge to the midpoint between their high and low settings. This’ll give you a good starting point, and you can fine-tune the depth by testing the nailer on scrap material that’s the same as your intended workpiece.
Pay attention to the depth of the brads and adjust the controls accordingly until you achieve the desired depth. It’s important to note that the brads’ll fire slightly ahead of the contact point, so keep this in mind when positioning the nailer against the workpiece.
By following these loading techniques and troubleshooting common issues, you’ll be well on your way to mastering the art of brad nailing.
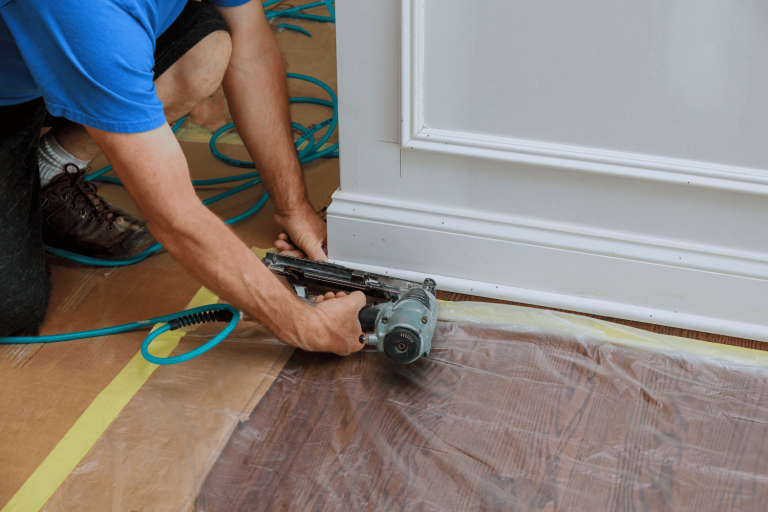
Proper Technique for Using a Brad Nailer
Start by positioning the brad nailer against the workpiece, making sure to depress the contact point on the muzzle end for safety reasons. This will ensure that the brad nailer is properly aligned with the surface you are working on. Once in position, firmly squeeze the trigger to drive the brad into the workpiece. Remember to keep in mind that the brad will fire slightly ahead of the contact point, so make sure you have positioned the nailer accordingly.
To help you visualize the proper technique for using a brad nailer, here is a table outlining the steps involved:
Following these steps will ensure that you have a controlled and efficient nailing process. If you encounter any issues while using a brad nailer, such as nails not driving correctly or the tool jamming, refer to the brad nailer troubleshooting guide. Additionally, if you’re looking for project ideas to utilize your brad nailer, consider crafting small wooden boxes, picture frames, or even furniture pieces like a bookshelf or a coffee table. With the proper technique and a bit of creativity, you can master the art of brad nailing and bring your woodworking projects to life.
Common Mistakes to Avoid with a Brad Nailer
Now that you’ve learned the proper technique for using a brad nailer, it’s important to be aware of common mistakes to avoid. By understanding these pitfalls, you can troubleshoot common issues and ensure smooth and efficient brad nailing every time.
One common mistake to avoid is using the wrong size brads for your project. Remember, brad nailers are designed to handle 18-gauge brads between 5/8 and 2 inches long. Using brads that are too long or too short can lead to improper nail depth and weak connections. Always double-check the specifications of your brad nailer and select the appropriate brad length for the thickness of your workpiece.
Another common mistake is neglecting to adjust the depth controls properly. It’s crucial to set the air pressure dial and depth gauge to the midpoint between high and low settings. This will ensure that the brads are driven to the correct depth without damaging the workpiece. Take the time to test the nailer on scrap material and fine-tune the depth controls before starting your project. Remember, the desired depth can vary depending on the project, so always make adjustments accordingly.
In addition, be cautious of overdriving or underdriving the brads. If the brads are driven too deep, they may not hold the material securely. On the other hand, if the brads are not driven deep enough, they may not provide enough support. Aim for a level with the work surface for the brad heads, avoiding protruding or excessively countersunk nails. It’s also essential to keep the brad nailer perpendicular to the workpiece and maintain a firm grip to prevent any wobbling or misalignment during nailing.
By being mindful of these common mistakes and troubleshooting any issues that arise, you’ll be able to master the art of brad nailing with ease. Remember to always use the appropriate size brads, adjust the depth controls accurately, and drive the brads to the correct depth for a strong and professional finish. With practice and attention to detail, you’ll become a skilled brad nailing expert in no time.
Maintenance and Care for Your Brad Nailer
Ensure the longevity and optimal performance of your brad nailer by practicing regular maintenance and proper care. To keep your brad nailer in top shape, it’s important to troubleshoot common issues and perform routine maintenance.
If you encounter any problems, such as jammed nails or misfires, start by disconnecting the power source and removing any brads from the magazine. Inspect the nailer for any debris or obstructions and clean it thoroughly. Lubricate the moving parts with a few drops of oil to ensure smooth operation. Check the air pressure and adjust it according to the manufacturer’s recommendations.
Regularly inspect the power tip and front body for any signs of wear or damage, and replace any worn-out parts as needed. By troubleshooting common issues and maintaining your brad nailer, you can avoid unnecessary downtime and ensure consistent performance.
In addition to regular maintenance, there are also recommended accessories that can enhance your brad nailing experience. One useful accessory is a belt hook, which allows you to conveniently hang your brad nailer from your tool belt or workstation, keeping it within reach at all times.
A work light is another helpful accessory, especially when working in dimly lit areas or tight spaces. It illuminates your work surface, making it easier to accurately place the brad. Another accessory to consider is a low-nail indicator window, which allows you to easily monitor the number of brads remaining in the magazine, preventing unexpected interruptions.
Lastly, investing in a quality carrying case or storage bag can protect your brad nailer from dust, moisture, and other potential damage when not in use. By utilizing these recommended accessories, you can enhance your brad nailing efficiency and convenience while ensuring the longevity of your tool.
Frequently Asked Questions
Can a brad nailer be used for framing a house or heavy construction work?
No, a brad nailer cannot be used for framing a house or heavy construction work. It is designed for crafting and light trim carpentry. Alternative power sources for a brad nailer include electricity or batteries.
What are some alternative power sources for a brad nailer besides an air compressor?
Battery powered and corded electric options are alternative power sources for a brad nailer, besides an air compressor. These options provide convenience and flexibility, allowing you to use the tool without the need for a compressor.
Are there any additional features or accessories that can be added to a brad nailer?
For added convenience and control, you can enhance your brad nailer with some additional features or accessories. Consider adding an LED light attachment to improve visibility in low-light conditions and a depth adjustment knob for precise and customizable nail depth.
How do you remove a jammed nail from a brad nailer?
To remove a jammed nail from your brad nailer, first, disconnect the power source. Use a small tool to gently pry open the magazine. Then, carefully remove the jammed nail. To prevent future jams, regularly clean and maintain your brad nailer.
What is the average lifespan of a brad nailer?
The average lifespan of a brad nailer is several decades with proper care. To troubleshoot common issues, ensure the tool is clean and stored in a dry place, maintain a fully charged battery, and replace the nailer if it shows signs of wear or malfunction.