How to Cut Crown Molding with a Miter Saw – A DIY Guide
Installing crown molding can transform a room by adding elegance and visual interest to your walls and ceiling.
But for many DIYers, learning how to make precise cuts seems overwhelming.
No worries – with the right tools and techniques, you can cut crown molding like a pro.
This article will walk you through the entire process, from choosing the right materials to mastering the miter saw. You’ll learn insider tips for accurate measurements, proper saw adjustments, and cutting tricky angles.
With a step-by-step guide to setup, cutting techniques, and troubleshooting tips, you’ll have the confidence to take on any DIY crown molding project.
Follow our advice for safe, efficient cuts and you’ll achieve professional-looking results. After reading, you’ll be eager to upgrade your rooms with beautiful crown molding.
Preparing for the Cut
Choosing the Right Crown Molding for Your Project
The first step is selecting the right crown molding for your room. Consider the style and dimensions that will best complement your space. Determine whether you want intricate, highly decorative molding or something simpler. Measure your room to calculate the total length needed. Pick a material like wood, polyurethane, or polystyrene foam to suit your budget and project needs.
Gathering the Necessary Tools and Materials
You’ll need certain essential tools for successful crown molding cuts. A miter saw is a must – a 10 or 12 inch compound miter saw is ideal. You’ll also need a miter box, tape measure, stud finder, level, nail gun or hammer, wood glue, sandpaper and safety glasses. Purchase the desired length and quantity of crown molding along with finishing nails. Don’t forget wood filler for hiding imperfections.
Taking Accurate Measurements
Precise measurement is crucial for cutting crown molding. Measure the length of each wall and note any corners or openings. For inside corners, measure from the corner to any stops. For outside corners, measure the entire run between corners. Write down all measurements to have the exact lengths needed for each piece. Use a stud finder to mark stud locations to secure the molding.
Setting Up the Miter Saw
Understanding the Different Angles and Cuts
The angle of your blades will depend on the type of cut. A basic 45-degree miter cut is commonly used for corners. Crown molding also requires compound miter cuts with the saw tilted at specific angles based on the molding’s spring angle and position. Know how to adjust your saw for different bevel cuts and angles.
Adjusting the Miter Saw for Accurate Cuts
Set up your saw properly to ensure accurate cuts. Adjust the miter angle to the desired degrees for your cut. Use a protractor to double check the angles match your measurements. Ensure the crown molding lies flat and is properly aligned. Adjust the bevel as needed for compound cuts. Clamp a stop block to your saw table to cut multiple pieces to the same length.
Using Clamps and Supports for Stability and Safety
Use clamps to hold the molding securely and prevent shifting during cuts. Position Crown Stops or Knee Braces against the back fence for better stability. Place your molding on a raised platform for proper blade clearance on bevel cuts. Follow all saw safety guidelines, keep hands clear of the blade, and use a blade guard for protection.
Cutting Crown Molding With a Miter Saw
Cutting Inside and Outside Corners
For inside corner joints, cut the molding at 45-degrees for each end using the miter saw. For outside corners, cut the first end at 33-degrees and the second end at 31.6-degrees. Always cut the short point on the 33-degree angle side first.
Mastering the 45-degree Angle Cut
The standard 45-degree miter cut is essential for most crown molding. Measure carefully, set the miter saw angle to 45-degrees, and align the trim for a precise cut. Use stop blocks and make test cuts on scrap pieces first. Cut slowly and smoothly for clean edge cuts.
Dealing with Non-Standard Angles
Sometimes your corners or walls may not be perfect 90 degree angles. Carefully measure and determine the exact angle needed. Adjust your miter saw precisely to match the wall angle. Take your time and cut sample pieces first. Use a protractor to confirm the saw angle matches the measured angle.
Tips and Tricks
Using a Miter Saw to Cut 22.5 Degree Angles
For more intricate molding jobs, you may need to cut 22.5 degree angles. Set your miter saw to half of 45 degrees or 22.5 degrees for these precise cuts. Cut test pieces first before cutting your final molding to ensure accuracy.
Handling Long Pieces of Crown Molding
When dealing with longer crown molding, use supports on both sides of the saw table. Cut in the middle of the molding first, then rotate and cut the other end. Be careful not to shift the piece when rotating. Ask someone to help support longer pieces during cutting.
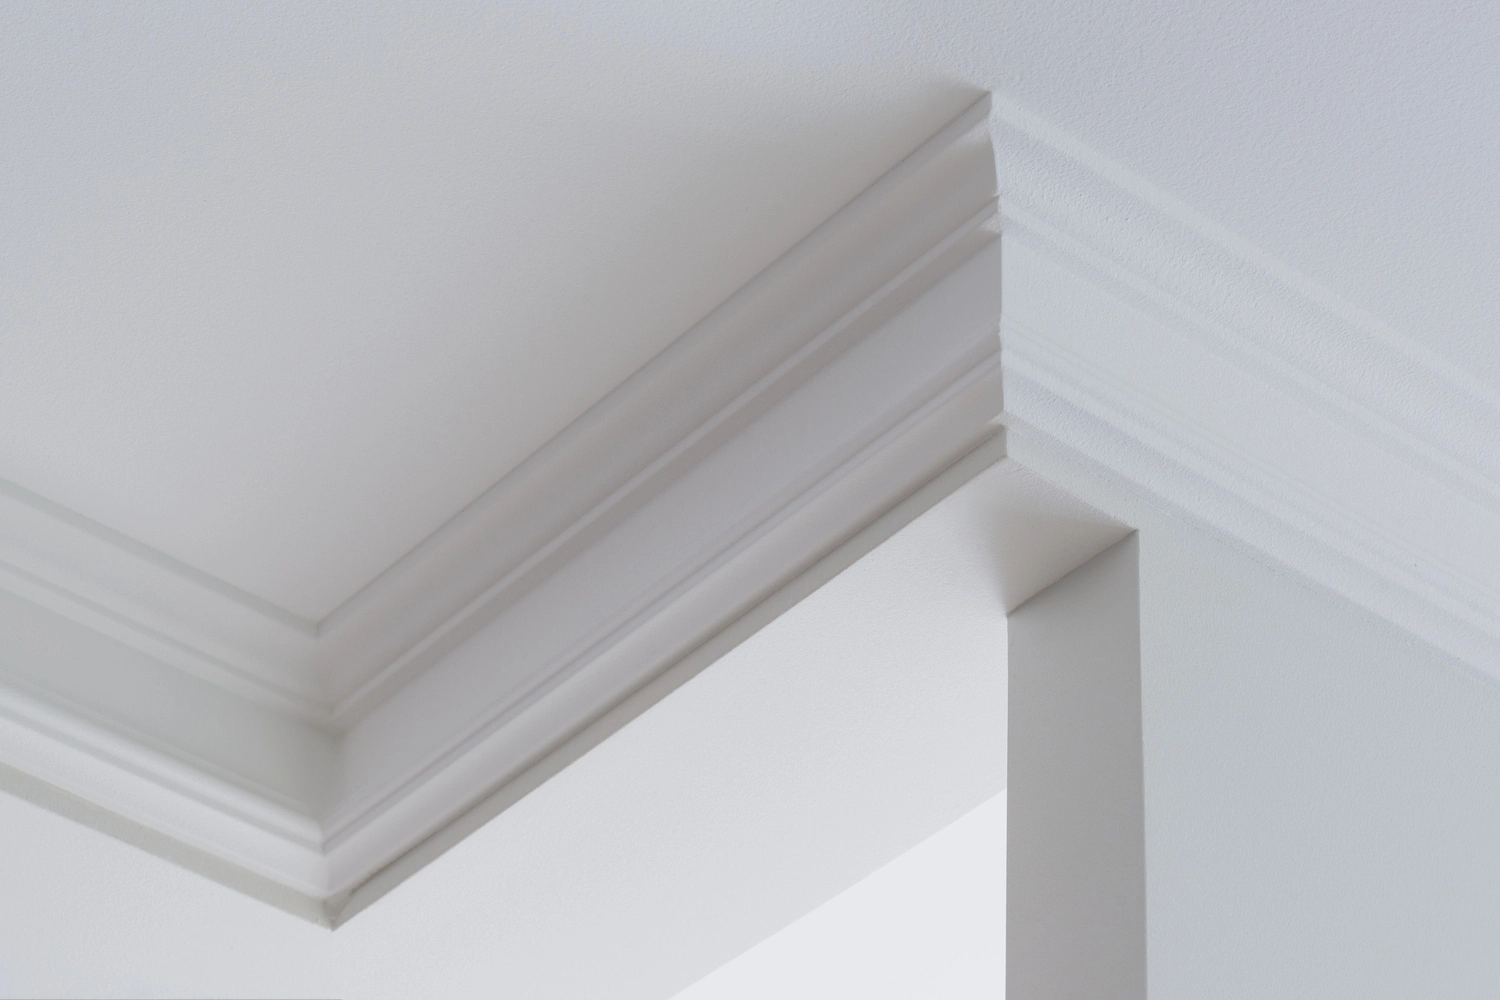
Understanding the Differences between Flat and Spring Angles
Crown molding is designed with either a flat back or a spring angle.
Flat-backed crown molding has a completely flat bottom that sits flush against the wall or ceiling. It will also lay flat on the saw as you cut. This type of molding requires a simple 45-degree miter cut for the corners.
Spring angle molding has a slight angle cut into the bottom edge rather than being completely flat. This is done so that when the crown molding is mounted, the bottom leans away from the wall slightly and the top presses flat against the ceiling.
The spring angle helps the molding lay flat against two joining surfaces – the wall and ceiling – at the same time. Without it, there would be a gap at the top or bottom. The exact spring angle depends on the specific molding, but it is typically around 5-7 degrees.
To cut spring angle molding, you need to use a compound miter saw with the miter angle set to 38 degrees and the bevel angle set to the complement of the molding’s spring angle. This will create the proper angle cuts so the molding fits tightly into corners.
Knowing whether your crown molding has a flat back or a spring angle is crucial for accurate cuts and proper installation. Check the molding profile before cutting to ensure you use the right angles.
With the right preparations, proper saw adjustments, and a few easy techniques, you can achieve professional-quality crown molding installation. Follow this guide to cut accurate angles, handle tricky corners, and create beautiful architectural details to your home.