How to Use a Nail Gun for Easy Connections in Any Project
Are you looking to effortlessly connect materials without the hassle of using traditional tools? Look no further than a nail gun. This powerful tool is designed to make your construction projects a breeze by providing quick and secure connections.
In this article, we will guide you through the process of using a nail gun for easy connections.
Before you begin, it’s crucial to understand the ins and outs of nail guns. We’ll cover the basics, including how to load and adjust the nail gun for optimal performance. Safety is our top priority, so we’ll also provide you with essential tips and best practices to ensure secure operation.
Whether you’re a seasoned professional or a DIY enthusiast, our step-by-step instructions will empower you to handle any project with confidence. From troubleshooting common issues to maximizing efficiency, this article will equip you with the knowledge you need to use a nail gun effectively.
Get ready to take control and achieve precise, professional results with your nail gun.
Let’s dive in!
Key Takeaways
- Understanding key components and terminology is important for efficient and safe operation of a nail gun.
- Properly loading the nail gun with correct nails and aligning them is crucial for smooth operation.
- Adjusting nail gun settings like depth adjustment and firing mode allows for precise control.
- Proper safety precautions, including wearing protective gear and keeping fingers away from the front of the gun, should be followed.
Understanding Nail Guns
When it comes to understanding nail guns and how to use them for easy connections, there are a few key points to keep in mind.
First, it’s important to familiarize yourself with the different types of nail guns available, such as framing, finishing, and brad nailers, as each has its own specific uses and features.
Second, understanding the key components and terminology of a nail gun, such as the magazine, depth adjustment, and trigger, will help you operate the tool efficiently and safely.
Lastly, mastering the proper techniques and safety precautions for using a nail gun will ensure that your connections are secure and precise.
Different types of nail guns
To easily make connections, you can use a nail gun with various types available to suit your specific needs.
There are different types of nail guns, each designed for specific tasks. The pneumatic nail gun is powered by compressed air and is commonly used in construction projects. Cordless nail guns, on the other hand, offer the convenience of mobility as they’re powered by rechargeable batteries. Electric nail guns are a popular choice for smaller projects as they require a power source and don’t rely on fuel or air.
For more delicate work, a brad nail gun or a pin nailer are suitable options. Framing nail guns are heavy-duty tools used for larger projects like framing and carpentry. Finally, the finish nailer is perfect for precise and clean finish work.
Transitioning into the next section, understanding the key components and terminology will further enhance your control over using a nail gun effectively.
Key components and terminology
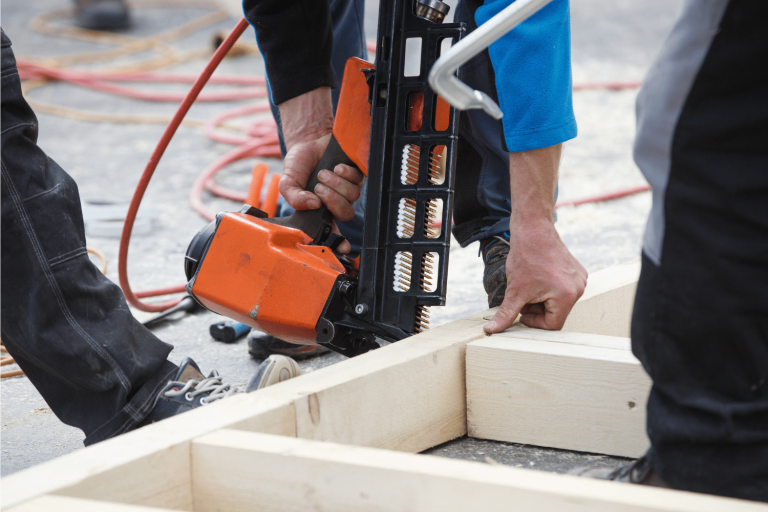
Understanding the key components and terminology of a nail gun will greatly enhance your ability to effectively control and operate this powerful tool. A nail gun is a type of power tool that uses pneumatic pressure or a power source to drive nails into various materials. It typically consists of three main components: the nail gun itself, an air hose, and a power source. There are different types of nail guns available, including cordless models that do not require an air hose. To use a nail gun, you need to load the nail into the magazine and ensure it is properly aligned. Once loaded, you can then press the trigger to drive the nail into the material. Understanding these key components and terminology will enable you to prepare for safe operation in the next section.
Preparing for Safe Operation
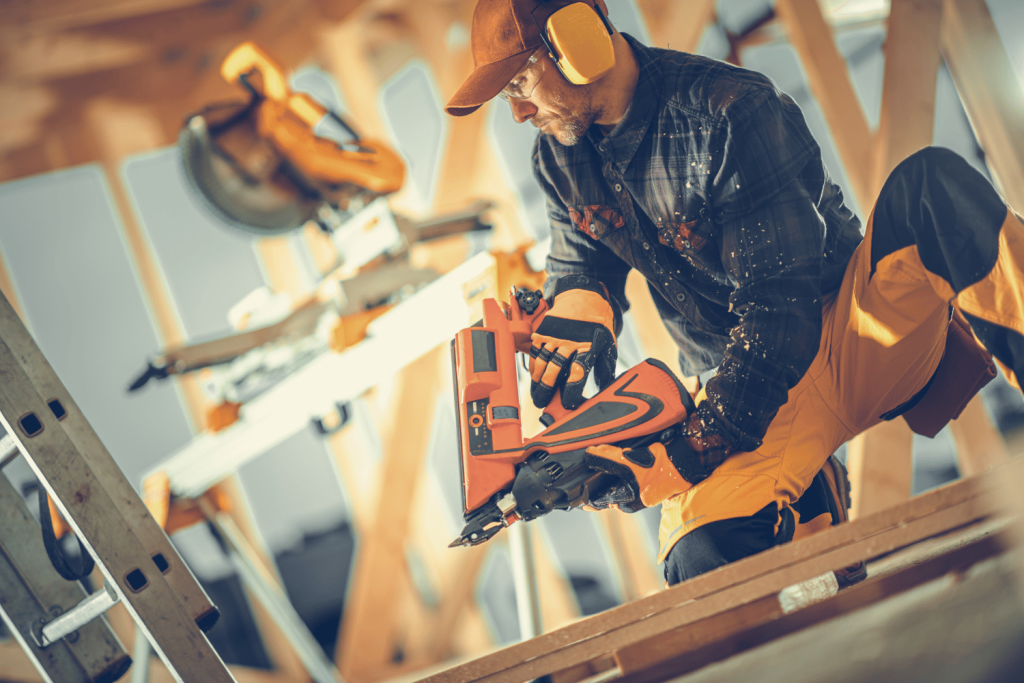
Before using the nail gun, it’s important to gather the necessary Personal Protective Equipment (PPE) and inspect the tool for proper working condition. Ensure you have safety glasses, hearing protection, and gloves to protect yourself from any potential hazards.
Check the nail gun for any damage or defects, and make sure the safety mechanism is functioning correctly. Adjust the depth of the nail gun to ensure the nails are driven to the desired depth without causing damage.
Connect the nail gun to an air compressor and set the pressure according to the manufacturer’s guidelines. Load the nail gun with the appropriate gauge nails, making sure they are properly aligned and secured.
Once everything is in place, you can proceed to the next section about loading the nail gun for easy connections.
Loading the Nail Gun
To properly load a nail gun, you need to start by choosing the correct nails for your project. Ensure they’re the appropriate size and type for the material you’re working with.
Next, open the magazine of the nail gun and carefully load the nails, making sure they’re aligned properly and facing the right direction.
Once the nails are loaded, close and secure the magazine to prevent any accidental discharge or jamming during operation.
Choosing the correct nails for the project
When using a nail gun, you’ll want to make sure you’ve got the right nails for your project, so you can effortlessly achieve the connections you need.
Different nail guns require different nail sizes and types, so it’s crucial to choose the correct ones. For home improvement projects like installing crown molding or framing walls, you’ll typically use a nail gun that can fire a nail with precision and power.
Consider the length and thickness of the nails based on the materials you’re working with. Additionally, make sure the nail heads are compatible with the nail gun’s firing mechanism. Adjust the air pressure of the nail gun accordingly to prevent nail jams or misfires.
Now that you know how to choose the correct nails, let’s move on to opening the magazine and loading nails properly.
Opening the magazine and loading nails properly
Now that you’ve chosen the correct nails for your project, it’s time to move on to the next step: opening the magazine and loading the nails properly. This is a crucial part of using a nail gun for easy connections.
To begin, locate the magazine on your nail gun. It’s usually located at the bottom of the gun. Next, press the latch button or lever to open the magazine. Take care not to force it open, as this may damage the gun.
Once the magazine is open, carefully load the nails into the designated slot, making sure they’re aligned properly. Ensure that the nails are secure and not sticking out. This will prevent any misfires or jamming during use.
Now, you’re ready to move on to the next article section about closing and securing the magazine.
Closing and securing the magazine
Once you’ve successfully loaded the nails into the magazine, it’s time to securely close and lock it in place for smooth and efficient operation.
Ensure that the nail strip is aligned properly and firmly seated within the magazine. Press the magazine against the baseboard or work surface, and ensure it is flush and level.
Gently push the magazine upwards until you hear a click, indicating that it has locked into position. This step is crucial as it prevents the nails from jamming or misfiring during operation. Remember, nail guns fire with the force of compressed air, so it’s essential to have a secure and stable magazine.
Now, you’re ready to hold the gun firmly, pull the trigger, and fire the nail into the desired surface. Once the nail is fired, you can smoothly transition into adjusting the nail gun settings for precise control.
Adjusting Nail Gun Settings
To effectively use a nail gun, it’s crucial to understand the depth adjustment feature. This allows you to control the depth at which the nails are driven into the material, ensuring a secure connection without damaging the surface.
Setting the appropriate depth for the project is essential to achieve the desired result and prevent any potential issues.
Additionally, adjusting the firing mode allows you to switch between sequential and bump firing, providing versatility and efficiency based on the task at hand.
Understanding the depth adjustment feature
Don’t underestimate the satisfaction you’ll feel when nailing effortlessly at the perfect depth with the nail gun’s depth adjustment feature. To fully grasp the potential of this tool, you need to know how it functions. Here are some key points:
- Load your nail: Before adjusting the depth, make sure your strip of nails is securely loaded.
- Nail gun safety: Always prioritize safety by wearing protective gear and keeping your fingers away from the front of the gun.
- Gun at a 90 degree angle: To achieve accurate depth, hold the nail gun at a slight angle, around 90 degrees.
- Learn how to use: Familiarize yourself with the user manual, practice on scrap material, and get comfortable with the depth adjustment mechanism.
Understanding these vital points will help you avoid nail gun accidents and ensure precise results.
Now, let’s delve into setting the appropriate depth for your project.
Setting the appropriate depth for the project
Now that you understand the depth adjustment feature of your nail gun, let’s move on to setting the appropriate depth for your project.
This step is crucial to ensure the nails are driven into the piece of wood at the correct depth, resulting in secure and professional connections.
Begin by considering the thickness of the material you’re working with. Adjust the depth control wheel accordingly, keeping in mind that a shallower depth is suitable for thinner materials, while a deeper depth is required for thicker ones. It’s essential to strike a balance to avoid the nail protruding or sinking too deep.
Once you’ve set the depth, position the nail gun at a 90-degree angle to the work surface, aligning the nail gun’s tip with the desired spot. Pull the trigger and make sure the nail goes all the way into the wood, with the head of the nail slightly below the surface. This’ll provide the best results for your project.
Now, let’s move on to adjusting the firing mode for different applications.
Adjusting the firing mode
Ready to take your nailing game to the next level? Let’s dive into adjusting the firing mode on your trusty nail gun. To use nail guns effectively, it’s crucial to understand the different firing modes available. Here’s how to adjust the firing mode like a pro:
- Locate the firing mode selector switch on your nail gun.
- Slide the switch to the desired firing mode, such as single fire or bump fire (also known as sequential mode).
Ensure you’re holding the nail gun securely with both hands.
- Place the nose of the nail gun firmly against the work surface.
- Align the nail gun with the target area and press the safety tip.
By adjusting the firing mode correctly, you can achieve the desired level of control and precision when driving a nail.
With the firing mode set, let’s move on to using the nail gun effectively to complete your project seamlessly.
How to Use the Nail Gun
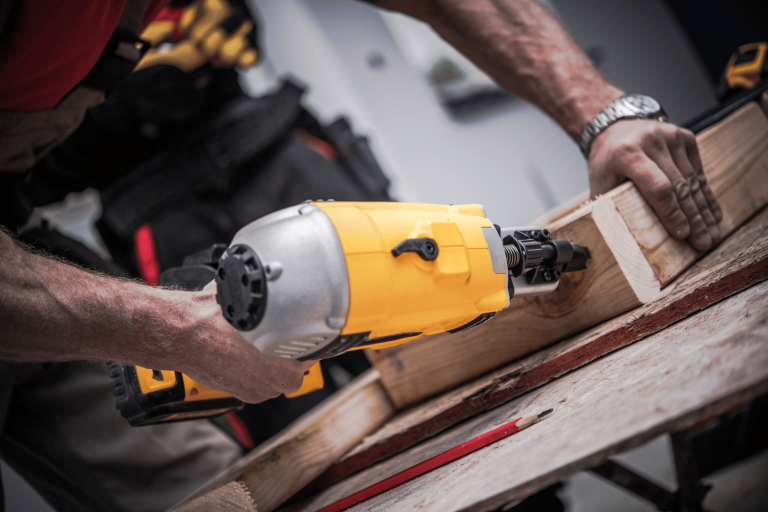
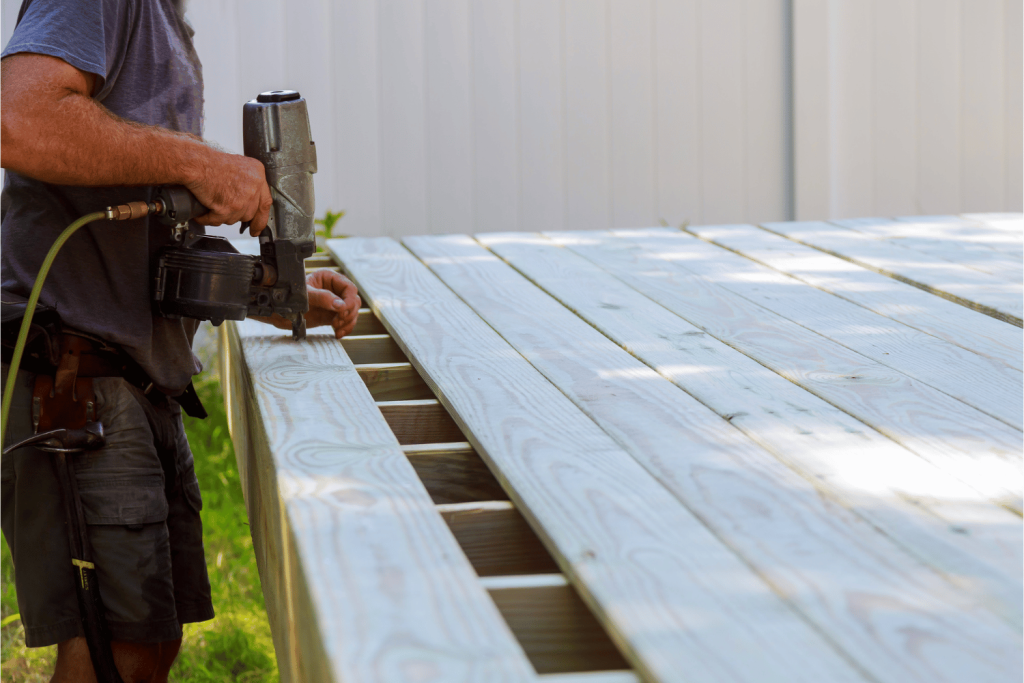
To ensure a secure grip and maintain proper posture while using the nail gun, firmly grasp the handle with your dominant hand and keep your wrist straight.
Position the nail gun against the workpiece, aligning it at the desired angle to achieve accurate nail placement.
Squeeze the trigger to fire the nail, ensuring a smooth and controlled motion. Release the trigger and reset the nail gun for the next nail, maintaining a consistent rhythm for efficient and precise work.
Maintaining a secure grip and proper posture
Achieving a secure grip and maintaining proper posture is crucial when using a nail gun for effortless connections. To hold the nail gun, grip it firmly with your dominant hand, ensuring that your fingers wrap around the handle for maximum control. Keep your wrist straight to minimize strain and fatigue.
Position the front of the nail gun against the surface where you want to drive the nail. Place your non-dominant hand on top of the gun, applying light pressure to keep it steady. Point the gun directly at the desired spot and align it with precision.
By maintaining a secure grip and proper posture, you’ll have complete control over the nail gun, allowing for accurate and efficient connections.
Now, let’s move on to positioning the nail gun against the workpiece.
Positioning the nail gun against the workpiece
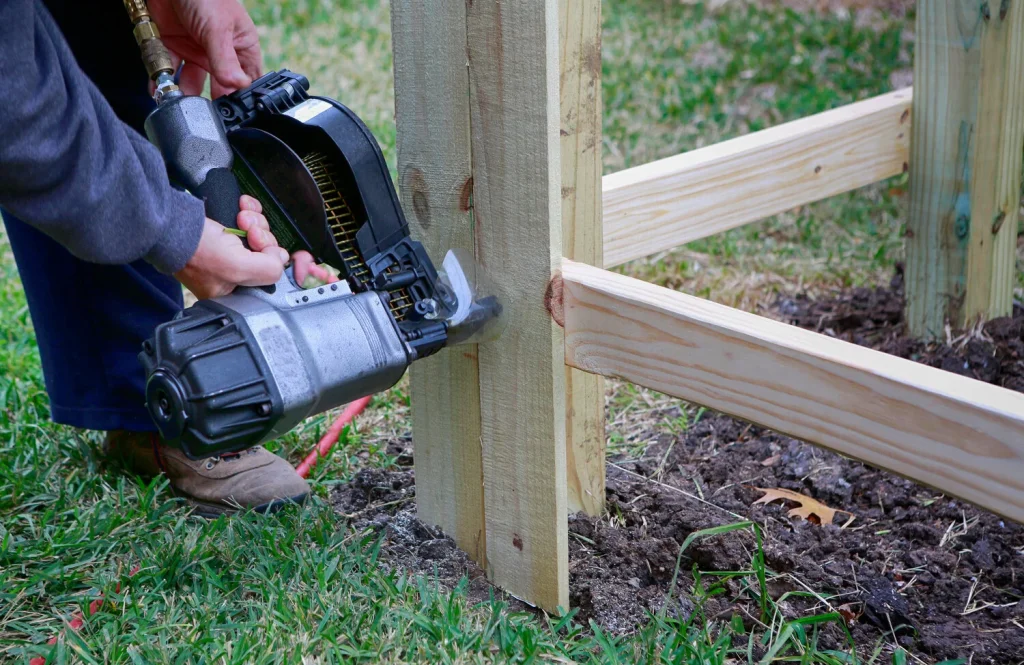
Get a firm hold on the nail gun and position it against the workpiece. Let the power in your hands unleash perfect precision with every drive. Proper positioning of the nail gun against the workpiece is crucial for achieving easy connections and avoiding nail gun injuries. Before shooting nails, make sure the nail gun feature is engaged, whether it’s a common nail gun or a cordless nailer. Align the nail gun with the workpiece, ensuring it is perpendicular to the surface. This will ensure that the nails penetrate straight and true, resulting in a secure connection. Take into account the depth of the nail you need and adjust the nail gun accordingly.
Now, let’s move on to aligning the nail gun at the desired angle for even greater control and accuracy.
Aligning the nail gun at the desired angle
Positioning the nail gun at just the right angle allows you to maximize control and accuracy in the following ways:
- Precision: Aligning the nail gun is crucial for precise nail placement.
- Stability: Achieving the desired angle ensures stability during operation.
- Efficiency: Proper alignment allows the nail to go exactly where you want it, reducing the need for rework.
- Safety: Correctly positioning the nail gun prevents accidental firing and potential injury.
To align the nail gun, remove it from the workpiece and hold it firmly in your dominant hand. Position the nose of the nail gun against the wood at the desired angle, ensuring it’s flush and parallel to the surface. Maintain a steady grip on the tool, stabilizing it for accurate nail placement.
Now, you’re ready to squeeze the trigger to fire the nail and complete your connection.
Squeezing the trigger to fire the nail
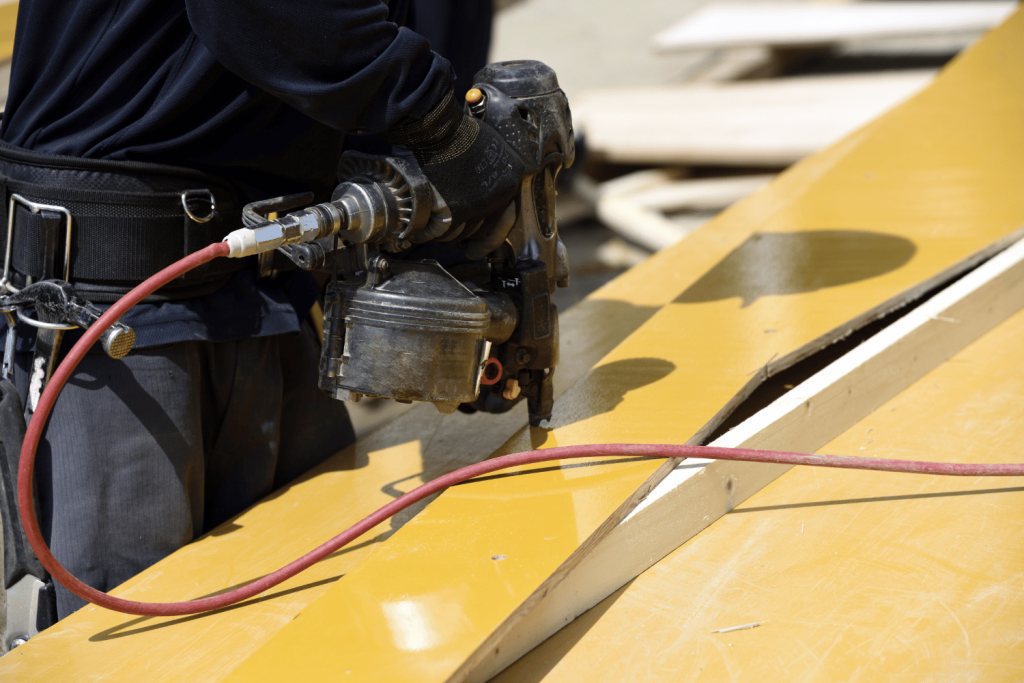
Firing the nail with a quick squeeze of the trigger will give you a satisfying sense of control and accomplishment. To ensure accuracy, hold the nail gun firmly with both hands and align it perpendicular to the surface. Avoid angling the gun, as this may cause the nail to go off track. Keep your finger off the trigger until you’re ready to fire, as accidental discharge can be dangerous.
When ready, position the nose of the nail gun against the surface, making sure that no obstructions get in the way. The nail gun might seem heavy, but don’t worry, the weight ensures stability during operation. With a firm grip, squeeze the trigger smoothly and steadily. The gun will release compressed air, driving the brad nails into the material.
Once the nail is fired, release the trigger and reset the gun for the next nail.
Releasing the trigger and resetting for the next nail
Now that you’ve squeezed the trigger and fired the nail into the desired spot on the window trim, it’s time to release the trigger and reset for the next nail.
Once the nail has been driven into the material, release the trigger slowly and allow the nail gun to reset. This’ll ensure that the nail gun is ready for the next nail without any delay. Remember to keep a firm grip on the nail gun and maintain control throughout the process.
Depending on the type of nail gun you’re using, such as those powered by air compressors or batteries, the reset time may vary. For smaller or more delicate projects, consider using pin nails instead of regular nails to achieve a more subtle and discreet finish.
Now, let’s move on to some safety tips and best practices to ensure a smooth and accident-free operation.
Safety Tips and Best Practices
To ensure your safety and the safety of others, always remember to wear appropriate personal protective equipment (PPE), including safety glasses and hearing protection.
When using a nail gun, it’s crucial to keep your hands and fingers away from the muzzle at all times to avoid accidental injuries. Additionally, make sure to point the nail gun away from yourself and others to prevent any unintentional nail discharge.
Remember to disconnect the nail gun from the power source when not in use to avoid any accidental firing. Regularly inspect and maintain the nail gun to ensure optimal performance and prevent malfunctions.
By following these safety tips and best practices, you can confidently use a nail gun for easy connections.
Now, let’s move on to troubleshooting common issues and how to resolve them effectively.
Troubleshooting Common Issues
When using a nail gun, it’s important to be prepared for common issues that may arise. One common issue is nail jams, which can be safely cleared by following the manufacturer’s instructions and using proper tools.
Misfiring nails can also occur, and potential causes may include incorrect nail size or a low battery.
If you encounter any other operational issues, it’s essential to address them promptly and seek professional assistance if needed.
Nail jams and how to clear them safely
If your nail gun gets jammed, simply squeeze the trigger and let the powerful pop of the nail being released echo through the air as the obstruction is cleared away. Nail jams can occur for various reasons, such as using the wrong type or size of nails, or debris getting stuck in the nail gun’s mechanism. To clear a nail jam safely, follow these steps:
- Disconnect the nail gun from the power source.
- Remove any remaining nails from the magazine.
- Use a screwdriver or Allen wrench to remove the jammed nail or debris.
- Inspect the nail gun for any damage or wear and replace any worn parts, if necessary.
By following these steps, you can quickly and safely clear nail jams and ensure the smooth operation of your nail gun. Now, let’s move on to the next section about misfiring nails and potential causes.
Misfiring nails and potential causes
Get ready to feel frustrated and irritated when your nails keep misfiring from your nail gun, leaving you wondering what could be causing this annoying problem.
Misfiring nails can be a result of several potential causes. One common cause is using the wrong type or size of nails for the nail gun. Make sure to check the manufacturer’s guidelines for the correct nails to use.
Another possible cause is improper maintenance of the nail gun, such as a dirty or worn-out firing mechanism. Regularly clean and lubricate your nail gun to prevent misfires.
Additionally, insufficient air pressure can also lead to misfiring nails. Check the air compressor and adjust the pressure accordingly.
By addressing these operational issues, you can ensure smooth and efficient nail gun performance in your projects.
Addressing other operational issues
To ensure smooth and efficient performance in your projects, make sure you’re addressing the other operational issues that may be causing misfiring nails with your nail gun.
First, check the air pressure. Low air pressure can result in weak nail ejection, leading to misfires. Adjust the pressure to the recommended level specified by the manufacturer.
Additionally, inspect the magazine and make sure it’s properly loaded with nails. Misalignment or overloading can cause jams and misfires. Clear any debris or obstructions from the magazine to ensure smooth feeding.
Moreover, examine the nail gun’s firing mechanism. Worn or damaged components can affect the firing process, leading to misfires. Regularly lubricate and maintain the tool as per the manufacturer’s instructions to optimize performance.
By addressing these operational issues, you can maximize the efficiency and reliability of your nail gun.
Frequently Asked Questions
How do I choose the right type of nail gun for my project?
To choose the right nail gun for your project, consider the type of material you’ll be working with, the size and length of nails needed, and the required power source. Research different models and consult user reviews to make an informed decision.
Can I use a nail gun for projects other than woodworking?
Yes, you can use a nail gun for various projects, not just woodworking. It provides efficient and precise connections in construction, remodeling, and even DIY projects. Follow proper safety guidelines and choose the appropriate nail gun for your specific project.
What precautions should I take when using a nail gun around electrical wires?
When using a nail gun around electrical wires, always turn off the power, use non-conductive tools, and wear insulated gloves and goggles. Ensure the wires are properly secured and avoid firing nails directly into them.
How do I prevent nails from splitting the wood?
To prevent nails from splitting the wood, ensure you use the right type and size of nails for the wood you’re working with. Pre-drill small pilot holes to guide the nails and reduce the risk of splitting.
Are there any special maintenance steps I should follow to keep my nail gun in good working condition?
To keep your nail gun in optimal condition, follow these maintenance steps: regularly clean the gun and remove debris, lubricate moving parts, inspect and replace worn parts, store in a clean and dry place.
Final Thoughts
Using a nail gun for easy connections requires a thorough understanding of its operation and safety measures. By properly loading and adjusting the nail gun settings, you can ensure precise and efficient usage.
It’s crucial to follow safety tips and best practices to avoid accidents and injuries.
In case of any issues, troubleshooting common problems will help maintain the performance of your nail gun.
With these guidelines, you can confidently utilize a nail gun for all your connection needs.