How to Sharpen Lathe Tools: The Complete Guide
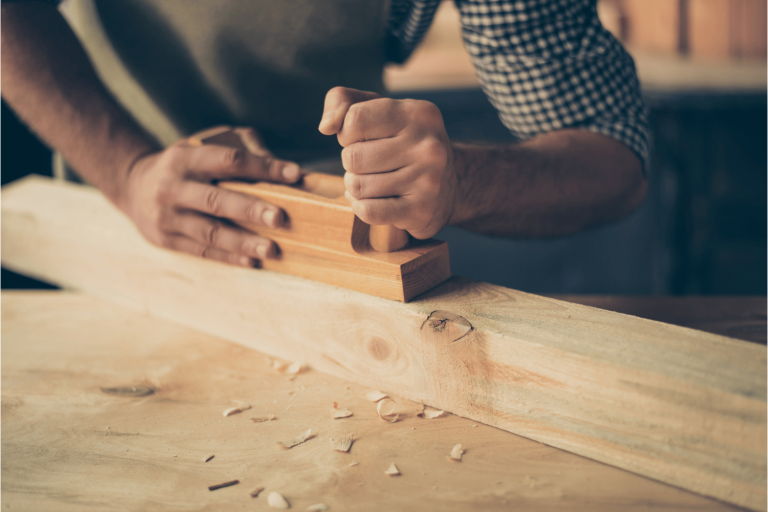
Welcome to the world of woodworking, where creativity and craftsmanship come together to shape beautiful creations from raw wood. As any skilled woodworker knows, the secret to achieving precise and smooth cuts lies in maintaining sharp lathe tools. If you’ve ever wondered how to bring your woodworking skills to the next level, you’ve come to the right place.
In this informative guide, we will delve into the art of sharpening lathe tools, an essential skill for any woodturning enthusiast. Whether you’re a seasoned woodworker or just starting your journey, learning how to sharpen your lathe tools will significantly impact the quality of your work.
Throughout this article, we’ll demystify the process of sharpening and provide step-by-step instructions on various techniques, including using a bench grinder, sharpening stones, and honing guides. Additionally, we’ll cover troubleshooting tips and essential maintenance practices to prolong the lifespan of your tools.
Sharpening lathe tools may seem like a daunting task, but fear not! With patience, practice, and the knowledge gained here, you’ll soon be confidently crafting masterpieces that reflect your passion and skill in woodworking. Let’s sharpen those tools and unlock your woodworking potential!
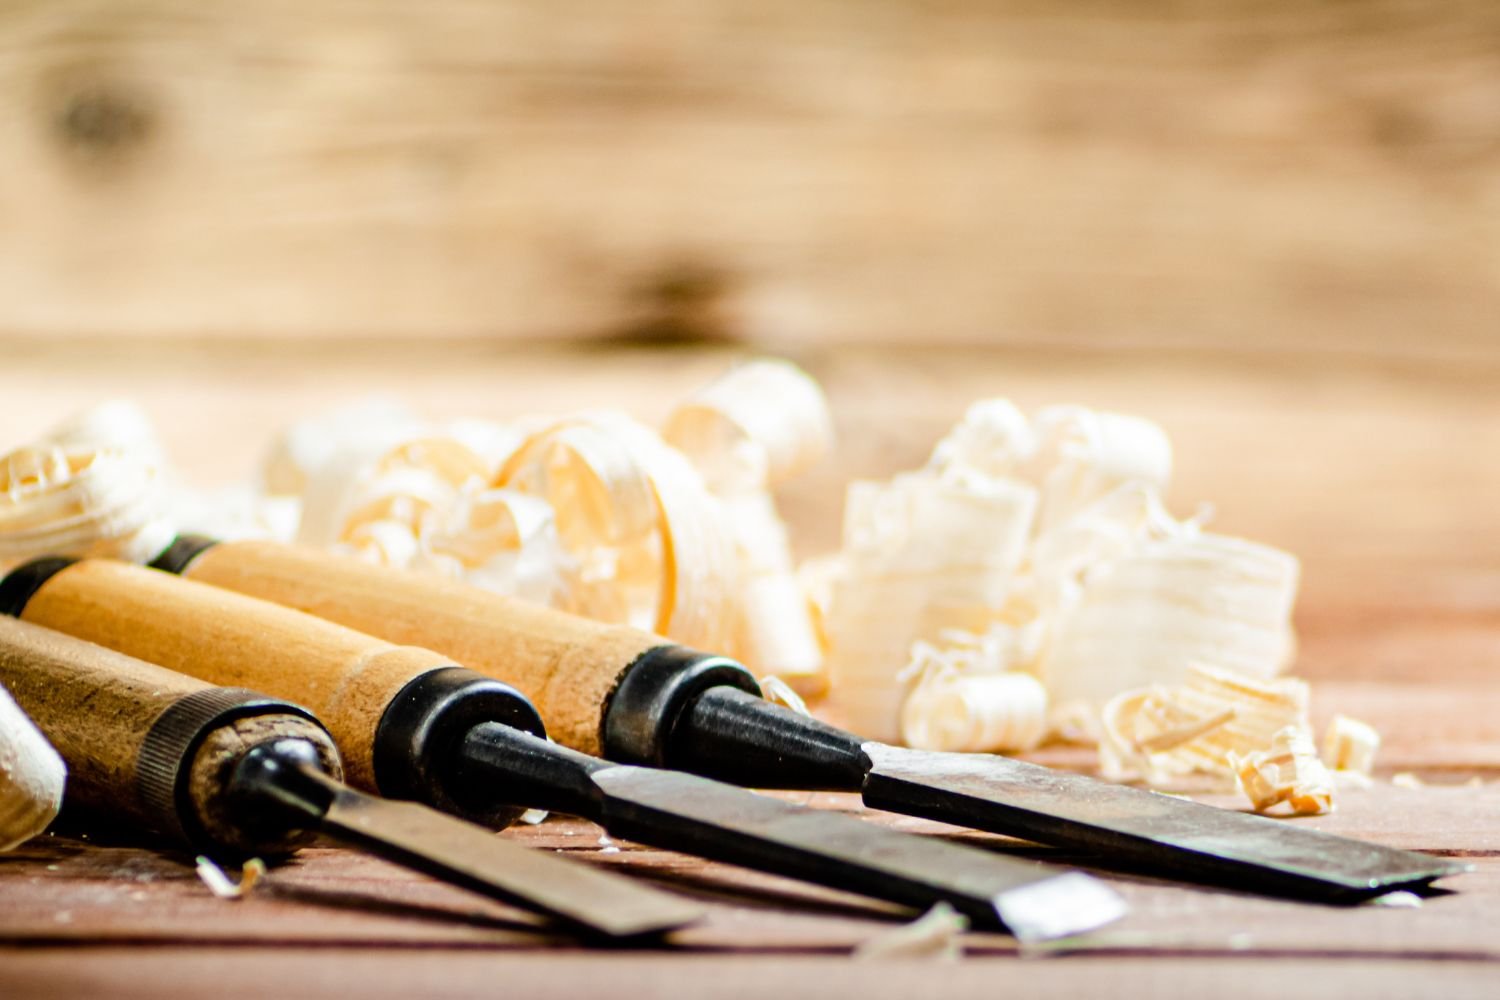
Understanding Lathe Tools – the Gouge, the Chisel, and the Parting Tool
As you embark on your woodworking journey, it’s crucial to gain a solid understanding of lathe tools—the very instruments that will shape your creations. Let’s explore the essential aspects of these tools, from their different types to their materials and terminology.
Explanation of Different Types of Lathe Tools
Lathe tools come in various shapes and sizes, each designed for specific woodturning tasks. Some common types include:
- Gouges: These versatile tools feature a curved cutting edge and come in bowl gouges, spindle gouges, and roughing gouges. Bowl gouges are perfect for shaping concave surfaces, spindle gouges excel in creating detailed profiles, while roughing gouges are ideal for removing excess material quickly.
- Chisels: Chisels have a straight cutting edge and are excellent for precise cuts and detailing. Skew chisels, in particular, are favored for producing smooth and clean finishes on spindle work.
- Parting Tools: As the name suggests, these tools are used to create parting cuts and separate the workpiece from the lathe.
Overview of Lathe Tool Anatomy and Terminology
To effectively sharpen lathe tools, familiarize yourself with their anatomy and relevant terminology:
- Cutting Edge: The sharpened part responsible for removing wood from the workpiece.
- Bevel: The sloped surface on the tool’s underside that meets the wood.
- Flute: The groove along the tool’s cutting edge, primarily found in gouges.
- Tang: The part of the tool that fits into the lathe’s handle.
Common Materials Used for Lathe Tools
Lathe tools are crafted from various materials, each offering unique advantages and drawbacks:
- High-Speed Steel (HSS): HSS is a popular choice for its durability and ability to hold an edge for extended periods. It’s suitable for both beginners and experienced woodworkers. However, it can be more expensive than other materials.
- Carbon Steel: Affordable and easy to sharpen, carbon steel is a budget-friendly option. However, it requires more frequent sharpening due to its lower edge retention.
- Carbide: Known for its long-lasting sharpness, carbide is excellent for roughing and sturdy wood. Yet, it can be brittle and less suitable for intricate detailing.
By understanding the different types, anatomy, and materials of lathe tools, you’ll be well-equipped to proceed with the sharpening process and enhance your woodworking skills significantly.
Signs of Dull Lathe Tools
As you dive deeper into the world of woodworking, understanding when your lathe tools require sharpening is crucial for maintaining the quality of your work. Dull tools can lead to frustrating and unsatisfactory results, but fear not! By recognizing the signs of dullness, you can quickly rectify the issue and get back to crafting with precision.
Identifying Indicators of Blunt or Dull Lathe Tools
- Difficulty in Cutting: One of the first signs of a dull lathe tool is the increased effort required to cut through the wood. If you find yourself exerting more force than usual, it’s time to inspect your tool’s sharpness.
- Ragged or Torn Grain: Instead of producing smooth and clean cuts, dull tools tend to create rough and torn wood grain, leaving an unsightly finish on your workpiece.
- Chattering or Vibrations: When turning at high speeds, a dull tool can cause chattering or vibrations, leading to imprecise and wobbly cuts.
- Burn Marks: Dull tools generate more friction, resulting in burn marks on the wood surface, particularly evident in hardwoods.
How Dull Tools Affect Woodturning Performance and Results
Using dull lathe tools can negatively impact your woodturning experience in various ways:
- Reduced Efficiency: Dull tools slow down your work and make the process more time-consuming and laborious.
- Inaccurate Shapes: Achieving intricate designs and precise shapes becomes difficult when your tools lack sharpness.
- Safety Concerns: Dull tools can be dangerous to use, as they are more likely to slip or catch, increasing the risk of accidents.
- Inconsistent Surface Finish: Instead of achieving smooth and refined surfaces, you may end up with uneven and unsightly results.
Recognizing these signs early on is key to maintaining an enjoyable and productive woodworking experience. Regularly inspecting your lathe tools for dullness and sharpening them when needed will not only improve your craftsmanship but also ensure a safer and more fulfilling woodworking journey.
Preparing to Sharpen Lathe Tools
Before embarking on the sharpening process, it’s essential to ensure you’re adequately prepared to achieve the best results and maintain safety throughout the procedure. Let’s go through the necessary steps to get ready for sharpening your lathe tools.
Safety Precautions and Best Practices
- Eye Protection: Always wear safety goggles or a full-face shield to protect your eyes from flying wood particles and metal shavings during sharpening.
- Dust Collection: Set up a dust collection system or use a dust mask to prevent inhaling fine dust produced during sharpening.
- Stable Work Surface: Place your grinder or sharpening equipment on a stable and level workbench to minimize vibrations and ensure safe operation.
- Proper Lighting: Ensure sufficient lighting in your workspace to clearly see the tool’s edge and avoid accidental slips.
- Secure the Tool: Firmly hold the lathe tool and maintain a secure grip while sharpening to prevent accidents.
- No Distractions: Avoid distractions and focus solely on the sharpening process to maintain full control over the tools.
Necessary Tools and Equipment for Sharpening Lathe Tools
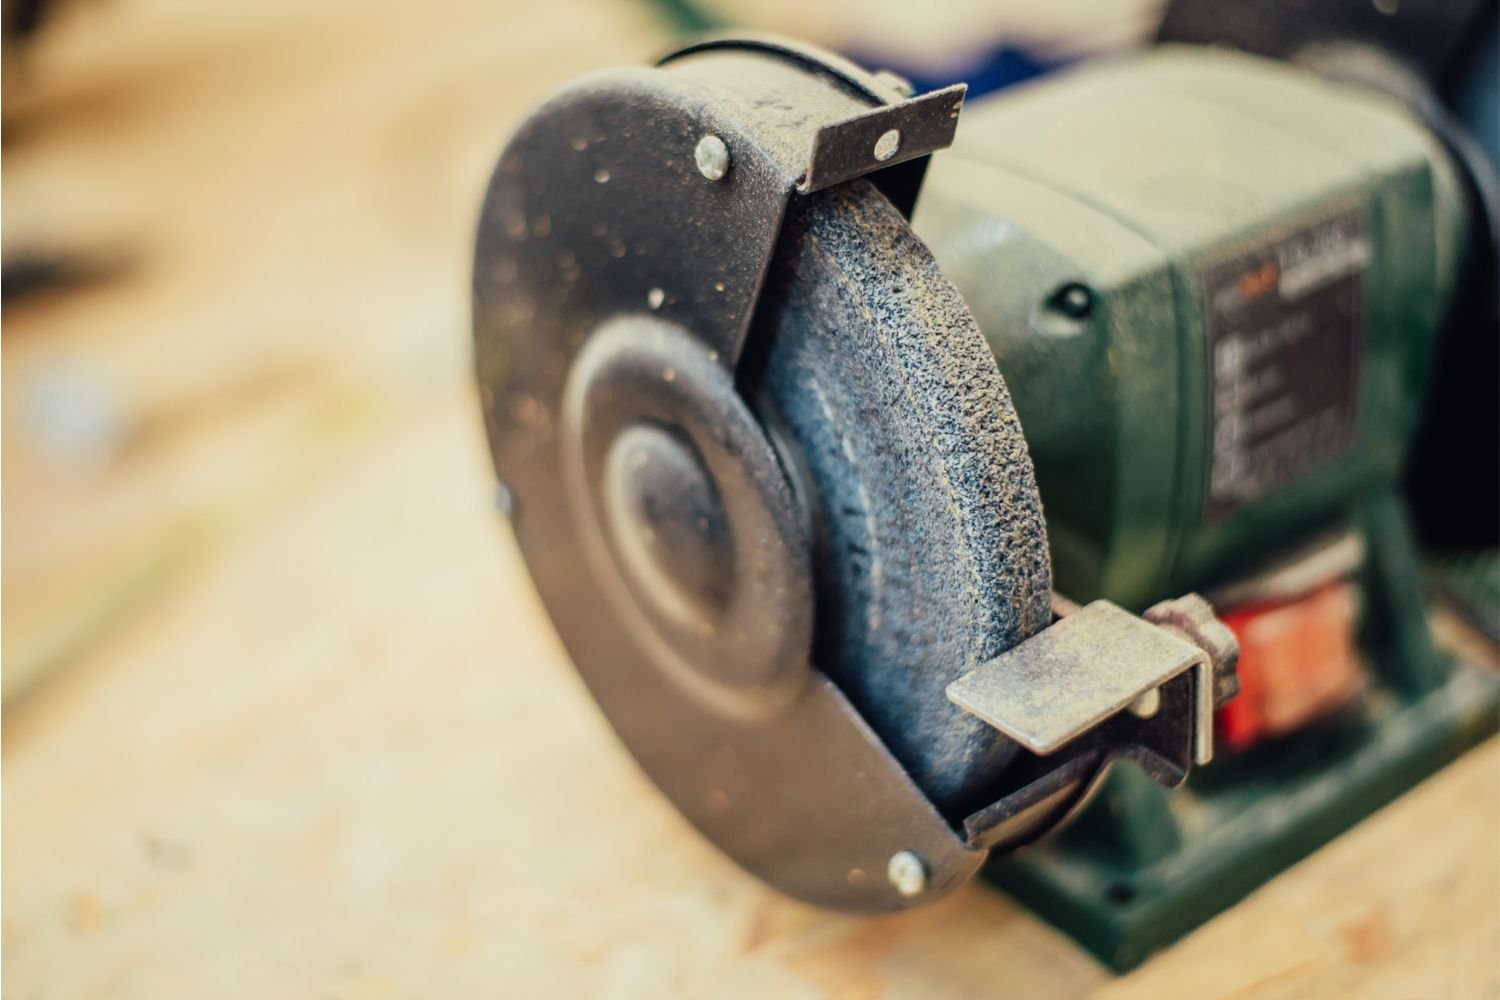
- Bench Grinder: A bench grinder with a fine-grit wheel is the most common tool used for sharpening lathe tools due to its efficiency and ease of use.
- Sharpening Stones: For woodturners preferring a more traditional approach, sharpening stones of various grits can be used to achieve a sharp edge.
- Honing Guide: A honing guide helps maintain a consistent bevel angle during sharpening, ensuring uniformity across multiple tools.
- Jigs: Various jigs and tool rests are available to aid in sharpening specific lathe tools like gouges and skew chisels.
Cleaning and Maintenance of Lathe Tools Before Sharpening
Before sharpening your lathe tools, it’s crucial to clean and inspect them for any defects or damage. Follow these steps:
- Remove Residue: Wipe off any debris or wood chips from the tool’s surface to get a clear view of its condition.
- Inspect for Damage: Check for any cracks, chips, or excessive wear on the cutting edge or flute, as these issues may affect the sharpening process.
- Properly Align the Tool: Ensure the tool is correctly positioned in the jig or tool rest to achieve the desired bevel angle during sharpening.
By following these safety precautions, gathering the necessary tools, and properly cleaning your lathe tools, you’ll be ready to delve into the sharpening process with confidence. Remember, taking the time to prepare adequately ensures not only optimal results but also a safe and enjoyable woodworking experience.
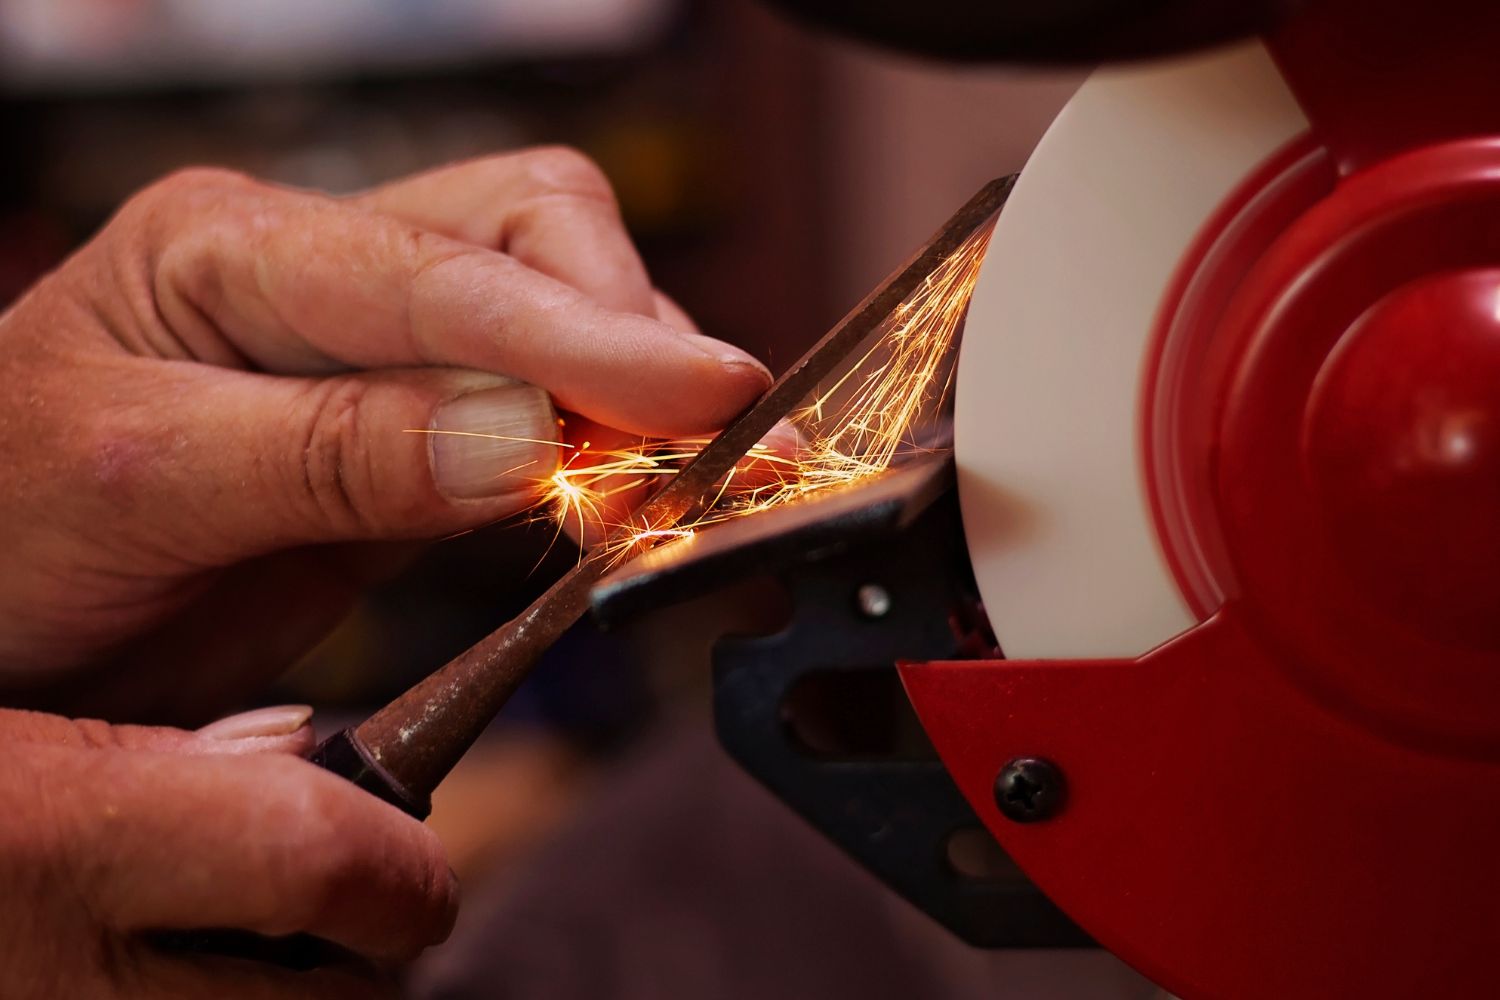
Basic Sharpening Methods – Get Out Your Bench Grinder
Sharpening your lathe tools is a fundamental skill that every woodturner should master. There are several methods to achieve a sharp edge on your lathe tools, each with its benefits. In this section, we’ll explore the two primary methods: using a bench grinder and alternative techniques like sharpening stones, honing guides, and jigs. Additionally, we’ll discuss how to achieve the correct bevel angle and edge geometry for optimal woodturning results.
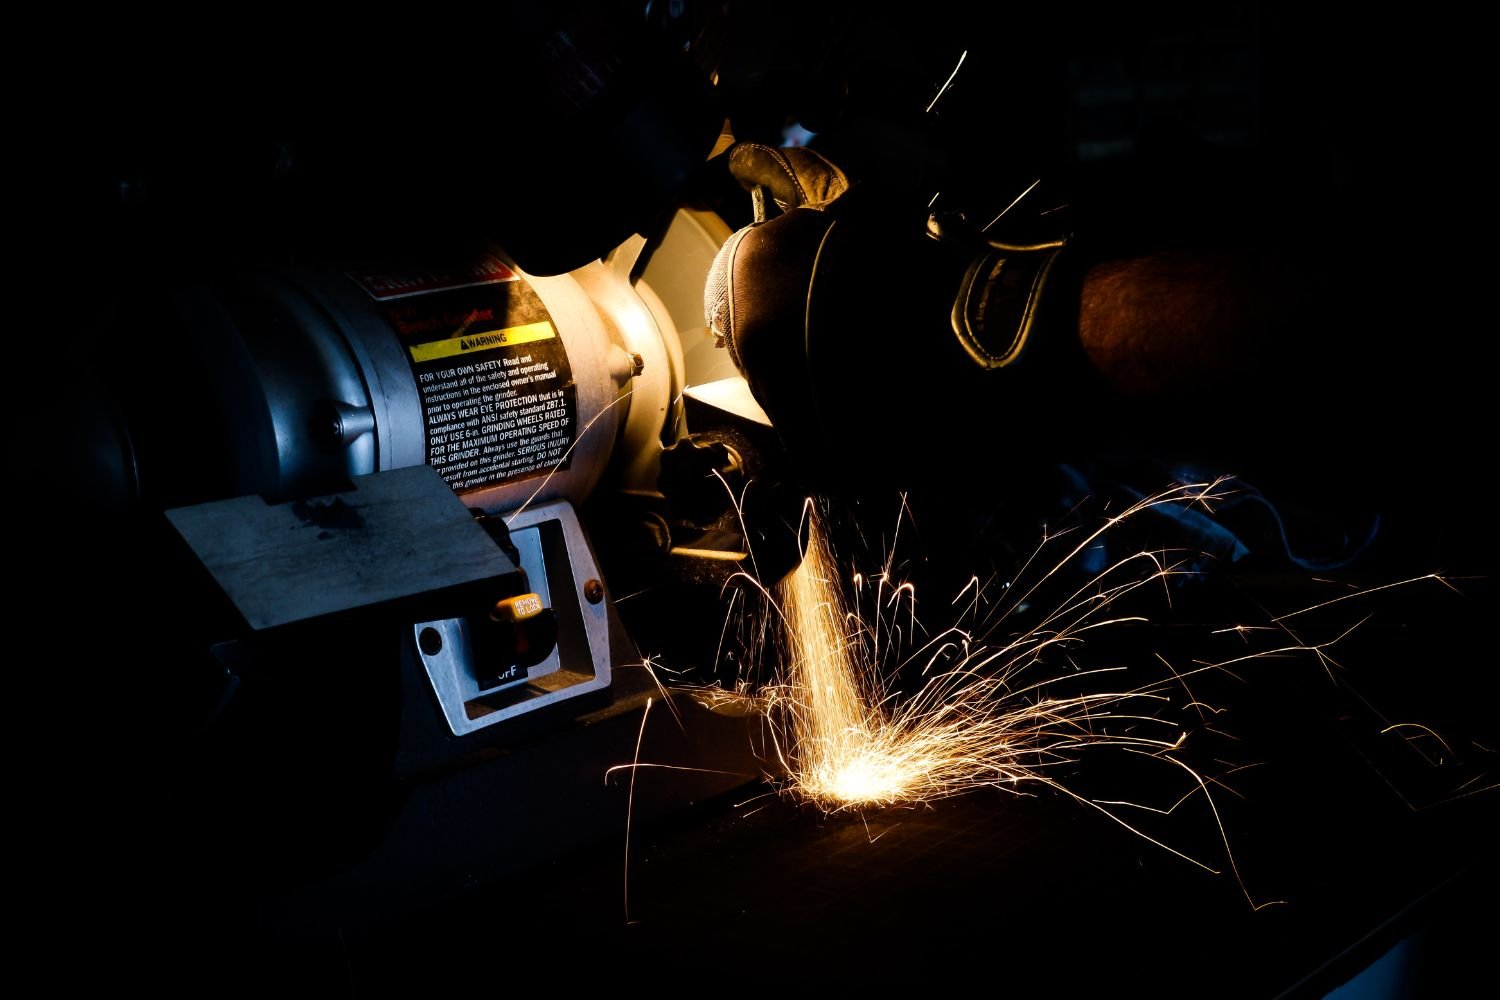
Step-by-Step Guide to Sharpening Lathe Tools Using a Bench Grinder
- Prepare the Grinder: Ensure the bench grinder is securely mounted and stable. Adjust the angle of the tool rests; typically, a 60 to 80-degree angle is suitable for most lathe tools.
- Safety First: Put on your safety goggles or full-face shield to protect your eyes from sparks and debris.
- Position the Tool: Hold the lathe tool firmly against the grinder wheel, maintaining a consistent angle. Move the tool across the wheel in a controlled, even motion.
- Avoid Overheating: To prevent overheating and damaging the tool’s temper, dip it in a container of water frequently during the sharpening process.
- Test the Edge: After grinding, carefully inspect the tool’s edge for sharpness and consistency. Make any necessary adjustments to achieve the desired edge geometry.
Alternative Methods: Sharpening Stones, Honing Guides, and Jigs
- Sharpening Stones: Using sharpening stones offers a more traditional approach. Start with a coarse grit to establish the bevel, then progress to finer grits for a polished edge.
- Honing Guides: A honing guide helps maintain a consistent bevel angle while sharpening, resulting in uniformity across multiple tools.
- Jigs: Various jigs and tool rests are available for sharpening specific lathe tools like gouges and skew chisels, simplifying the sharpening process.
Tips for Achieving the Correct Bevel Angle and Edge Geometry
- Consistency is Key: Whether using a bench grinder, sharpening stones, or jigs, maintaining a consistent bevel angle is vital for achieving precise cuts.
- Angle Reference Points: Marking the tool and tool rest can serve as visual reference points for maintaining the correct bevel angle.
- Practice Makes Perfect: Sharpening is a skill that improves with practice. Take your time and practice regularly to enhance your sharpening technique.
Remember, mastering the art of sharpening lathe tools is essential for producing high-quality woodturning projects. Choose the method that suits you best, and don’t hesitate to experiment with different techniques until you find what works best for you. With patience and dedication, you’ll be well on your way to sharpening your lathe tools like a seasoned woodturning expert.
Advanced Sharpening Techniques
As you become more adept in the art of woodworking, advancing your sharpening skills will open up a world of possibilities in your woodturning endeavors. In this section, we’ll delve into advanced sharpening techniques, allowing you to sharpen specialized lathe tools, achieve various bevel angles for specific tasks, and tackle complex tool shapes and materials with confidence.
Sharpening Specialized Lathe Tools
- Scraper: To sharpen a scraper, position it flat on the grinding wheel and create a burr along the cutting edge. Then, use a honing stone to remove any burr and refine the edge.
- Skew Chisel: Skew chisels require precision when sharpening. Use a slow, controlled motion on the grinder to maintain the desired skew angle.
- Parting Tool: Position the parting tool perpendicular to the grinder wheel and sharpen the edge evenly. Ensure the tip is centered for accurate parting cuts.
Achieving Different Bevel Angles for Specific Woodturning Tasks
- Bevel Angle Selection: Different bevel angles suit specific woodturning tasks. For finer detailing, a lower bevel angle (around 20 to 30 degrees) is preferable. For roughing and heavier cuts, opt for a higher angle (around 45 to 60 degrees).
- Adjusting the Tool Rest: Alter the tool rest’s position on your grinder or sharpening system to achieve the desired bevel angle. Regularly check the angle using a protractor or angle gauge.
Strategies for Dealing with Complex Tool Shapes and Materials
- Gouges and Curved Tools: For complex shapes like gouges, use a sharpening jig or tool rest with various angles to maintain consistency across the curve.
- Carbide Tools: Carbide tools are challenging to sharpen due to their hardness. Use a diamond stone or specialized sharpening system designed for carbide tools.
- HSS vs. Carbide: When dealing with different materials, High-Speed Steel (HSS) lathe tools are more versatile and easier to sharpen than carbide tools.
Embracing advanced sharpening techniques will elevate your woodturning projects to new heights. Remember to take your time and practice regularly to refine your skills. With dedication and a willingness to experiment, you’ll master the art of sharpening specialized lathe tools, achieve precise bevel angles, and confidently handle complex tool shapes and materials, opening up a world of creative possibilities in your woodworking endeavors.
Troubleshooting and Common Mistakes
Even the most seasoned woodturners encounter sharpening challenges from time to time. Identifying common sharpening errors and understanding their causes is essential to improve your sharpening skills. In this section, we’ll explore troubleshooting techniques, strategies to fix mistakes, and tips for maintaining a consistent sharpening routine.
Identifying Common Sharpening Errors and Their Causes
- Uneven Bevel: Uneven bevels can result from an inconsistent grinding motion or an improperly adjusted tool rest.
- Overheating: Overheating the tool while sharpening can weaken the steel and lead to a loss of temper. This occurs when holding the tool in one spot on the grinder for too long.
- Chips and Nicks: Chips and nicks in the edge can occur if the tool is not properly aligned with the grinding wheel or when too much pressure is applied.
- Excessive Material Removal: Taking off too much material during sharpening can shorten the tool’s lifespan and create unwanted changes in its shape.
Techniques to Fix Mistakes and Salvage Tools
- Regrinding: For uneven bevels, regrind the tool carefully, paying close attention to maintaining a consistent angle and motion as you move the tool back and forth.
- Re-tempering: If the tool has lost its temper due to overheating, it may be salvageable by re-tempering it. However, this process requires specialized equipment and expertise.
- Removing Nicks: Small nicks can often be removed by carefully grinding the affected area until the edge is smooth again.
Tips for Maintaining a Consistent Sharpening Routine
- Frequent Inspections: Regularly inspect your lathe tools for dullness or damage, and address any issues promptly to prevent bigger problems down the line.
- Practice with Scrap Wood: Practice your sharpening skills on scrap pieces of wood before working on your actual projects to build confidence and proficiency.
- Sharpening Schedule: Develop a consistent sharpening schedule based on your woodworking frequency to ensure your tools are always ready for use.
- Sharpening Jigs: Consider using sharpening jigs and honing guides to maintain consistency in your bevel angles.
Remember, sharpening is a skill that improves with time and practice. Embrace troubleshooting as an opportunity to learn and refine your technique. By identifying and addressing common sharpening errors, salvaging tools, and maintaining a consistent sharpening routine, you’ll enhance your woodturning experience and enjoy the satisfaction of creating exceptional pieces with sharp and precise lathe tools.
Finishing Touches – How to Hone and Polish Your Tools
Honing and polishing are crucial final steps in the sharpening process that elevate your lathe tools to peak performance. In this section, we’ll delve into the significance of honing, explore various honing compounds and their applications, and learn techniques to achieve a razor-sharp edge on your lathe tools.
Understanding the Role of Honing in the Sharpening Process
Honing is the process of refining the cutting edge after initial grinding. It removes any burrs or roughness left behind during grinding, resulting in a smoother and sharper edge. Honing also helps align the microscopic metal particles along the edge, enhancing the tool’s cutting efficiency.
Exploring Different Honing Compounds and Their Uses
- Diamond Honing Plates: Diamond honing plates are excellent for quickly re-establishing an edge on HSS and carbide tools. Their abrasive surface makes them highly effective for removing material.
- Oil Stones: Oil stones are natural or synthetic stones used with honing oil to achieve a polished edge. They come in various grits, allowing you to progress from coarse to fine for a refined finish.
- Water Stones: Water stones are synthetic stones used with water as a lubricant. They are prized for their fast cutting action and ability to create a keen edge.
- Stropping Compounds: Stropping compounds are applied to a leather strop, providing a final polish to the edge. They remove any remaining burrs and enhance the sharpness of the tool.
Techniques for Achieving a Razor-Sharp Edge on Lathe Tools
- Using Honing Guides: To maintain a consistent angle while honing, consider using a honing guide. This ensures uniformity and precision across all your lathe tools.
- Stropping Technique: When stropping, move the lathe tool away from the cutting edge to avoid rolling or rounding the edge. Apply light pressure and make smooth passes on the strop.
- Micro-Bevels: Some woodturners use micro-bevels to create a secondary bevel at a slightly higher angle than the main bevel. This technique enhances edge longevity and simplifies future honing.
Remember, honing and polishing are vital steps in the sharpening process that refine your lathe tools to their sharpest potential. Experiment with different honing compounds and techniques to find the approach that suits your preferences and woodworking projects best. With honed and polished lathe tools, you’ll enjoy the satisfaction of achieving precise cuts and exquisite craftsmanship in your woodturning endeavors.
Extending Tool Life and Maintenance
Proper maintenance and care of your lathe tools are essential to ensure their longevity and optimal performance. In this section, we’ll explore practical tips to prevent premature tool wear, best practices for storing and handling sharpened lathe tools, and the importance of regular maintenance routines for sustained sharpness.
Tips for Preventing Premature Tool Wear
- Avoid Excessive Force: Apply steady and moderate pressure when using your lathe tools. Excessive force can lead to chipping or dulling of the cutting edge.
- Use the Right Tool for the Job: Select the appropriate tool for the woodturning task at hand. Using the wrong tool can cause unnecessary wear and may result in less precise cuts.
- Mind the Grain: Pay attention to the grain direction when turning. Cutting against the grain can put added stress on the tool and lead to faster wear.
- Keep Tools Cool: To prevent overheating and compromising the tool’s temper, take short breaks during use and dip the tool in water occasionally.
Proper Storage and Handling of Sharpened Lathe Tools
- Store in a Dry Area: Moisture can cause rust and damage to your lathe tools. Keep them in a dry and well-ventilated area.
- Use Tool Protectors: Invest in tool protectors or covers to shield the sharp edges when not in use. This prevents accidental damage and keeps the tools safe.
- Organize Your Workspace: Maintain a clutter-free and organized workspace. This not only ensures the safety of your tools but also makes them easier to find when needed.
Regular Maintenance Routines for Continued Sharpness
- Inspect Before Use: Before each woodworking session, inspect your lathe tools for any signs of damage or dullness. Address any issues promptly before starting your project.
- Hone and Polish: Regularly hone and polish your lathe tools to maintain a sharp and refined cutting edge. Honing removes any burrs or roughness, while polishing enhances the edge’s keenness.
- Avoid Over-Sharpening: Sharpen your tools only when necessary. Frequent and excessive sharpening can lead to faster material removal and reduce the tool’s lifespan.
By following these tips and implementing a maintenance routine, you’ll prolong the life of your lathe tools and enjoy continued sharpness and precision in your woodturning endeavors. Remember, proper care and attention to maintenance will not only save you time and money in the long run but also elevate the quality of your woodworking projects to new heights.
Lathe tool sharpening is an art that requires patience and attention to detail, but the rewards are well worth the effort. As you embark on your woodworking journey armed with sharp lathe tools, embrace the creativity and satisfaction that come from crafting exquisite pieces.