Everything You Need To Know About The Finish Nailer
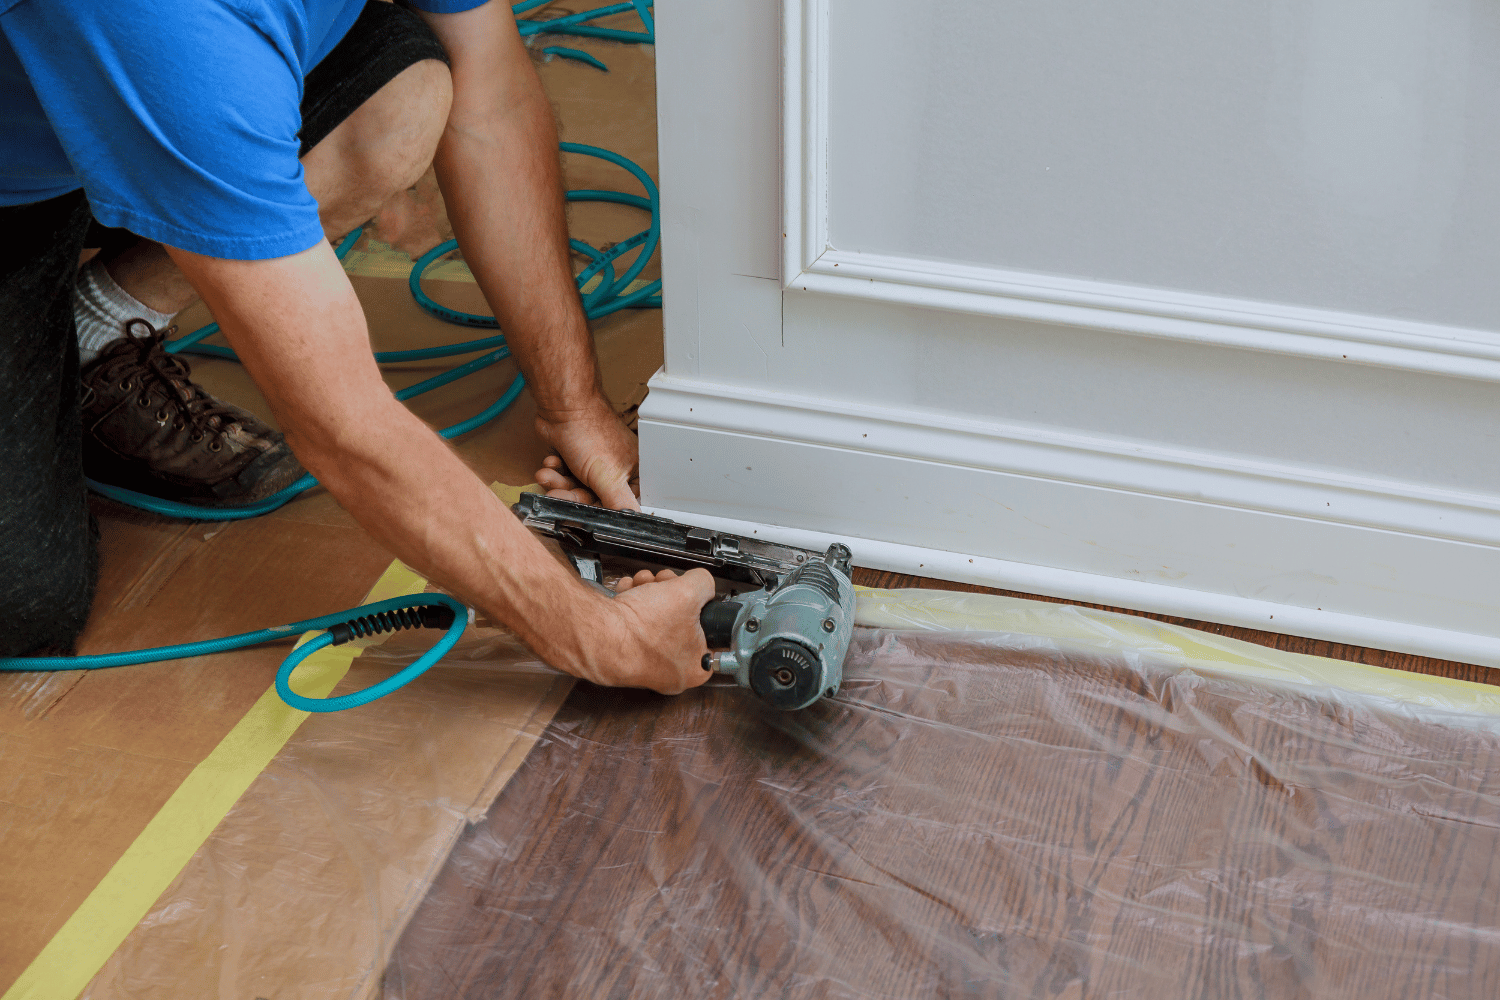
Are you someone who loves to take charge and tackle your own DIY projects? Do you have a subconscious desire for control when it comes to fixing things around the house? If so, then you need to know everything there is to know about the finish nailer. This powerful tool is an essential addition to any DIY enthusiast’s arsenal, allowing you to effortlessly install trim, moldings, and other finishing touches with precision and ease.
In this article, we will walk you through everything you need to know about the finish nailer. We’ll start by helping you understand what exactly a finish nailer is and why it’s different from other types of nail guns. From there, we’ll dive into the key features and considerations that should guide your decision-making process when choosing the right finish nailer for your needs. And of course, no article would be complete without some expert tips on how best to use this mighty tool for maximum efficiency and control. So if you’re ready to take charge of your DIY projects like never before, keep reading!
Key Takeaways
- Using the correct nail size is crucial for the proper functioning of a finish nailer.
- Hardwoods like oak and maple are suitable for use with a finish nailer, while softwoods like pine require additional care.
- Different types of nails are available for different projects, and factors like nail length and gauge, aesthetic appeal, and structural integrity should be considered when choosing the right nail.
- Regular maintenance and cleaning of the finish nailer, including removing dust and wood shavings and lubricating moving parts, is important for its longevity and performance.
Understanding Finish Nailers
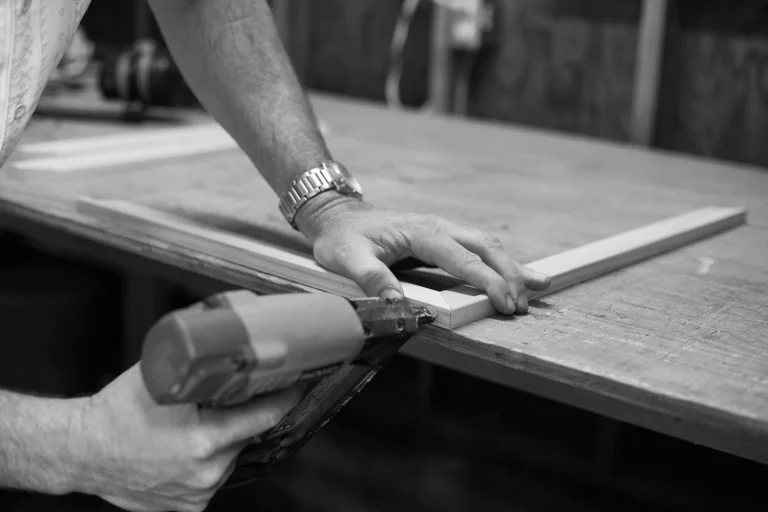
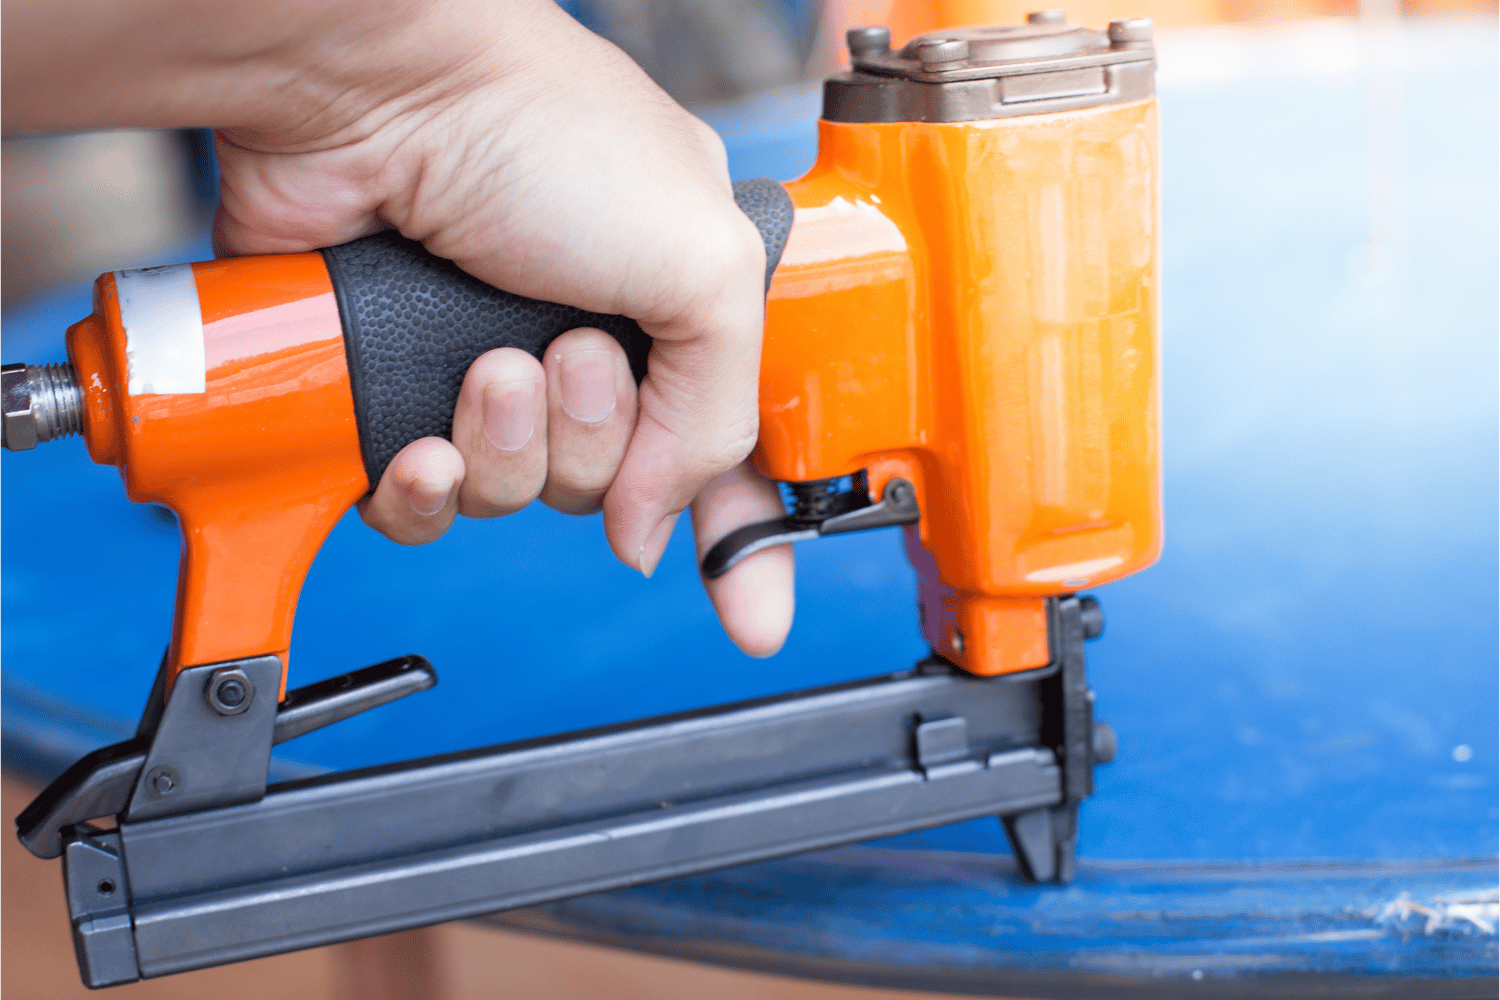
Now, let me take you on a journey to understand the ins and outs of finish nailers – the powerhouse tool that effortlessly glides through wood, leaving behind seamless results.
When it comes to finish nailers, there are several types available to suit different needs. You can choose from pneumatic, electric, or battery-powered options depending on your preferences and project requirements. Additionally, finish nailers come in various sizes that accommodate different nail lengths, making them versatile for a wide range of applications.
Power source options for finish nailers play a significant role in their performance and convenience. Pneumatic finish nailers rely on air compressors to function, providing consistent power output but requiring an additional tool for operation. Electric finish nailers eliminate the need for an air compressor by using electricity as their power source. These models are easy to use and maintain but may have slightly less power compared to pneumatic ones. Battery-powered finish nailers offer portability and freedom of movement without being tethered to cords or hoses; however, they may have limited run time before needing a recharge.
One crucial feature of a finish nailer is its depth adjustment capability. This allows you to control how deep the nails penetrate into the material you’re working with, ensuring precise and professional-looking results every time. Another consideration is magazine capacity—the number of nails that can be loaded into the gun at once— which determines how frequently you will need to reload during your projects. Angled versus straight finish nailers also provide distinct advantages depending on the application; angled models allow better access in tight corners while straight models excel at speed and precision in larger areas.
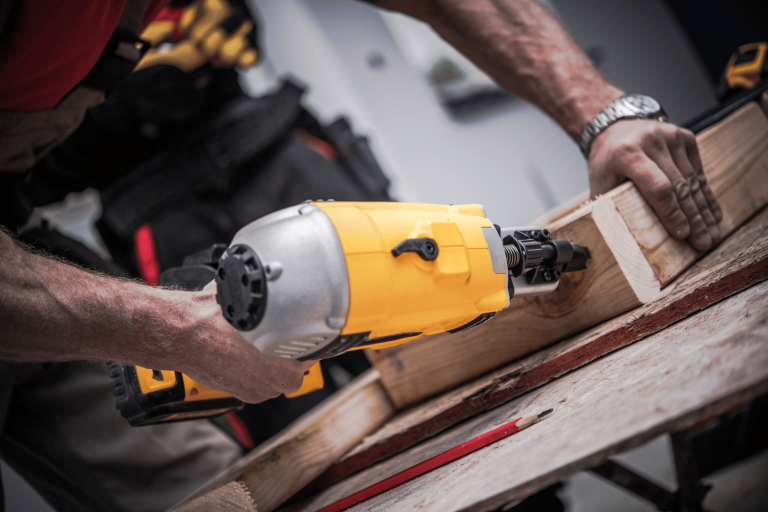
Transitioning into the subsequent section about key features and considerations when choosing a finish nailer, it’s important to note that safety features should always be prioritized when selecting any power tool. Look for features such as trigger locks or sequential firing modes that prevent accidental discharges. Maintenance requirements vary among different brands and models, so it’s essential to follow the manufacturer’s guidelines for cleaning and lubrication to ensure optimal performance. Speaking of brands, some of the best in the finish nailer market include DeWalt, Milwaukee, and Bostitch, known for their durability and reliability. Lastly, cost comparison is a significant factor to consider when purchasing a finish nailer. While prices can vary depending on features and brand reputation, it’s crucial to invest in a high-quality tool that will stand the test of time.
In the next section we’ll discuss key features and considerations when choosing a finish nailer.
Key Features and Considerations When Choosing a Finish Nailer
With a variety of nail sizes and gauges available, along with different power sources and ergonomic designs, choosing the right finish nailer can be a detailed process.
When considering nail compatibility, it’s important to ensure that the finish nailer you choose is compatible with the size and gauge of nails you plan to use. Some models may have limitations on the size or gauge of nails they can accommodate, so be sure to check the specifications before making a purchase.
The power source of a finish nailer is another key feature to consider. Pneumatic finish nailers are powered by compressed air and require an air compressor to operate. Cordless finish nailers are powered by rechargeable batteries, providing more freedom of movement without the need for an air compressor or electrical outlet. Electric finish nailers are connected directly to an electrical outlet and offer consistent power without needing batteries or an air compressor. Consider your specific needs and preferences when choosing between these power sources.
Other important factors to consider include depth adjustment, magazine capacity, trigger type, safety features, weight and ergonomics, warranty and customer support, as well as price range.
Depth adjustment allows you to control how deep the nails are driven into your workpiece. Magazine capacity determines how many nails can be loaded at once before needing to reload. The trigger type can vary between contact trip (bump) mode or sequential mode, allowing for different firing methods.
Incorporating safety features such as anti-dry fire mechanisms and no-mar tips is essential for preventing accidental damage or injuries while using a finish nailer. Weight and ergonomics play a significant role in user comfort during extended periods of use. A lighter weight finish nailer with comfortable grip handles can help reduce fatigue.
Consideration should also be given to warranty coverage and customer support offered by manufacturers when choosing a finish nailer. Finally, determining your budget will help narrow down options within your price range.
Now that you understand the key features and considerations of a finish nailer, let’s move on to discussing how to choose the right one for your specific needs.
How to Choose the Right Finish Nailer
When selecting a finish nailer, it’s crucial to carefully consider your specific requirements and preferences.
There are several factors to keep in mind to ensure that you choose the right tool for your needs.
Firstly, consider the different types of finish nailers available on the market, such as straight or angled ones. Each type has its own advantages and disadvantages, so choose based on what suits your project best.
Next, nail size is an important consideration. Different finish nailers accept different sizes of nails, so make sure to check if the tool can accommodate the length and gauge of nails you’ll be using.
Additionally, think about the power source that works best for you. Finish nailers can either be powered by air compressors or battery-operated. Consider which option aligns with your project requirements and availability of power sources.
Lastly, look into features like depth adjustment and magazine capacity. Depth adjustment allows you to control how deep the nails are driven into the material, while a larger magazine capacity means less frequent reloading.
Also, consider firing modes (sequential or bump) and safety features like anti-dry fire mechanisms or no-mar tips.
With various brand options available on the market, research their reputation for quality and customer satisfaction before making a decision. Price range is also an essential factor to consider while balancing budget constraints with desired performance levels.
Finally, take durability factors into account to ensure that your chosen finish nailer will withstand repeated use over time.
When choosing a finish nailer for your project needs, carefully weigh factors such as different types available, compatibility with desired nail sizes and power sources, adjustable features like depth adjustment and magazine capacity; firing modes; safety features; brand options; price range; as well as durability factors in order to make an informed decision.
Now that you’ve selected your ideal finish nailer, let’s dive into some tips for using it effectively without compromising on results.
Tips for Using a Finish Nailer
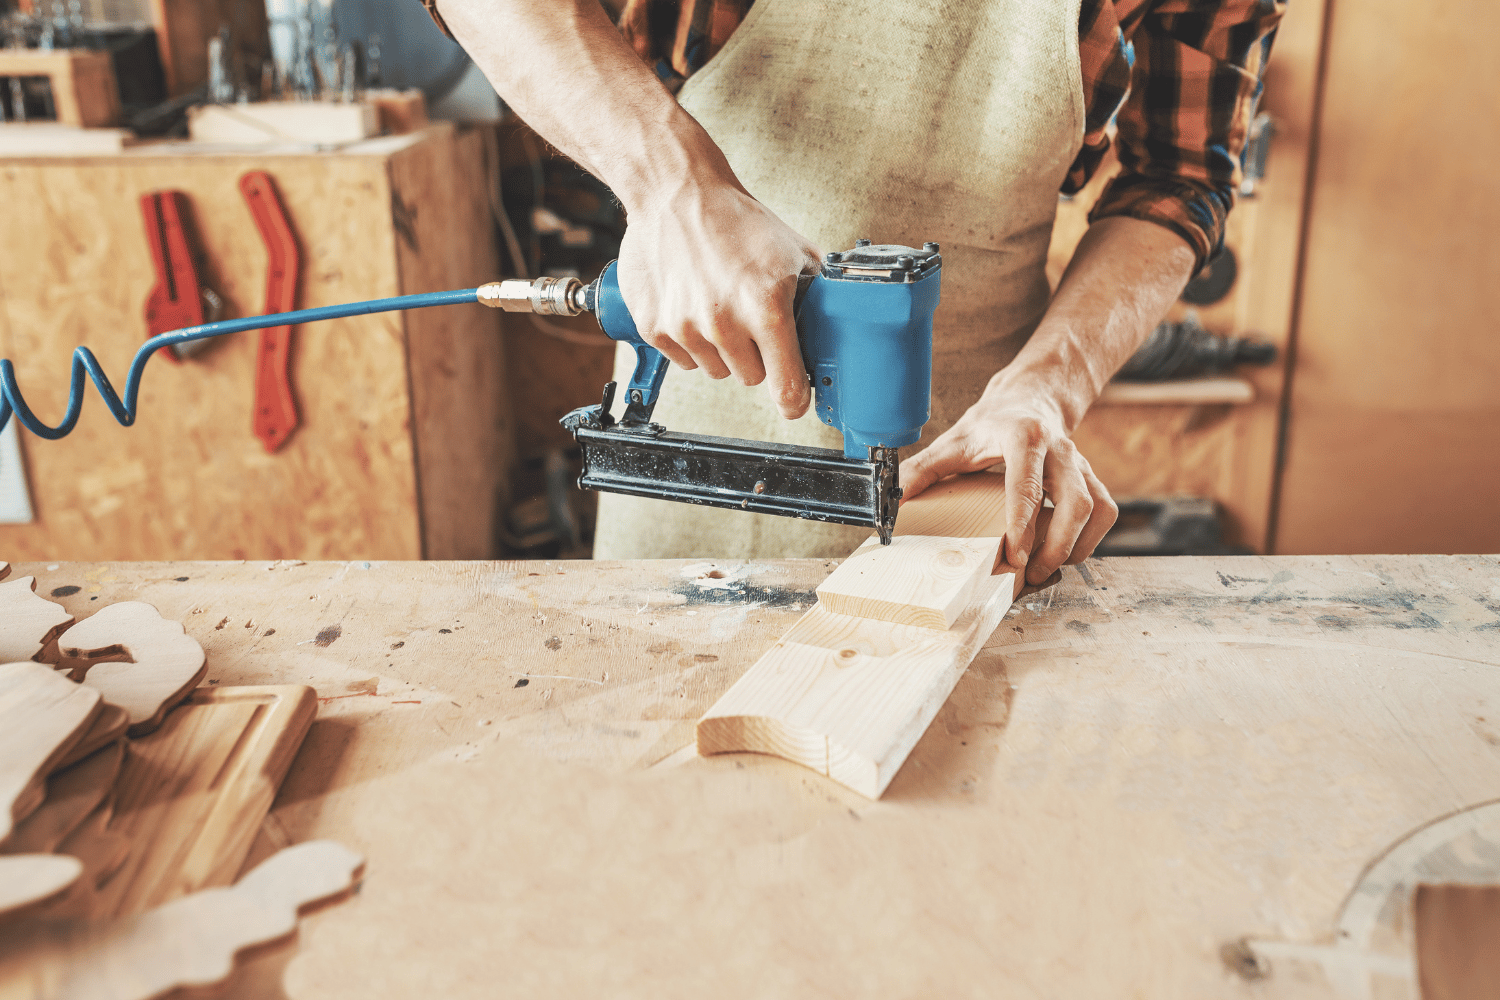
Get ready to achieve professional-looking finishes and avoid common mistakes by following these essential tips for using your finish nailer effectively.
Proper technique is crucial when using a finish nailer. Make sure to hold the nailer firmly against the workpiece and apply steady pressure as you drive the nails in. This will help prevent any wobbling or misalignment of the nails, resulting in a clean and seamless finish.
Choosing the right nail size is also important. Different projects require different nail sizes, so be sure to select the appropriate one for your specific task. Using nails that are too long can cause splitting or damage to the wood, while nails that are too short may not provide enough holding power. Take note of this when purchasing nails for your finish nailer.
Safety precautions should never be overlooked when operating a finish nailer. Always wear protective eyewear and gloves to shield yourself from flying debris. Keep your fingers away from the nailing area and use caution when handling the tool, especially around delicate surfaces. Additionally, make sure to read and follow all safety guidelines provided by the manufacturer.
In terms of nail spacing, it’s important to consider both aesthetic appeal and structural integrity. Generally, aim for spacing between 8-12 inches apart depending on the type of project you’re working on. However, always refer to any specific instructions or guidelines provided with your finish nailer.
The angle at which you drive in the nails can also impact the overall appearance of your finished product. For most applications, a 45-degree angle is recommended as it provides optimal holding power without causing any visible indentations on the surface.
When it comes to suitable types of wood for use with a finish nailer, hardwoods like oak and maple are ideal choices due to their durability and strength. Softwoods such as pine can also be used but may require additional care due to their tendency to split more easily.
Regular maintenance and cleaning will ensure that your finish nailer continues to perform at its best. Keep the tool clean and free from debris by regularly removing any dust or wood shavings that may accumulate. Lubricate moving parts as recommended by the manufacturer to prevent any friction or jamming issues.
Troubleshooting common issues can save you time and frustration. If your nails are not sinking properly, check the air pressure of your compressor and adjust accordingly. If nails are jamming in the magazine, make sure it is loaded correctly and free from any obstructions.
Different types of nails are available for different projects, so consider factors such as material, length, and gauge when choosing the right nail for your specific needs. Researching reputable brands and models can also help ensure a reliable and high-quality finish nailer.
Using a finish nailer effectively requires proper technique, consideration of nail size and spacing, adherence to safety precautions, knowledge of suitable wood types, regular maintenance/cleaning, troubleshooting skills, familiarity with different types of nails for various projects, as well as awareness of recommended brands/models in order to achieve professional-looking finishes effortlessly.
Frequently Asked Questions
How long does it typically take to become proficient in using a finish nailer?
Becoming proficient with a finish nailer depends on your skill development and the learning curve. Dedicate time to it, consider training programs, and follow expert tips for efficient practice techniques. Mistake prevention, mastering precision, and troubleshooting will come with experience.
Are finish nailers suitable for all types of woodworking projects?
Finish nailers are suitable for most woodworking projects, offering a stronger hold compared to brad nailers. Different types of finish nails can be used for various applications, but always choose the right size and gauge. Achieve a professional finish by following tips and avoiding common mistakes. Properly handle and store your finish nailer to prolong its lifespan. For intricate projects, learn techniques specific to those tasks. Lastly, explore alternative fastening methods if desired and troubleshoot any issues that may arise along the way.
Can a finish nailer be used for other tasks besides woodworking?
Yes, a finish nailer can be used for alternative applications and creative uses beyond woodworking. It is versatile for DIY, construction, upholstery, metalworking projects, home improvement tasks, crafting ideas, repurposing materials, and even outdoor projects.
What safety precautions should I take when using a finish nailer?
To safely use a finish nailer, always handle it properly and wear eye and ear protection. Make sure to use safety guards, secure your workpiece, keep fingers clear, and disconnect the power source when not in use. Store it properly, inspect regularly, and receive proper training and practice.
Is it necessary to regularly maintain and clean a finish nailer, and if so, how often?
Regularly maintaining and cleaning your finish nailer is crucial for its longevity. Clean it after every use using compressed air, a toothbrush, and a rag. Signs of a dirty nailer include misfires and jamming. Professional maintenance services are available for more in-depth care.
Final Thoughts
In conclusion, now that you’ve learned everything you need to know about the finish nailer, you’re ready to choose the right one for your projects and start using it with confidence.
Remember to consider the key features and factors such as nail size, angle, and power source when making your decision.
Take advantage of the various tips provided to ensure a smooth and efficient operation of your finish nailer.
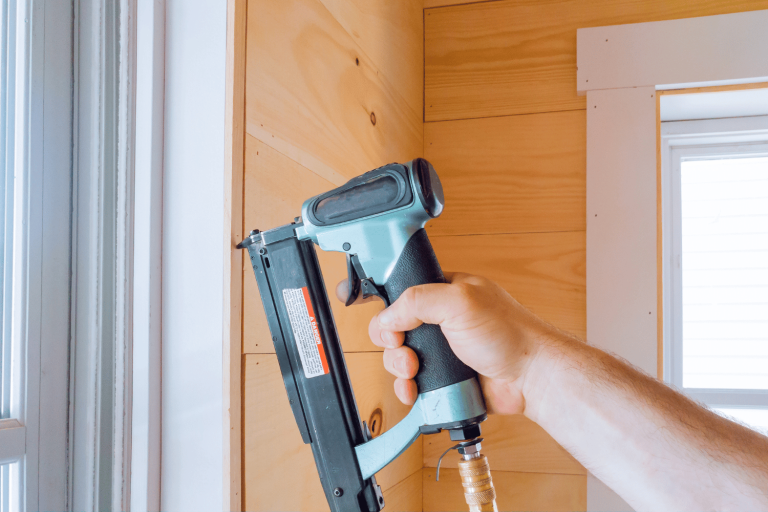
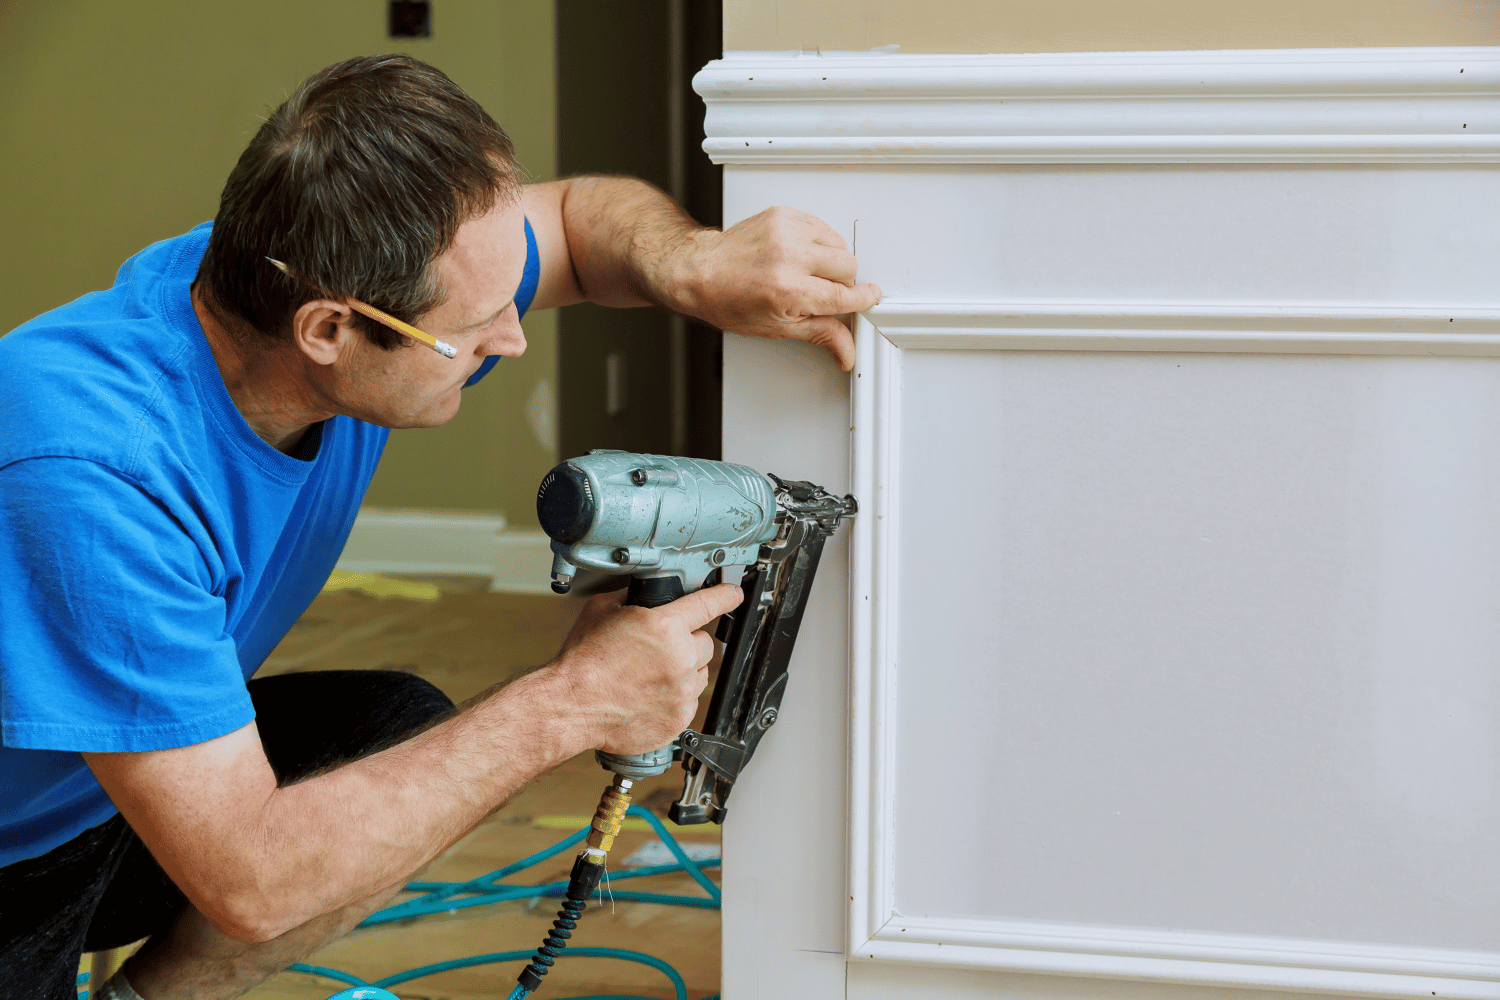
With a finish nailer in hand, you can effortlessly attach trim, moldings, and other finishing touches to enhance the overall appearance of your woodworking projects.
Whether you’re a professional carpenter or a DIY enthusiast, this versatile tool will undoubtedly become an essential part of your toolbox.
So go ahead, embrace the power of a finish nailer and bring your woodworking skills to new heights!