What is a Miter Saw Used For? Essential for Woodworking?
Attention, all you woodworking enthusiasts and DIY aficionados! Have you ever gazed in awe at the intricate angles and flawless corners of finely crafted wooden pieces, wondering how they achieve such perfection? Enter the compound miter saw, a true game-changer in the arsenal of any dedicated woodworker. This powerful tool is not just a saw; it’s a precision instrument that can transform a mundane piece of wood into a work of art.
Interest piqued? Great! Let’s dive deeper. A miter saw isn’t your average run-of-the-mill saw. It’s designed for one primary purpose: to make crosscuts and miter cuts with unparalleled accuracy.
But wait, there’s more! The compound miter saw isn’t just about basic angled cuts. It can tilt in multiple directions, allowing you to create bevel cuts. These combined capabilities open up a world of possibilities, enabling you to tackle complex projects with ease and finesse.
Desire to harness the full potential of this woodworking marvel? Stay tuned as we unveil the myriad of tasks a miter saw can handle, the craftsmanship it can unleash, and the ways it can elevate your woodworking game to the next level.
So, if you’re ready to embark on a journey into the world of the compound miter saw, keep reading, because by the end of this article, you’ll be equipped with the knowledge and inspiration to take your woodworking skills to new heights. Let’s saw our way to perfection!
Key Takeaways
- A miter saw is important for precise cuts in trim work, like baseboards and crown molding.
- For perfect crown molding, remember to measure right, set angles, secure the molding, and cut carefully with a miter saw.
- To install baseboards neatly, measure well, mark them, and use a miter saw for clean, angled cuts to create professional joints.
- Use a miter saw to create perfectly square corners for everything from picture frames to window and door frames.
Use a Miter Saw for Versatile Trim Work
You can achieve precise cuts and angles with a miter saw, making it perfect for creating versatile trim work. The miter saw is a powerful tool that allows you to make accurate cuts at different angles, making it ideal for trim work that requires precise measurements and clean finishes. Whether you’re installing baseboards, crown molding, or window casings, the miter saw enables you to create seamless joints and perfect corners.
With the miter saw, you can easily adjust the angle and bevel settings to create a variety of cuts. The saw’s rotating blade allows you to make angled cuts, such as 45-degree cuts for mitered corners or compound cuts for more complex trim designs. The precision of the miter saw ensures that each cut is smooth and clean, resulting in a professional-looking finish.
In addition to its versatility, the miter saw also offers speed and efficiency. Its powerful motor and sharp blade allow you to make quick and accurate cuts, saving you time and effort. You can easily measure and mark your trim pieces, set the appropriate angle and bevel on the miter saw, and make the cuts with ease.
Overall, the miter saw is an essential tool for anyone looking to create versatile trim work. Its precision, speed, and efficiency make it the perfect tool for achieving clean cuts and angles, allowing you to create beautiful and professional-looking trim installations.
Compound Angle Cuts for Precision Crown Molding
There are many ways to achieve precise cuts and angles with a miter saw. One of them is by using it for precision crown molding. Crown molding adds a touch of elegance and sophistication to any room, but achieving those perfect corners can be a challenge. With a miter saw, you can easily make precise cuts that fit together seamlessly, giving your crown molding a professional and polished look.
To achieve perfectly cut crown molding with a miter saw, here are four key steps to follow:
- Measure twice, cut once: Take accurate measurements of your walls and corners to ensure a perfect fit. Double-check your measurements before making any cuts.
- Set the proper angles: Adjust the miter saw to the correct angles according to the crown molding design. Most miter saws have preset angles for common crown molding cuts, making it easier for you to achieve precise results.
- Secure the molding: Use clamps or a secure fixture to hold the crown molding firmly in place while cutting. This will prevent any movement or shifting during the cutting process.
- Make clean and accurate cuts: Use a sharp blade and a slow, steady motion to make clean and precise cuts. Take your time and follow the marked lines carefully to avoid any mistakes.
By following these steps and utilizing the capabilities of a miter saw, you can achieve precise and professional-looking crown molding that will elevate the aesthetic of any room.
Seamless Baseboard Installation
To achieve a seamless baseboard installation, start by measuring the length of the wall and then carefully cutting the baseboard to fit using a miter saw. A miter saw is an essential tool that allows you to make precise angled cuts, ensuring a perfect fit for your baseboards. By using a miter saw, you can easily create miter joints, where two pieces of baseboard meet at a 45-degree angle, creating a clean and professional look.
When using a miter saw, it’s important to take accurate measurements and mark the baseboard accordingly. This will help you make precise cuts and avoid any gaps or inconsistencies in the installation. Make sure to secure the baseboard firmly in place before making any cuts to ensure safety and accuracy.
Once you have measured and marked the baseboard, carefully position it on the miter saw and align the marked line with the saw’s cutting edge. Use a slow and steady motion to guide the saw through the baseboard, maintaining control throughout the cut. Remember to wear appropriate safety gear, such as safety glasses and gloves, to protect yourself while using the miter saw.
Woodworking Projects Such as Professional Picture Frame Construction
When constructing a professional picture frame, ensure that the corners are precisely joined with both glue and nails for added stability. This crucial step will ensure that your frame withstands the test of time and keeps your valuable artwork or cherished memories safe.
Here are some key points to consider when constructing a picture frame:
- Measurements: Take accurate measurements of the artwork or photo that will be placed within the frame. This will ensure a proper fit and prevent any gaps or overlapping.
- Materials: Choose high-quality materials such as solid wood or metal for the frame. Avoid using low-quality materials that may warp or deteriorate over time.
- Cutting and Sanding: Use a miter saw to make precise cuts at a 45-degree angle for clean and seamless corners. Sand the edges to remove any roughness and create a smooth finish.
- Assembly: Apply a thin layer of wood glue to the mitered corners before securing them with nails or screws. This combination of glue and nails will provide the necessary strength and stability.
Effortless Window and Door Frame Cutting
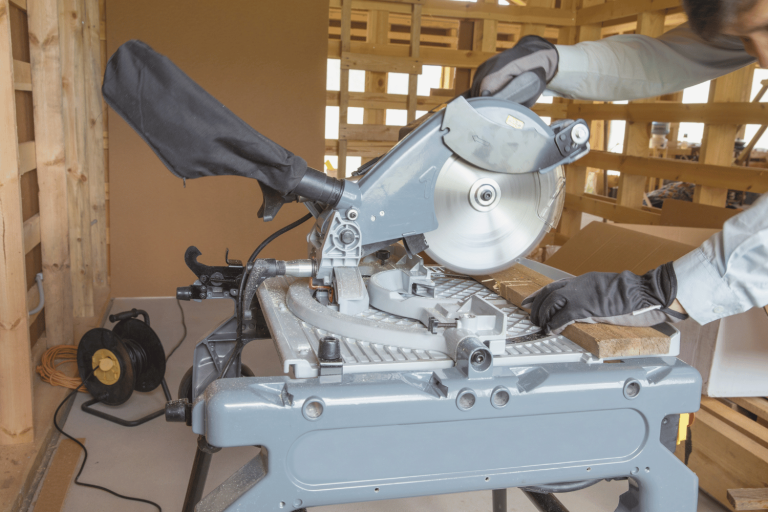
You can easily achieve precise window and door frame cuts with a miter saw. A miter saw is a powerful tool that allows you to make accurate angled cuts in wood. It consists of a circular saw blade mounted on a pivoting arm, which can be adjusted to cut at different angles. This makes it perfect for cutting the corners of window and door frames, ensuring a seamless fit.
When using a miter saw for window and door frame cuts, it’s important to measure and mark the correct angles beforehand. This will ensure that your cuts are accurate and align perfectly with the other pieces of the frame. Additionally, it’s crucial to secure the workpiece firmly in place to prevent any movement during the cutting process.
The miter saw’s precise cutting capabilities, combined with its speed and efficiency, make it an ideal tool for window and door frame cutting. It allows you to achieve clean and professional-looking cuts with ease, saving you time and effort.
Whether you’re a DIY enthusiast or a professional contractor, a miter saw is a valuable addition to your toolkit for achieving liberation in your woodworking projects.
Frequently Asked Questions
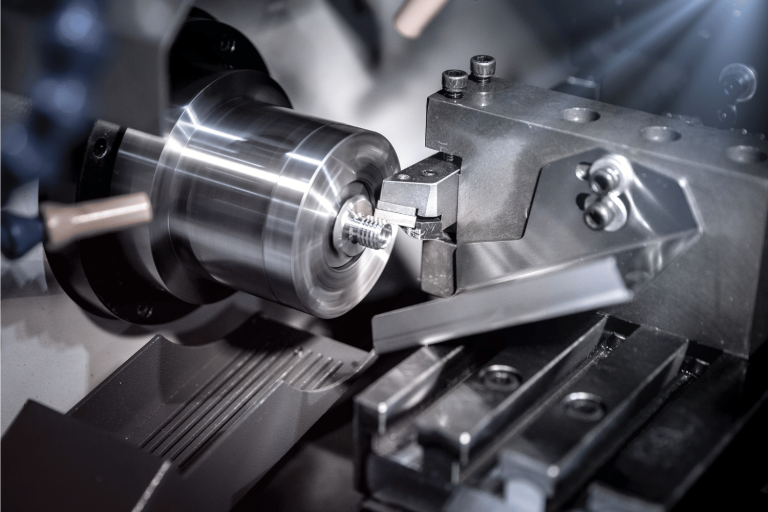
Can a Miter Saw Be Used for Cutting Metal or Other Materials Besides Wood?
Yes, a miter saw can be used to cut metal and other materials besides wood. Just make sure you use the right blade for the specific material you’re cutting.
What Safety Precautions Should I Take When Using a Miter Saw?
When using a miter saw, it’s important to prioritize safety. Take precautions like wearing protective eyewear and gloves, securing your workpiece properly, and using the saw’s safety features to avoid accidents and injuries.
Is It Possible to Make Bevel Cuts With a Miter Saw?
Yes, you can absolutely make bevel cuts with a miter saw! A compound miter saw allows you to tilt the blade and make angled cuts, giving you the freedom to create precise and intricate designs.
Can a Miter Saw Be Used for Making Compound Miter Cuts?
Yes, a miter saw can be used to make compound miter cuts. This allows you to create angled cuts in two planes simultaneously, increasing the versatility and precision of your woodworking projects.
Are There Any Specific Accessories or Attachments That Can Enhance the Functionality of a Miter Saw?
To enhance the functionality of a miter saw, there are several specific accessories and attachments available. These can include laser guides for precision, extension tables for larger workpieces, and dust collection systems for a cleaner workspace.