How to Maintain a Cordless Drill – A Complete Guide
Are you tired of your cordless drill losing power or breaking down when you need it most? Don’t worry, we’ve got you covered.
In this article, we will show you how to maintain your cordless drill like a pro. From understanding its components to cleaning, lubricating, and checking for worn-out parts, we will guide you step by step.
With our tips, you’ll be able to store your drill properly and extend its battery life. Say goodbye to drill problems and hello to smooth, efficient drilling!
Key Takeaways
- Regular cleaning and lubrication of the tool’s components, such as the chuck and gears, is essential for smooth operation and prolonged lifespan.
- Regularly checking and replacing worn-out parts, such as brushes and the chuck, ensures optimal performance and grip on bit.
- Proper storage techniques, including removing the battery and storing in a dry environment, help protect the drill and prolong its lifespan.
- Following proper charging and discharging techniques, as well as troubleshooting and addressing issues promptly, can help extend the lifespan of the battery and ensure efficient operation of the drill.
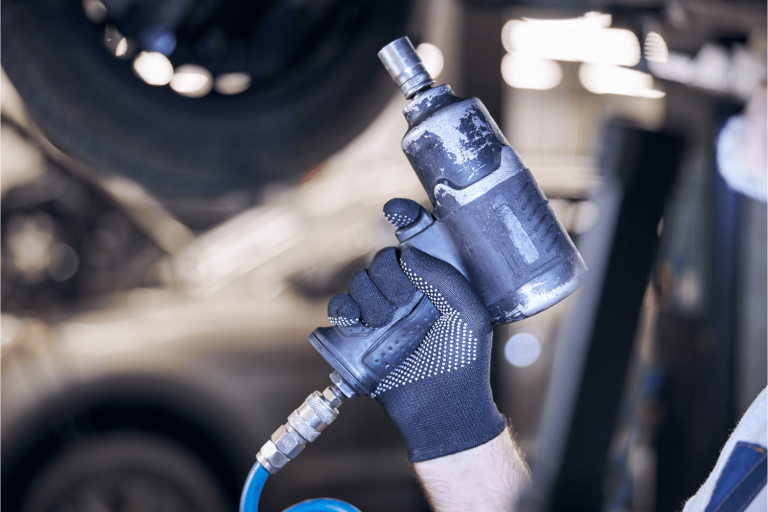
Understanding the Components of your Drill
When it comes to understanding the components, there are several key parts that play a crucial role in its overall performance.
From the chuck to the motor, each part has its own function and contributes to the tool’s effectiveness.
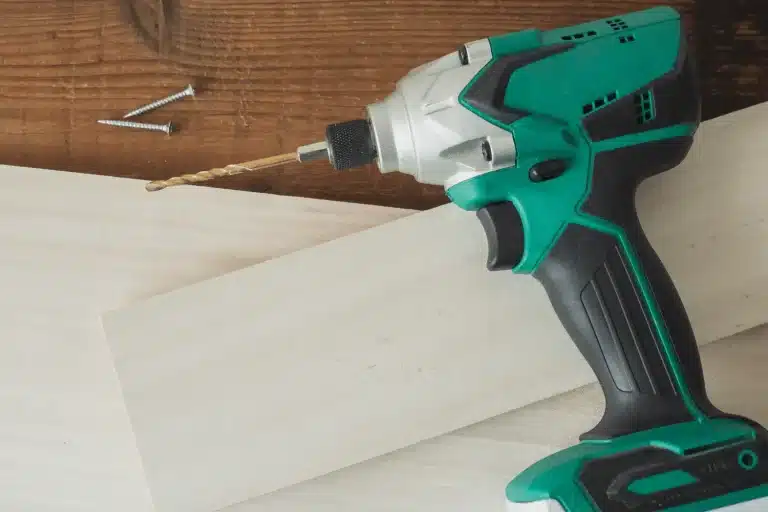
How Each Part Contributes to Performance
Each part of a cordless drill contributes to its performance by working together harmoniously.
The torque, or rotational force, of the drill is determined by the power of the motor. A higher torque allows you to bore into tougher materials with ease.
The speed and torque of the drill are controlled by the trigger. By squeezing it gently, you can achieve lower speeds for delicate tasks, while squeezing it harder will increase the speed and torque for more demanding jobs.
The motor vents are crucial for cooling down the motor during operation, preventing overheating and extending its lifespan.
The battery pack, on the other hand, provides the necessary power to the motor.
Lastly, brushless motors are becoming increasingly popular due to their efficiency, durability, and ability to provide consistent power output.

How to Keep Your Drill Clean so It’ll Last Longer
To properly clean your cordless tools, there are a few key points to keep in mind.
First, you’ll need a few tools on hand, such as a soft cloth, mild detergent, and a toothbrush.
Next, you’ll want to focus on cleaning the exterior of the drill, removing any dirt or debris that may have accumulated.
Then, it’s important to clean the chuck and bits, as they can become clogged with sawdust or other materials.
Tools Required for Cleaning
You’ll need a few tools for cleaning your cordless drill. To maintain your drill and ensure its proper functioning, it is important to have the right tools.
Firstly, you will need a soft cloth or rag to wipe away any dirt and debris from the surface of the drill. This will help to prevent any damage to the exterior.
Additionally, a small brush with stiff bristles will be useful for cleaning the inside of the drill, removing any dust or particles that may have accumulated.
Lastly, you will need a lubricant specifically designed for drills. This will help to keep the moving parts of the drill well lubricated and prevent any rust or corrosion.
Remember to clean your drill regularly, oil it when necessary, and store your tools in a clean and dry place to ensure their longevity.
How to Clean the Exterior
Start by grabbing a soft cloth or rag to wipe away any dirt and debris from the surface of your cordless drill. Cleaning the exterior of your cordless drill is an essential part of its maintenance.
Regularly cleaning the exterior not only keeps it looking good, but also helps to prolong its lifespan. To clean the exterior, start by unplugging the drill and removing any batteries.
Dampen the cloth or rag with a mild cleaning solution or soapy water, and gently wipe down the entire surface of the drill, paying special attention to the handle, trigger, and any crevices. Avoid getting any liquid inside the drill.
Once you’ve wiped away the dirt and debris, dry the exterior thoroughly before reassembling and storing your clean cordless drill. Following these cleaning instructions will help you maintain the exterior of your cordless drill and ensure its optimal performance.
How to Clean the Chuck and Drill Bits
For cleaning the chuck and bits, grab a small brush or toothbrush to remove any debris or buildup. This step is crucial in maintaining a cordless drill and ensuring its optimal performance.
Start by removing the battery from the drill to prevent any accidents. Then, inspect the chuck for any dirt or grime. Use the brush to gently scrub the chuck, making sure to reach all the crevices.
Next, focus on the bits. Remove them from the chuck and clean them individually. Remove any dirt or residue by using the brush or a cloth. It’s also important to regularly check the sharpness of your bits. Dull bits can cause inefficiency and damage to your drill.
Removing and Cleaning the Battery
To properly clean and maintain a cordless drill, it’s important to remove and clean the battery regularly. By following these steps, you can ensure the longevity and efficiency of your cordless drill.
Firstly, make sure the drill is turned off and unplugged before attempting to remove the battery. Locate the battery release button or lever, usually found near the base of the drill. Press or slide it to release the battery from its compartment.
Once removed, inspect the battery for any dirt or debris, and use a clean cloth or brush to gently wipe it clean. Avoid using water or any harsh cleaning agents. This simple act of cleaning the battery will not only improve the overall performance of your cordless drill, but it will also help prolong its battery life.
Remember to always keep your drill clean and well-maintained for optimal results.

How to Oil and Lubricate a Drill
Lubricating your cordless drill is crucial for its optimal performance and longevity. Different parts of the drill require different lubricants, and it’s important to use the correct ones to ensure smooth operation.
To apply lubricant on the chuck and gears, follow a simple step-by-step process that will keep your drill running smoothly and efficiently.
The Importance of Lubrication
Make sure you understand the importance of lubrication for your cordless drill. Proper maintenance is crucial to keep your drill performing at its best. When you use the drill, it generates heat and friction, which can cause wear and tear on the moving parts.
Lubricating your drill regularly helps reduce this friction, prolonging its lifespan and ensuring smooth operation. Before using the drill, make sure to apply a small amount of lubricant to the chuck and any movable parts. This will help prevent rust and corrosion, as well as reduce the risk of overheating.
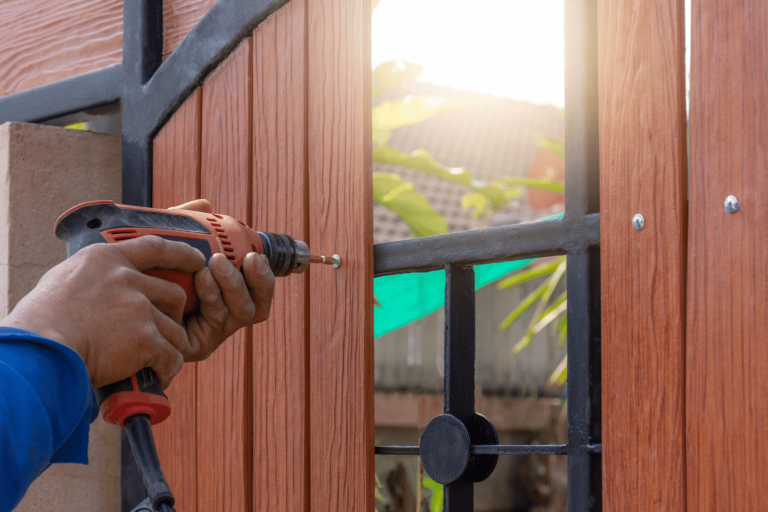
Additionally, remember to replace your bit and operate the drill perpendicular to the surface for optimum performance. By incorporating these simple steps into your routine, you can ensure that your cordless drill remains in top-notch condition.
Recommended Lubricants for Different Parts
When maintaining your cordless drill, it’s important to know which lubricants are recommended for different parts. Proper lubrication not only ensures smooth operation but also extends the lifespan of your drill.
The chuck is one area that requires lubrication to keep your drill functioning optimally. To prevent slippage and maintain a firm grip, apply a small amount of lithium grease or silicone lubricant into the chuck without overdoing it.
Other parts of your drill that benefit from lubrication include the gears, bearings, and motor. Use a high-quality machine oil or a specialized lubricant designed for power tools. Avoid using lubricant in the first place where it may come into contact with the electrical components.
How to Apply Lubricant on the Chuck and Gears
To properly apply lubricant on the chuck and gears of your drill, start by opening the chuck fully. This will allow you to access the gears and ensure that the lubricant reaches all the necessary components.
Before applying any lubricant, make sure to loosen the chuck by turning it counterclockwise. This will prevent any accidents while you’re working on your drill.
Once the chuck is open and loose, apply a small amount of lubricant onto a clean cloth or brush. Gently distribute the lubricant onto the gears and chuck, making sure to cover all the surfaces that you’re working with. Be careful not to apply excess oil, as this can attract dirt and dust.
Checking and Replacing Worn-Out Parts for Proper Maintenance
If you’re experiencing issues with your tool, it may be a sign that certain parts have worn out. There are several key signs to look out for, such as a decrease in power or the drill not holding a charge.
To check and replace brushes in a cordless drill brushed motor, you’ll need to open up the motor housing and inspect the brushes for any signs of damage or excessive wear.
Additionally, it’s important to regularly inspect and replace the chuck, as a worn-out chuck can result in poor tool performance and a lack of grip on bits.
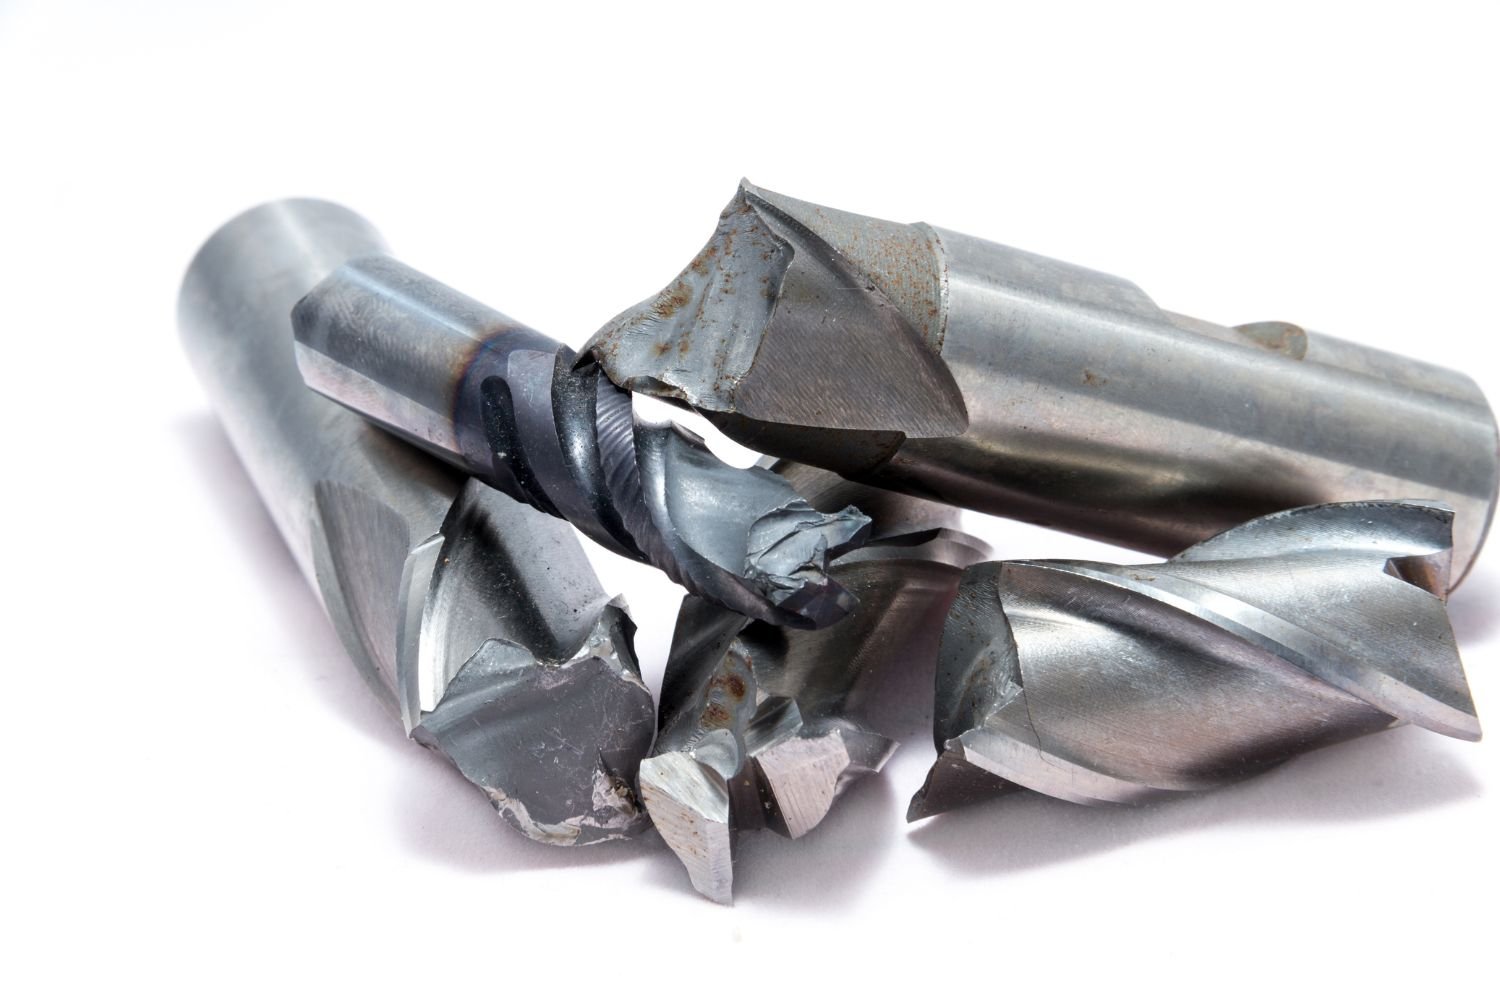
Signs of Worn-Out Parts
Check for signs of worn-out parts in your cordless drill to ensure optimal performance.
Over time, the constant use and wear can cause certain components of your drill to deteriorate. One key sign to look out for is overheating. If your drill gets excessively hot during use, it could indicate a problem with the motor or other internal parts.
Another indicator is any unusual noise or vibration coming from the moving parts. This could suggest that the gears or bearings are worn and need to be replaced.
Additionally, if you notice any difficulty in unscrewing or tightening screws, it might be a sign of a worn chuck or clutch.
Finally, check for any signs of corrosion or rust on the exterior, which can affect the drill’s overall lifespan.
Regularly inspecting these signs will ensure that your cordless drill remains in top condition and continues to perform at its best.
How to Check and Replace Brushes
One way to ensure optimal performance of your cordless drill is by regularly checking and replacing the brushes in the brushed motor. The brushes are critical components that transmit electrical current to the motor, allowing it to function properly.
Over time, these brushes can wear down and become less effective, resulting in decreased power and performance. To check the brushes, start by disconnecting the drill from the power source. Then, open the chuck and remove the bit.
Look inside the chuck and locate the brush caps. Carefully remove the caps and inspect the brushes for any signs of wear or damage. If the brushes appear worn or frayed, it’s time to replace them.
Remember to have the right bit for the job, keep the bit for the job close by, and store your drill in a safe place with charged batteries. By following these steps, you can keep your cordless drill in top-notch condition and ensure it’s always ready for any task.
Inspecting and Replacing a Chuck
Now that you know how to check and replace the brushes in a cordless drill brushed motor, let’s move on to another important component – the chuck.
The chuck is the part of the drill that holds the bit in place. It’s crucial to inspect and maintain the chuck regularly to ensure optimal performance.
Start by inspecting the chuck for any signs of wear or damage. If you notice any issues, it’s time to replace it.
To replace the chuck, begin by removing the old one using a chuck key or a compatible tool. Then, attach the new chuck and tighten it securely. Remember to consult your drill’s manual for specific instructions on how to replace the chuck.
Storage Solutions – How to Store your Tools
When it comes to proper cordless drill storage techniques, there are a few key points to keep in mind.
First, it is important to store your cordless drill in a dry and temperature-controlled environment to prevent any damage or corrosion.
Second, always make sure to remove the battery from the drill before storing it, as this will help protect the battery and prolong its lifespan.
Lastly, consider investing in a dedicated storage case or rack to keep your cordless drill organized and easily accessible for future use.
Proper Storage Techniques
To properly store your cordless drill, make sure to keep it in a dry and secure location. Cordless drills are valuable tools and should be stored properly to ensure their longevity and effectiveness.
When not in use, it is important to protect your drill from moisture and dust by storing it in a dry area. A toolbox or a dedicated storage case is ideal for keeping your drill safe and organized.
Additionally, it is crucial to remove any bits or attachments from the drill’s chuck before storing it. This prevents any damage to the inside of the chuck and ensures that the drill is ready for use when you need it.
Protecting the Battery During Storage
Make sure you keep the battery of your cordless drill protected during storage by removing it and storing it in a cool and dry place. This is important because extreme temperatures and moisture can damage the battery and reduce its lifespan.
To ensure the battery lasts longer, make sure to clean the contacts on both the battery and the drill regularly. You can use a soft cloth or a cotton swab with rubbing alcohol to remove any dirt or debris.
It’s also a good idea to keep the drill and its accessories, like the bit, in a sturdy case to protect them from dust and accidental damage.
How to Maintain a Cordless Drill for Optimal Battery Life
Taking proper care of your cordless drill battery is essential for maintaining its longevity and performance. In this discussion, we will delve into some valuable tips for cordless drill battery care.
One important aspect of cordless drill battery care is using the correct charging and discharging techniques. It is crucial to follow the manufacturer’s recommendations for charging your battery. Overcharging or undercharging can significantly reduce the battery’s lifespan and overall performance.
To extend the lifespan of your cordless drill battery, there are effective methods you can employ. It is recommended to avoid completely draining the battery before recharging it. Instead, try to recharge it when it reaches around 20-30% capacity. This will help prevent the battery from becoming completely depleted, which can be detrimental to its longevity.
Another tip for extending the lifespan of your cordless drill battery is to store it properly when not in use. Keep the battery in a cool, dry place and avoid exposing it to extreme temperatures. Additionally, it is advisable to remove the battery from the drill when it is not being used for an extended period.
Battery Care Tips
You should regularly charge your cordless drill battery to ensure optimal performance.
Proper battery care is essential for maintaining the lifespan, runtime, and efficiency of your cordless drill.
Here are a few tips to help you take care of your cordless drill battery.
First, avoid overcharging the battery, as this can lead to reduced battery life. It’s recommended to unplug the charger once the battery is fully charged.
Second, store your cordless drill battery in a cool and dry place when not in use, as extreme temperatures can negatively affect its performance.
Lastly, clean the battery contacts regularly with a soft, dry cloth to remove any dirt or debris.
Proper Charging and Discharging Techniques
Now that you know how to care for your cordless drill battery, let’s talk about proper charging and discharging techniques.
It’s important to follow these guidelines to ensure the longevity and performance of your battery. When charging, make sure to use the charger that came with your drill and connect it to a power source. Keep an eye on the charging progress and avoid overcharging, as it can shorten the battery’s lifespan.
On the other hand, discharging the battery completely before recharging is not necessary for most modern cordless drill batteries. Check your user manual for specific recommendations, as they may vary depending on the battery type.
Lastly, remember to charge your battery on a stable and non-flammable surface that you’re working on. This will prevent any accidents and keep you safe.
How to Extend the Lifespan of the Battery
To extend the lifespan of your cordless drill battery, it’s advisable to follow these simple steps.
Firstly, ensure that you regularly clean and maintain the drill. Before each use, open and close the battery compartment to check for any visible dirt or debris. It’s important to keep the surface that you’re working on clean as well, as dust and dirt can easily find their way into the drill and affect its performance. Use a shop cloth to wipe down the drill and remove any excess dirt.
Additionally, make sure to regularly lubricate the chuck without any bits inside. Applying a small amount of lubricant to the chuck will help keep it running smoothly and prevent unnecessary wear and tear.
Troubleshooting Common Problems
If you’re experiencing issues with your cordless drill, it’s important to be able to identify the common problems that can arise. This will allow you to troubleshoot and fix the issues efficiently.
In this discussion, we will explore the key points of identifying common cordless drill issues and provide you with step-by-step instructions on how to troubleshoot and fix these problems.
Identifying Common Issues
You can easily identify common issues with your cordless drill by checking for any unusual sounds or a decrease in power.
When using your cordless drill, pay close attention to the surface that you’re working on. If you notice that the drill is struggling to penetrate or if the bit becomes dull quickly, it could indicate a problem with the drill’s power.
Another common issue is overheating, which can be identified by a hot motor or a burning smell.
If you experience any of these issues, it’s important to address them promptly to prevent further damage.
Steps to Troubleshoot and Fix Problems
Now that you’ve identified common issues with your cordless drill, it’s time to troubleshoot and fix them.
One common problem is the bit coming loose while working. To prevent this, make sure you are using the correct size bit for the task at hand. Additionally, always tighten the chuck securely in place before starting.
Another issue could be the drill not drilling straight or wobbling. In this case, check if the drill is properly aligned and adjust if necessary.
If the drill is not working at all, ensure that the battery is fully charged and properly inserted.
Lastly, if the drill is not operating at different speed settings, it could be due to using the wrong speed selector. Carefully read the drill’s manual to understand the correct setting for your needs.
Frequently Asked Questions
Can I Use a Cordless Drill in Wet or Damp Conditions?
Yes, you can use a cordless drill in wet or damp conditions, but it is important to take precautions. Ensure the drill is waterproof or use a cover, and always dry it thoroughly afterwards to prevent damage.
How Often Should I Clean the Chuck and Drill Bits of My Cordless Drill?
To maintain your cordless drill, it’s important to clean the chuck and bits regularly. This helps prevent debris buildup and ensures smooth operation. Cleaning frequency may vary, but a general rule is to do it after every use or as needed.
Can I Use Any Type of Lubricant on My Cordless Drill?
Yes, you can use lubricants specifically designed for cordless drills. It’s important to choose the right type of lubricant to prevent damage. Refer to the manufacturer’s instructions for recommended lubricants and proper application techniques.
How Can I Determine if the Motor of My Cordless Drill Is Wearing Out?
To determine if the motor of your cordless drill is wearing out, listen for any unusual noises or vibrations during operation. If the drill lacks power or has difficulty starting, it may be a sign of motor wear.
What Should I Do if My Cordless Drill Battery Is Not Holding a Charge?
If your cordless drill battery is not holding a charge, you should first check if it needs to be replaced. If it does, buy a new battery and follow the manufacturer’s instructions for installation.
Final Thoughts
Regular maintenance is crucial for optimal performance and longevity of your drill. By understanding its components, cleaning and lubricating regularly, and checking for worn-out parts, you can ensure its efficiency and durability.
Proper storage is also important to keep the drill in good condition. Paying attention to the battery life and troubleshooting any common problems will further enhance its functionality.
Following these steps will not only extend the lifespan of your cordless drill but also guarantee that it is always ready for your DIY projects or professional tasks.