Jointer vs Planer: The Ultimate Guide
Imagine embarking on your woodworking journey with a project in mind, only to realize you’re unsure which tool to use: a jointer or a planer. Both have their distinct advantages and applications, but which one is right for your specific needs? Fear not, as we delve into the world of jointers and planers, comparing their functions, strengths, and weaknesses to help you make an informed decision for your woodworking projects.
Short Summary
- Jointers and planers are essential woodworking tools for creating flat surfaces, square edges, and consistent thickness from rough lumber.
- Consider factors such as size, power, cost & convenience when selecting the appropriate tool for your needs.
- A wood jointer is necessary to create a reference face while a planer provides versatility with jigs & table saws. Beginners should consider a planer first, but may need more advanced features later on.
Understanding the Jointer
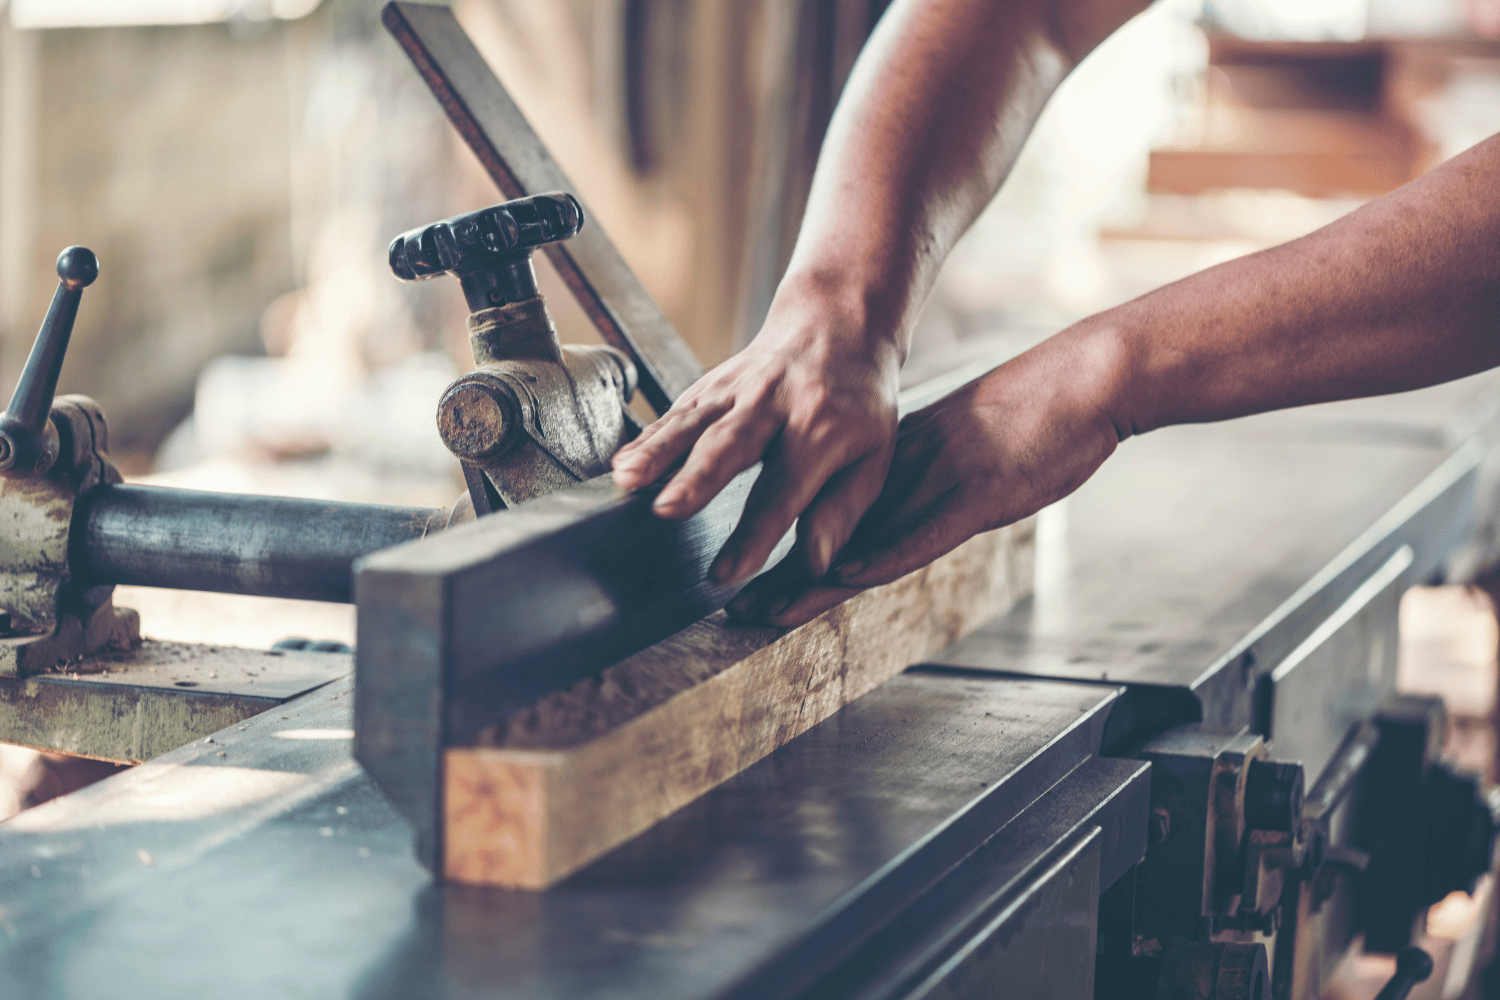
A jointer is a woodworking machine designed to produce a flat surface and an adjacent edge of rough-cut lumber. It consists of infeed and outfeed tables set parallel to each other, with a rotating cutter head mounted between them.
The main purpose of a jointer is to flatten one face and square an adjacent edge of raw-cut lumber, making it an essential tool for creating flat surfaces and square edges in your woodworking projects.
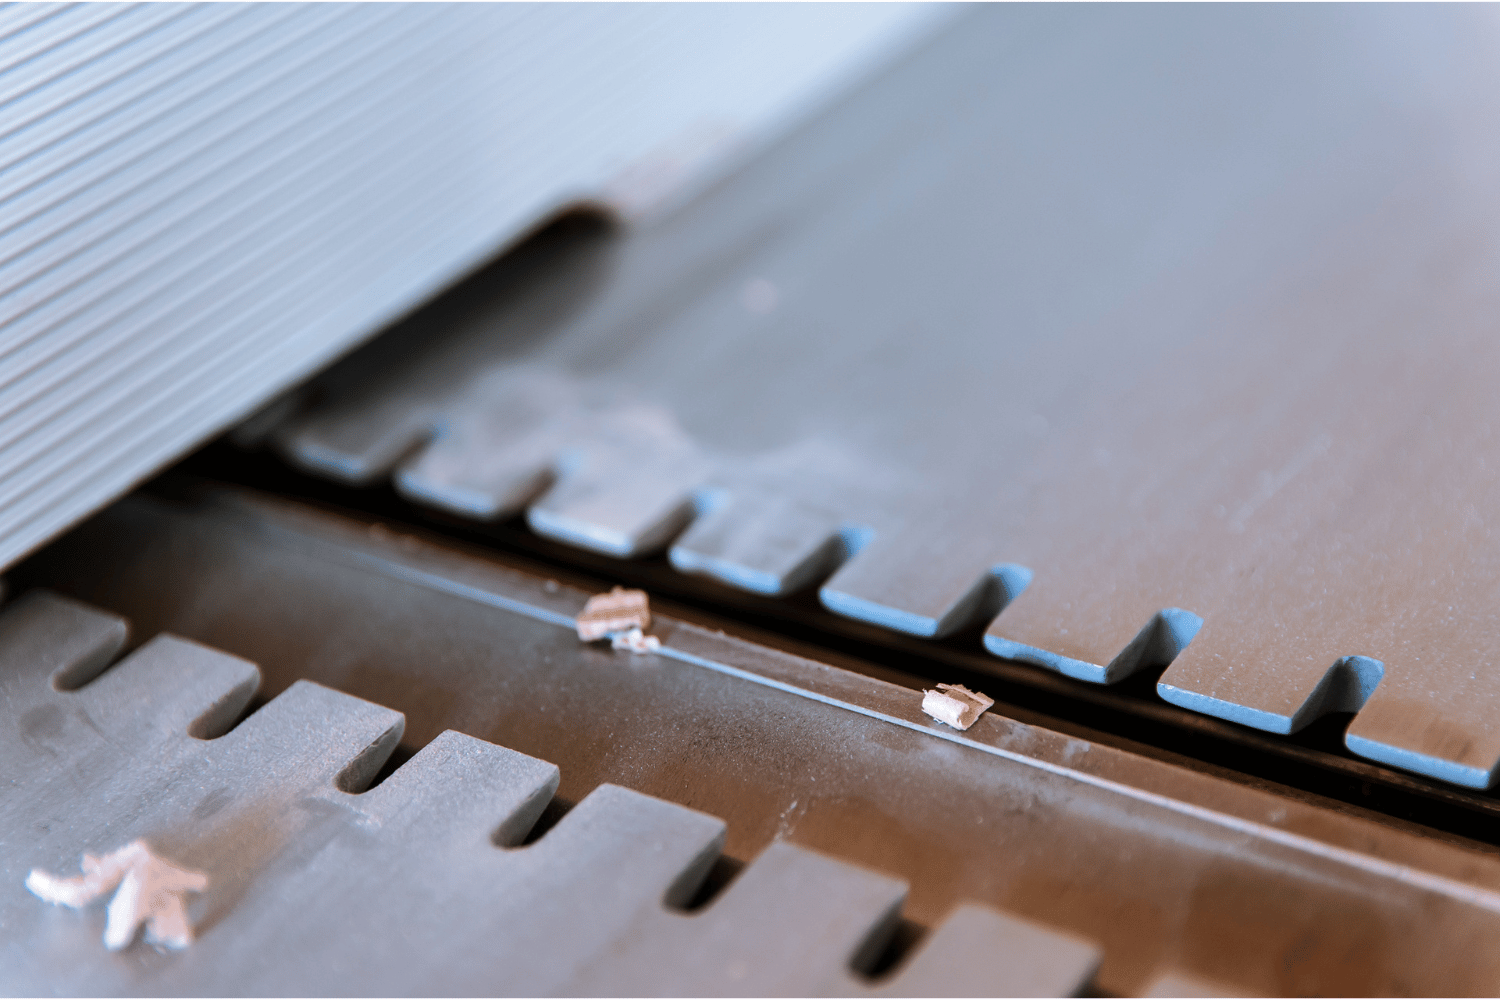
Basic Components of a Jointer
A jointer is composed of a cutter head, infeed table, outfeed table, fence, and guard. The infeed table is the adjustable table that the wood is fed into the jointer, determining the depth of the cut.
The outfeed table, on the other hand, is where the wood is fed out of the jointer, ensuring a smooth, even surface. The blade guard is a safety feature that covers the cutter head to prevent contact between the wood and blades, while the fence acts as a guide to keep the wood straight as it is fed through the jointer.
Types of Jointers
There are two main types of jointers: benchtop and cabinet-style. Each type offers unique features and advantages for a particular job. A benchtop jointer is a smaller, portable machine that offers convenience for those with limited workshop space.
Cabinet-style jointers are larger than benchtop jointers. They are stationary machines which offer increased power and the capability to mill wider boards. These are ideal for professional woodworkers or those with larger workshop spaces.
Ultimately, the type of jointer you choose should depend on your specific woodworking needs and the available space in your workshop.
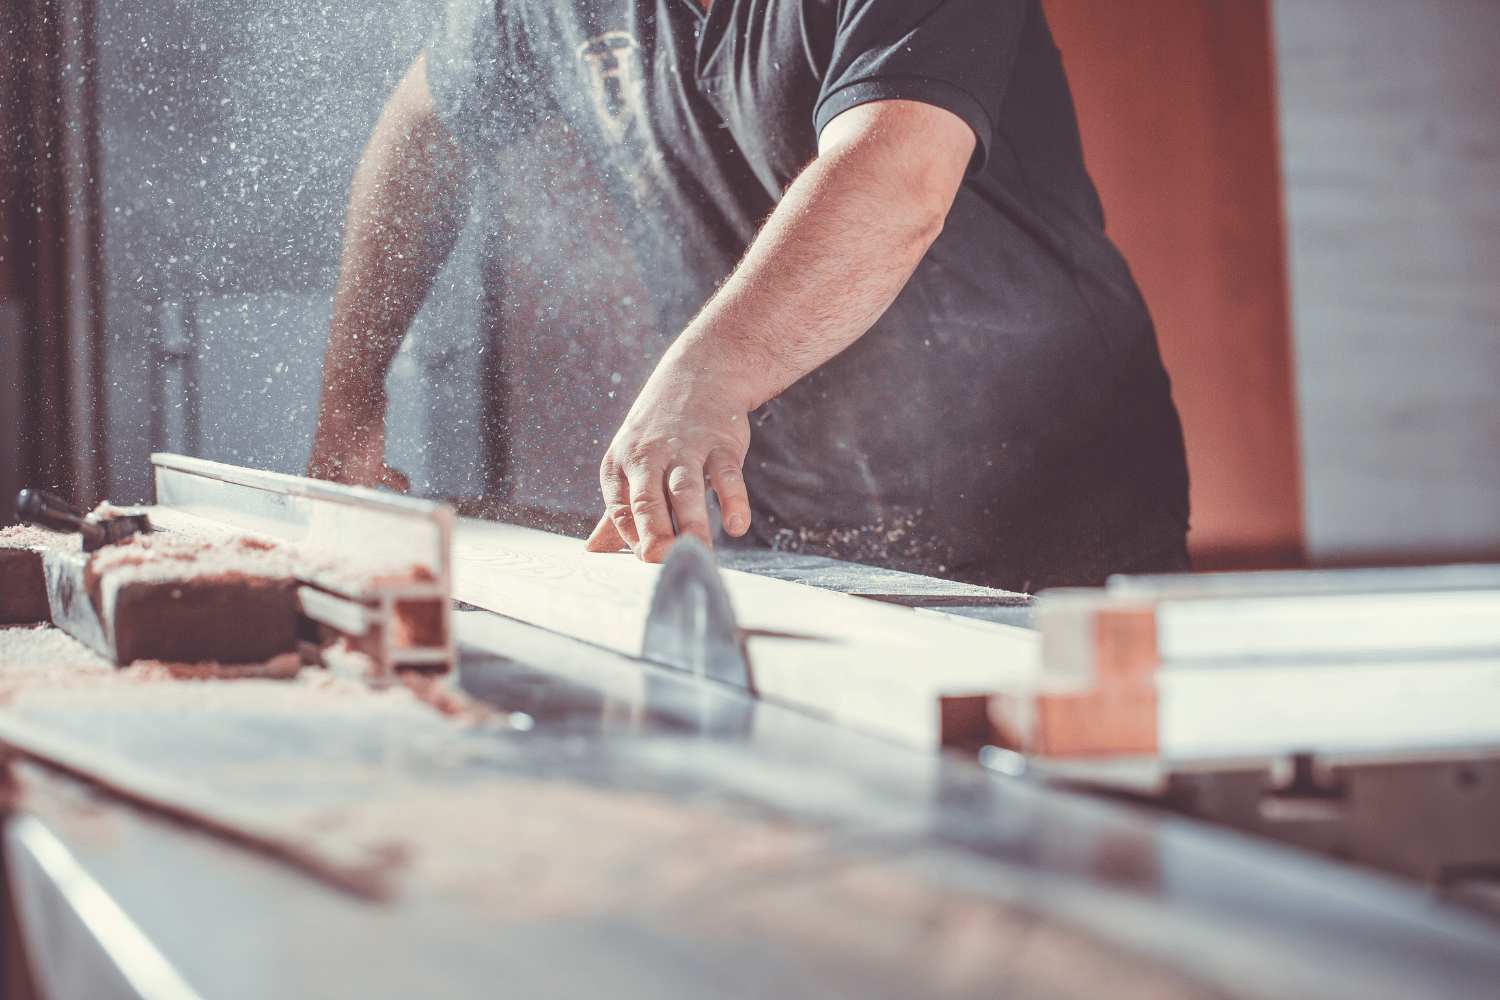
The Art of Edge Jointing
Edge jointing is a woodworking technique used to achieve a straight, flat edge on a board, often employed in preparation for joining boards together to form a larger panel or tabletop. Edge jointing can be accomplished using a jointer or a router, both of which are essential tools in the woodworking process.
To ensure successful edge jointing, it is crucial to understand the techniques involved, as well as common mistakes to avoid.
Techniques for Successful Edge Jointing
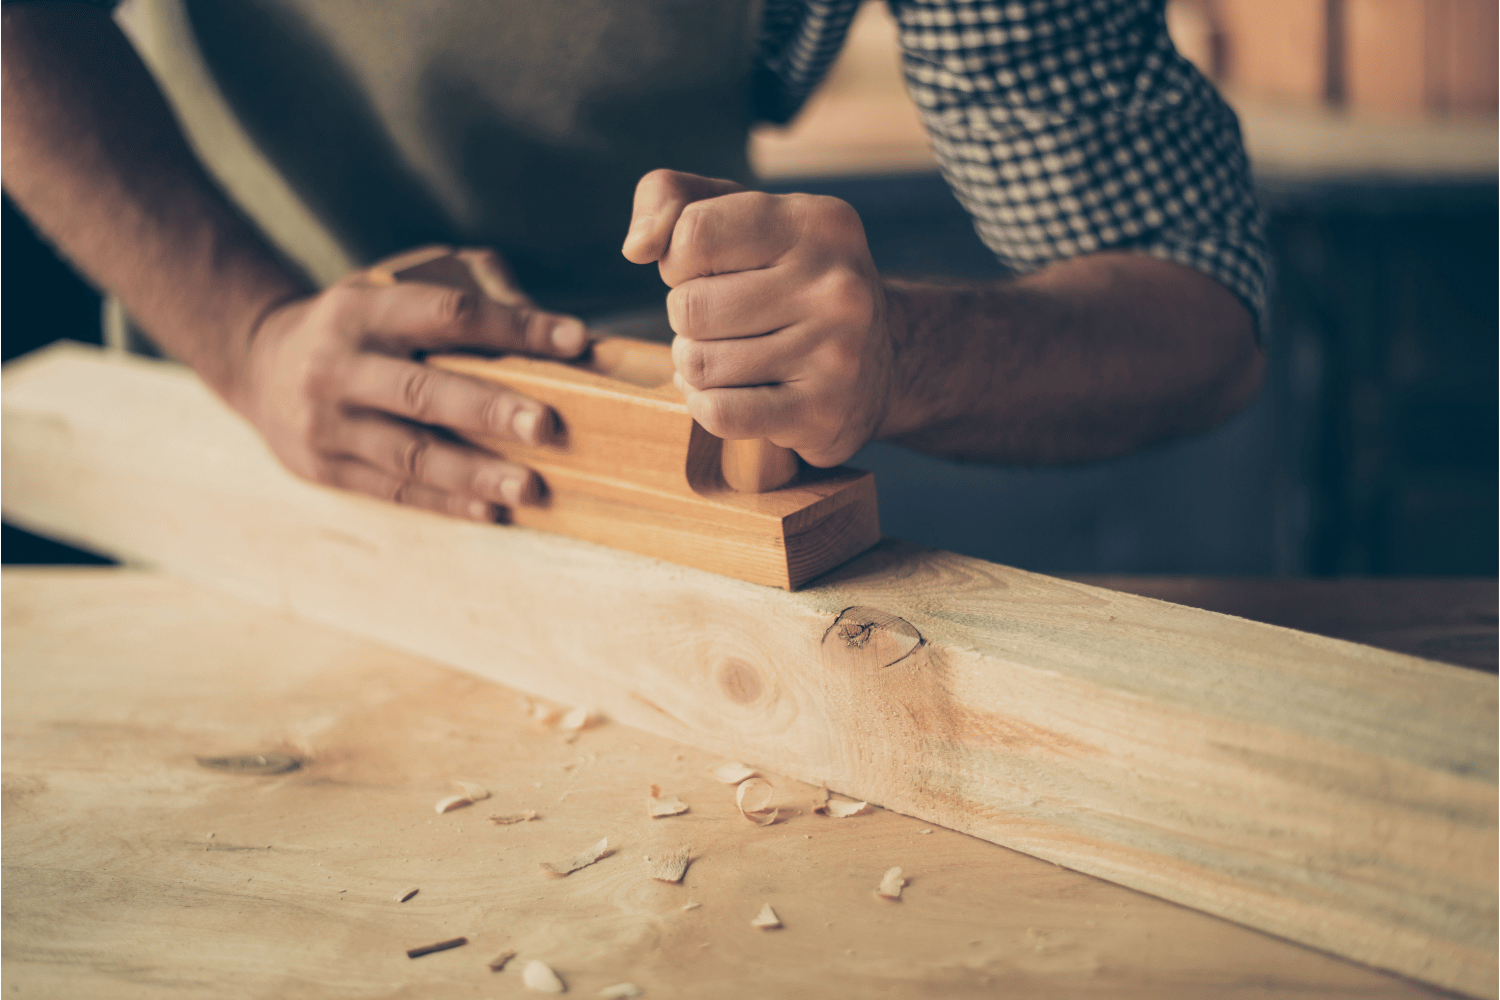
Achieving successful edge jointing may be accomplished through the use of a jointer, hand planing, and sanding. When using a jointer for edge jointing, it is essential to create a reference plane, adjust the depth of cut, and joint the face first.
For those who prefer hand tools, edge jointing with a hand jointer plane involves adjusting the blade depth, planing the board in one direction, and then planing the board in the opposite direction.
Lastly, edge jointing with sanding requires the use of a sanding block and sanding the board in one direction, followed by sanding the board in the opposite direction.
Common Edge Jointing Mistakes
Some common edge jointing mistakes include insufficient passes on the jointer, failure to ensure the edges are even, and neglecting to ensure the boards are straight. To avoid these errors, it is essential to ensure squareness, take into account the grain direction, and consider the thickness of the board.
Neglecting to check for squareness can prevent you from getting that perfectly straight edge, potentially leading to a weakened joint that is more vulnerable to splitting. Likewise, disregarding grain direction can result in tear-out, potentially compromising the strength and integrity of the joint.
Finally, neglecting the thickness of the board can result in uneven edges, potentially compromising the strength of the joint and increasing the risk of splitting.
Additional Jointer Functions
Apart from flattening and squaring one face of a board, a jointer can also be employed to join two pieces of wood at their meeting point.
Additionally, jointers can be used for rabbeting, beveling, and chamfering, further expanding their versatility in woodworking projects.
Rabbeting with a Jointer
Rabbeting with a jointer entails cutting a groove along the edge of a board. To rabbet with a jointer, the guard must be removed, the fence adjusted to the width of the rabbet, and the bed lowered to the desired depth of the rabbet.
Then, a groove or channel can be cut along the edge of the board. Rabbeting with a jointer provides a swift and precise method for cutting a groove along the edge of a board, with precise control over the depth and width of the rabbet.
Beveling and Chamfering
Beveling and chamfering are woodworking techniques used to create angled cuts in a workpiece. A chamfer involves cutting at a 45-degree angle to the adjacent principal faces, while a bevel is a sloping edge between two principal faces. Chamfering is commonly used to eliminate sharp edges and form decorative features in woodworking, while beveling is often employed to create more subtle, functional angles on the edges of boards.
Both techniques can be performed using a jointer and add to its versatility in woodworking projects.
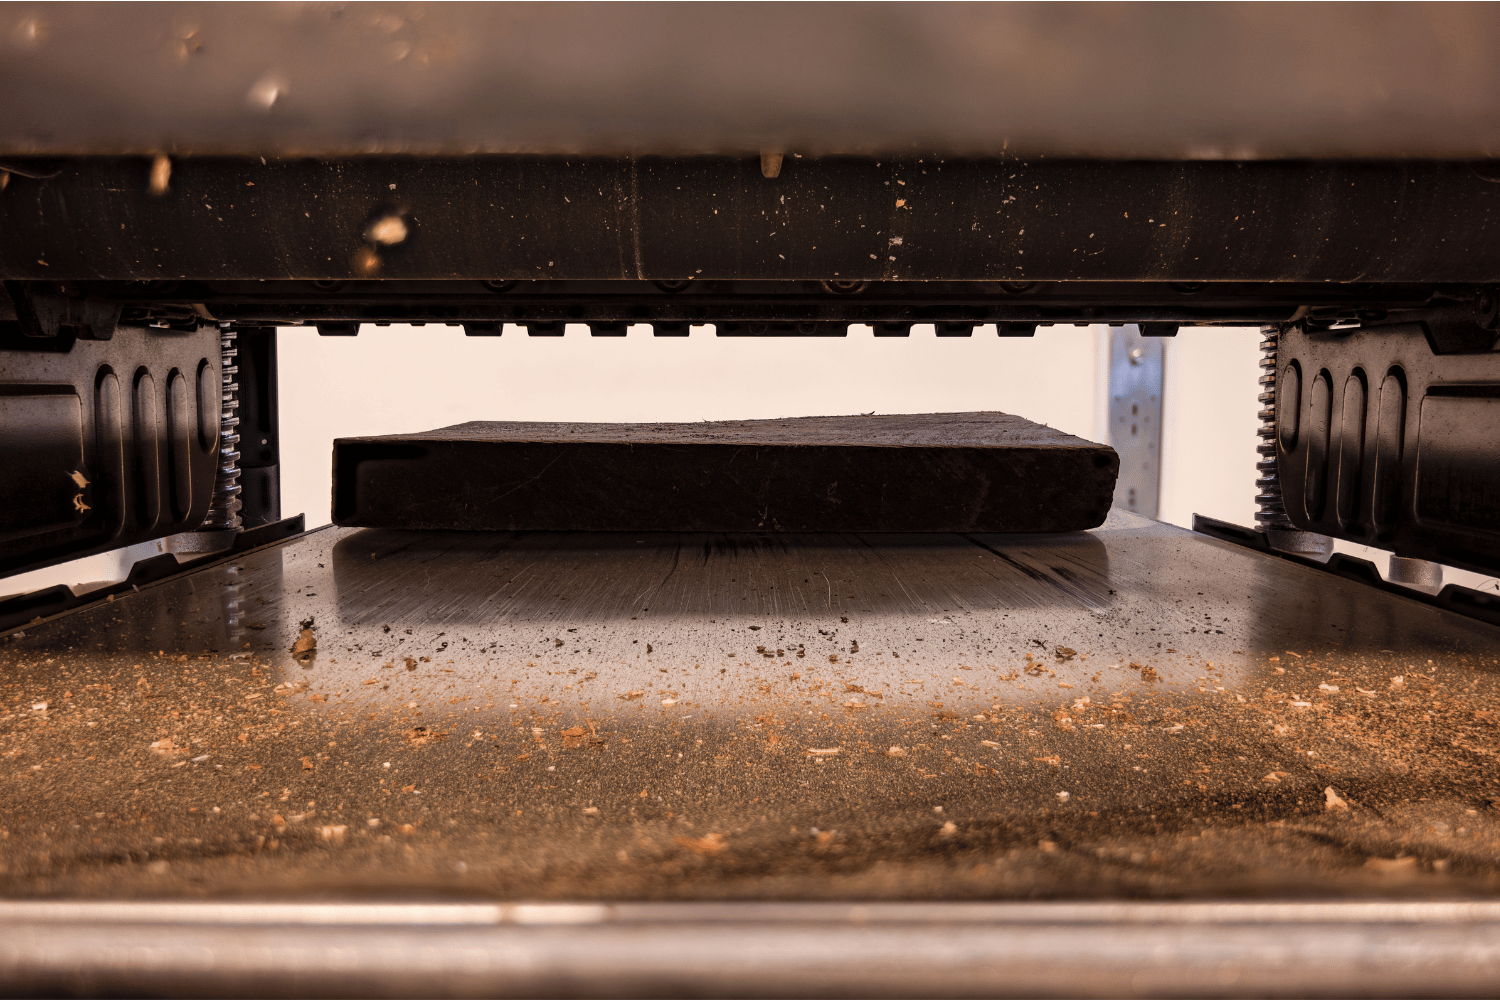
Understanding the Thickness Planer
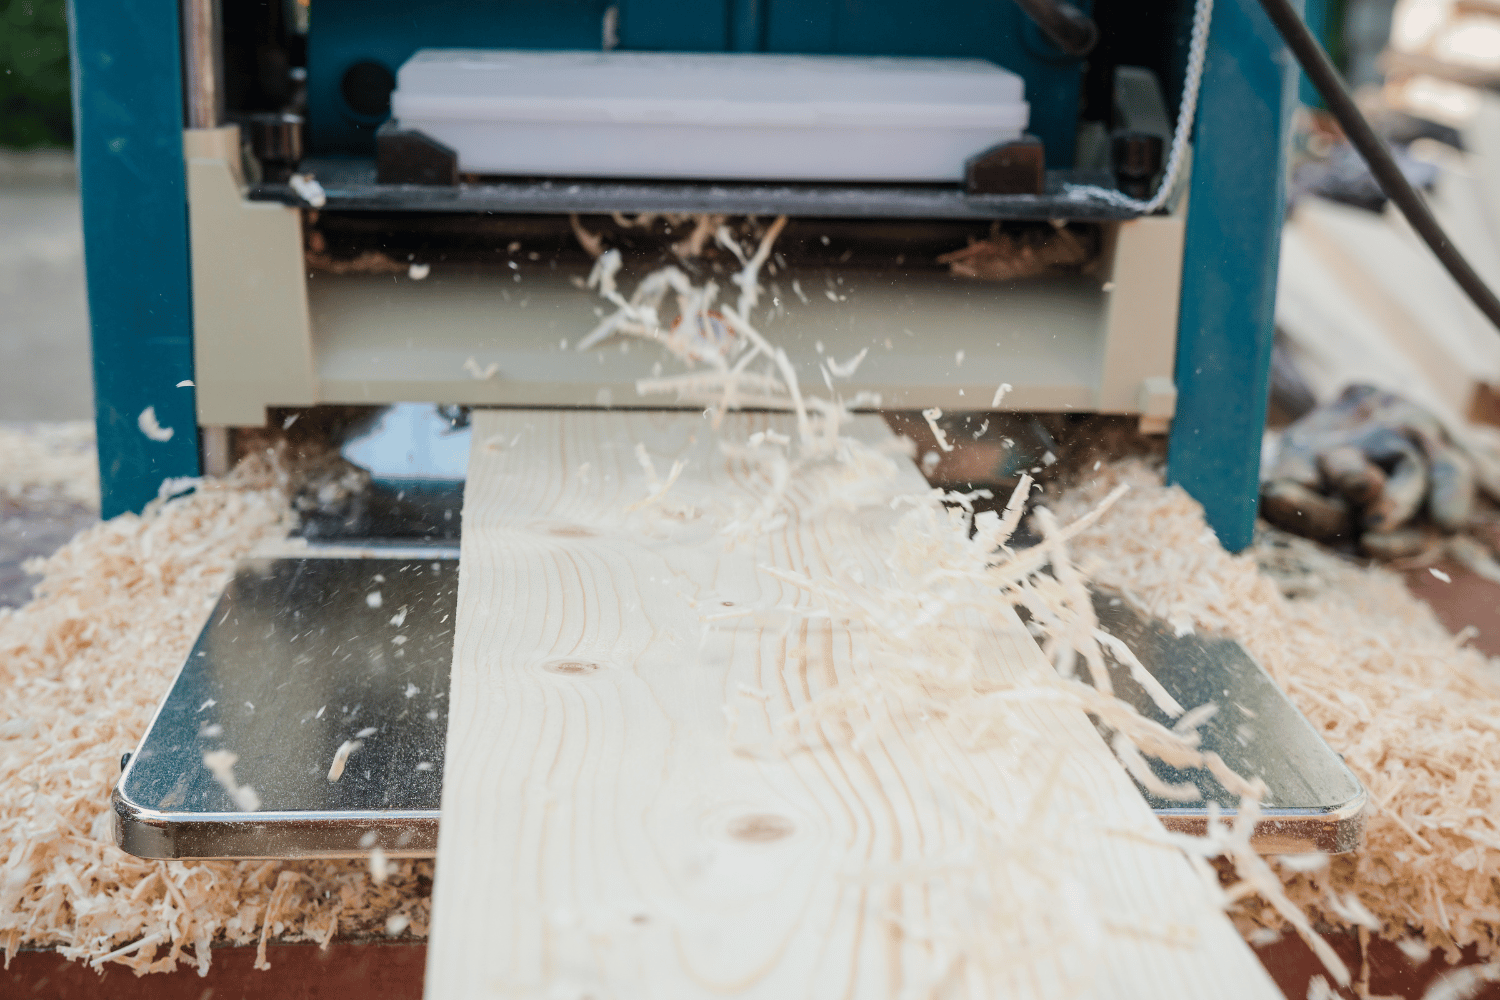
A thickness planer is a valuable woodworking tool. It is used to precisely adjust the thickness of boards along their length. The machine works by passing the workpiece over its bed and under the cutter head via rollers. This process results in the removal of one layer of wood as it goes through the machine.
The primary purpose of a thickness planer is to provide a uniform thickness across the length of boards by smoothing and reducing them.
Basic Components of a Thickness Planer
A thickness planer consists of seven parts: a depth adjustment knob, an infeed table, an outfeed table, a cutter head, a depth of cut gauge, a dust collection port, and an on/off switch. The depth adjustment knob allows for the raising or lowering of the cutter head, while the infeed and outfeed tables facilitate the feeding of the board into and out of the planer.
The cutter head houses the blades responsible for cutting the wood, and the depth of cut gauge measures the depth of the cut being made by the planer. Meanwhile, the dust collection port connects the planer to a dust collection system, and the on/off switch activates and deactivates the planer.
Types of Thickness Planers
There are three main types of thickness planers: benchtop, floor model, and electric handheld planers. Benchtop planers are compact and portable machines, ideal for light-duty tasks and those with limited workshop space.
Floor model planers, on the other hand, are larger, stationary machines that offer more power and the capacity to mill wider boards than benchtop planers, making them suitable for professional woodworkers or those with larger workshops.
Electric handheld planers are small, portable planers that are powered by electricity, designed for light-duty tasks and smaller projects.
The Art of Thickness Planing
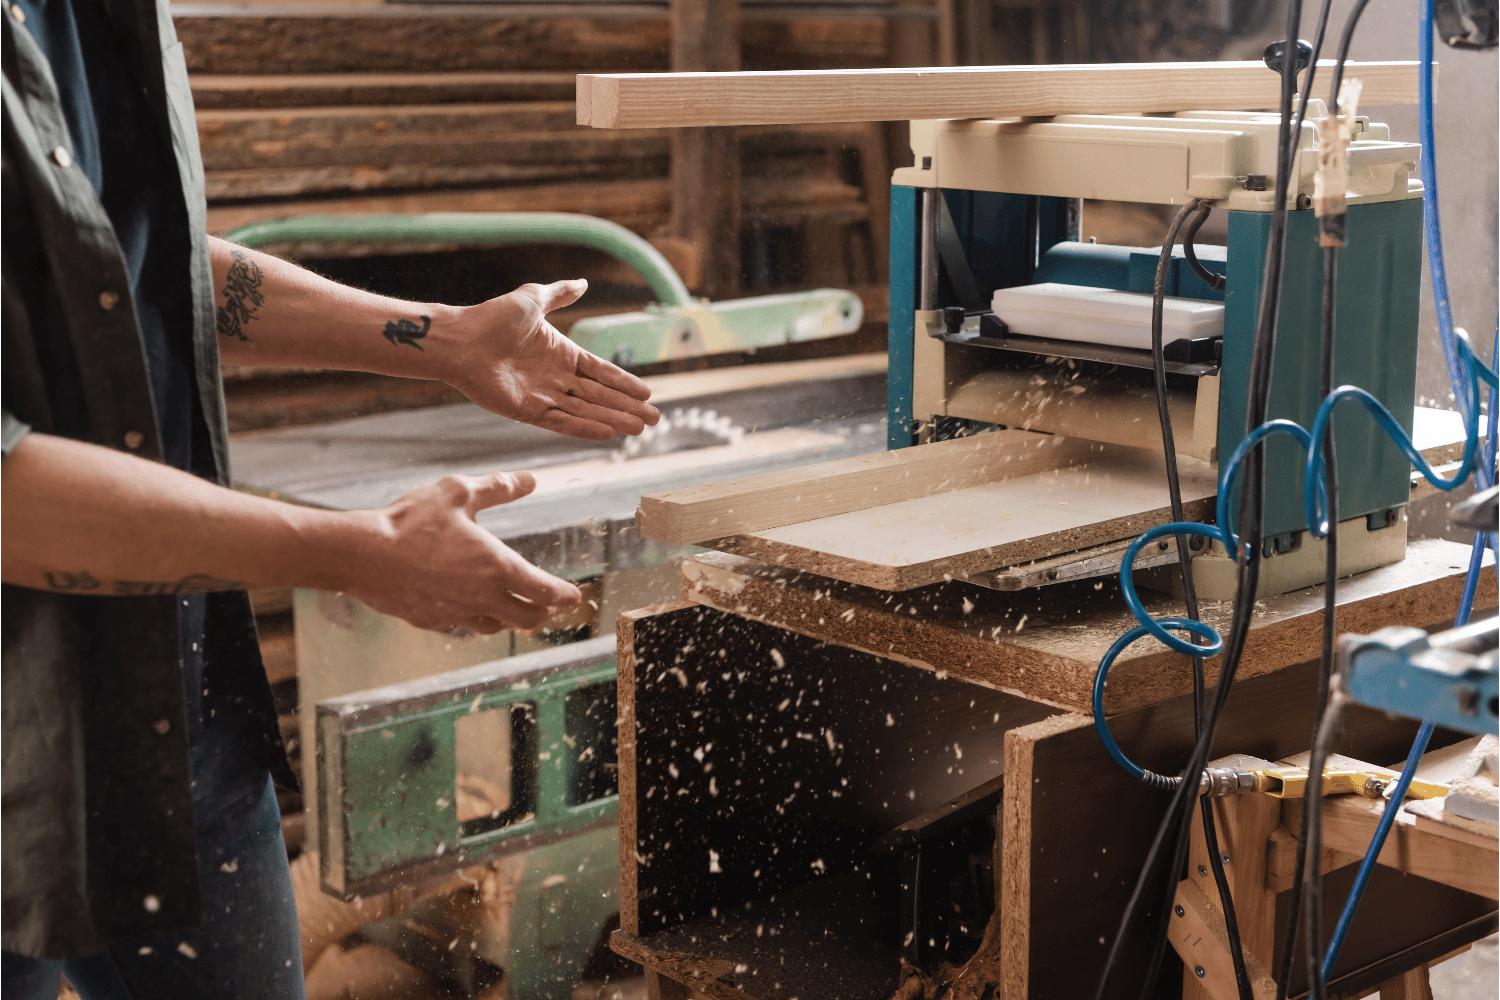
Thickness planing is the process of reducing the thickness of a board to a desired dimension. A thickness planer is advantageous when portability is possible and boards are typically thicker or wider.
However, it is important to note that a thickness planer cannot rectify imperfections such as warped, cupped, bowed, or twisted boards. To ensure successful thickness planing, it is crucial to understand the techniques involved, as well as common mistakes to avoid.
Techniques for Successful Thickness Planing
For successful thickness planing, multiple passes, using a jig, and using a sled are recommended. All planers have a limit to the amount of wood they can remove in one pass, so it may be necessary to take multiple passes to achieve the desired thickness.
Using a jig can guarantee that the planer is cutting at the precise angle, while a sled can facilitate the passage of thin strips and stock through the planer.
Additionally, it is important to follow safety protocols when utilizing the planer, such as ensuring the planer is level, clean, and smooth, securing boards together for stability, and wearing protective gear.
Common Thickness Planing Mistakes
Common thickness planing mistakes include not specifying the depth of cut precisely, disregarding grain direction, and not considering the width of the board. Accurately setting the depth of cut is essential to guarantee that the board is planed to the desired thickness, as improper depth can result in the board being planed too thin or too thick.
Adhering to grain direction is critical to prevent tear-out and other planing defects, so it is important to ensure that the grain is fed into the cutter head in the same direction as the rotation of the blades when planing.
Lastly, considering the width of the board is essential to guarantee that the board is planed uniformly and to avoid snipe or uneven shaving.
Jointer vs Planer: Key Differences and Complementary Functions
Jointer and planer have different strengths and weaknesses, and they are complementary tools, typically used in tandem to prepare rough cut wood for a project. A jointer is utilized to level one face and square up one edge, making it an essential tool for creating flat surfaces and square edges in your woodworking projects.
On the other hand, a planer is employed on two flat and parallel faces, ensuring a consistent thickness across the length of boards by smoothing and reducing them. Understanding when to use each tool and how they complement each other is key to achieving professional results in your woodworking projects.
When to Use a Jointer
Use a jointer when needing to flatten one face and square up one edge of a board, especially when working with rough cut lumber. The jointer is essential in creating a flat reference face, allowing for more precise and professional results in your woodworking projects.
When to Use a Planer
Utilize a planer when working on two flat and parallel faces, as it is most advantageous for creating a parallel second face on a board, smoothing rough surfaces, and milling boards to a precise thickness.
However, a planer can also replace a jointer with specific jigs or a table saw, offering flexibility in your woodworking projects.
Choosing the Right Tool for Your Needs
Selecting the right tool for your woodworking projects can be a challenging task, especially when considering the differences and complementary functions of jointers and planers. To make an informed decision, it is important to take into account the type of project and wood you will be working with, as well as factors such as size, power, cost, and convenience.
In this section, we’ll delve into these factors and provide recommendations for beginners to help you choose the right tool for your needs.
Factors to Consider
When choosing between jointers and planers, consider factors such as size, power, cost, and convenience. The size of the tool should be proportionate with the size of your project and the available space in your workshop. The power of the tool should be suitable for the size and type of project, and the cost should align with your budget and the frequency of use.
Additionally, consider the convenience of the tool, whether it is easy to use and maintain, and if it can be easily stored when not in use.
Recommendations for Beginners
For beginners starting out in woodworking, we recommend purchasing a planer first, as it is a highly versatile tool that can be used for a wide range of projects, from furniture to cabinetry. A thickness planer is also relatively simple to use and cost-effective, making it an ideal choice for those new to woodworking.
However, as you progress in your woodworking journey and expand your workshop, investing in a jointer may become necessary due to its ability to create flat and straight edges on wood. Ultimately, the choice between a jointer and a planer will depend on your specific woodworking needs and goals.
Jointer-Planer Combo Machines
Jointer-planer combo machines are woodworking machines that combine the functions of a jointer and a planer, providing a single solution for both operations. These machines allow for two functions to share a cutter head, reducing the overall footprint in your workshop and potentially saving you money on purchasing separate machines.
However, it’s important to note that jointer-planer combo machines may require time and effort to switch between functions, which may not be suitable for those who prefer to alternate between machines quickly and efficiently.
Summary
In conclusion, jointers and planers are essential woodworking tools with distinct functions and complementary capabilities. While jointers are ideal for creating flat surfaces and square edges, planers excel at producing parallel surfaces and consistent thickness across the length of boards. Understanding the key differences between these tools, as well as their complementary functions, will help you make an informed decision when selecting the right tool for your woodworking projects.
Whether you’re a beginner or an experienced woodworker, we hope this comprehensive guide has provided you with valuable insights into the world of jointers and planers. As you continue to hone your woodworking skills and expand your workshop, always remember that the right tool can make all the difference in the quality and precision of your finished projects.