How Do You Remove Tile with a Hammer Drill?
Utilizing a hammer drill for tile removal is a practical yet demanding task that requires proper knowledge and technique. While traditional methods involve tedious chiseling and scraping, a hammer drill offers a more efficient and precise approach. This method not only speeds up the removal process but also minimizes the risk of damaging the underlying surface. However, it is crucial to adhere to safety precautions as working with power tools poses potential hazards. In this blog post, we will discuss the step-by-step process and the necessary precautions for removing tiles with a hammer drill.
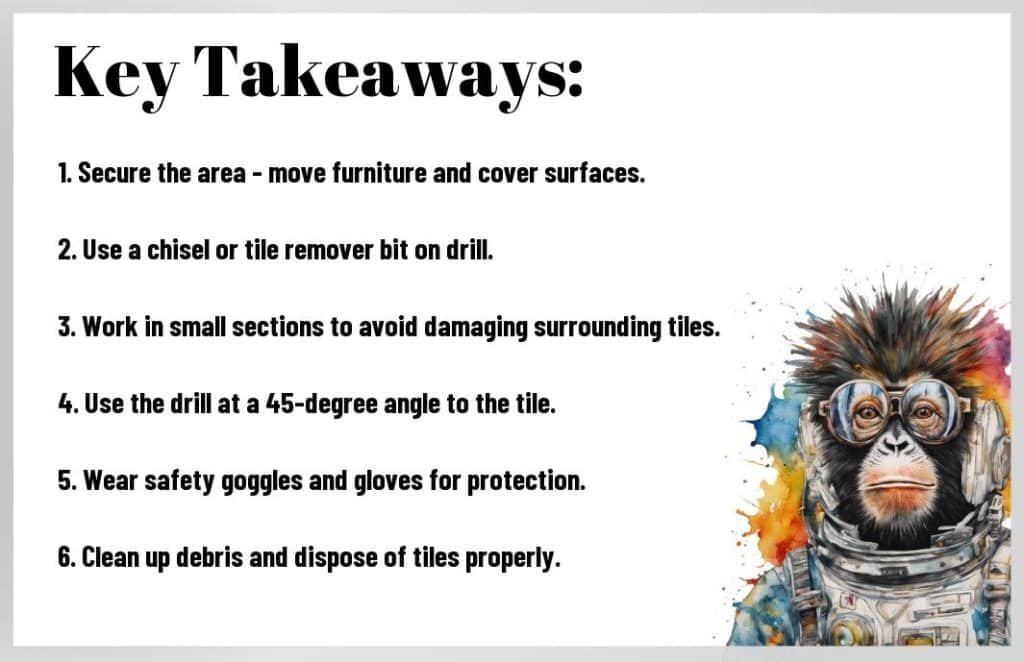
Key Takeaways:
- Proper safety precautions should be taken when using a hammer drill to remove tile, including wearing protective gear such as goggles and gloves.
- It is important to select the correct bit for your hammer drill based on the type of tile and adhesive you are removing.
- Start with a small area to get a feel for the process before tackling larger sections of tile.
- Use the hammer drill at a 45-degree angle to effectively break up the tile and adhesive.
- Regularly clean the bit and the work area to ensure efficient and safe removal of the tile.
Safety Measures
One of the most important aspects of removing tile with a hammer drill is ensuring the safety of yourself and those around you. Before beginning the project, it is essential to familiarize yourself with the proper safety measures. Whether you are an experienced DIY enthusiast or a beginner, it is crucial to prioritize safety throughout the process. For detailed guidelines on using hammer drills safely, you can refer to Use Rented Tools to Remove an Old Tile Floor.
Personal Protective Equipment
The first step in ensuring personal safety is to equip yourself with the necessary personal protective equipment (PPE). This may include safety goggles, ear protection, dust mask, and work gloves.
The use of safety goggles is essential to protect your eyes from flying debris, while ear protection will help minimize the noise level from the hammer drill. Additionally, a dust mask will protect your respiratory system from the dust and particles that are generated during the tile removal process, and work gloves will help to safeguard your hands from sharp edges and rough surfaces.
Preparing the Work Area
With any project involving the use of power tools, it is important to prepare the work area properly. This includes clearing the workspace of any obstructions, securing loose items, and covering nearby furniture and fixtures to protect them from dust and debris.
Measures such as removing any rugs or floor coverings, and ensuring all electrical outlets and switches are turned off will contribute to a safer and more efficient work environment. Properly securing loose items and covering nearby surfaces will help to prevent accidents and damage during the tile removal process.
Equipment and Materials
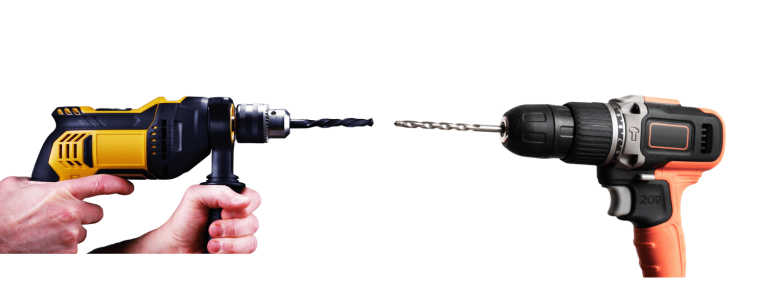
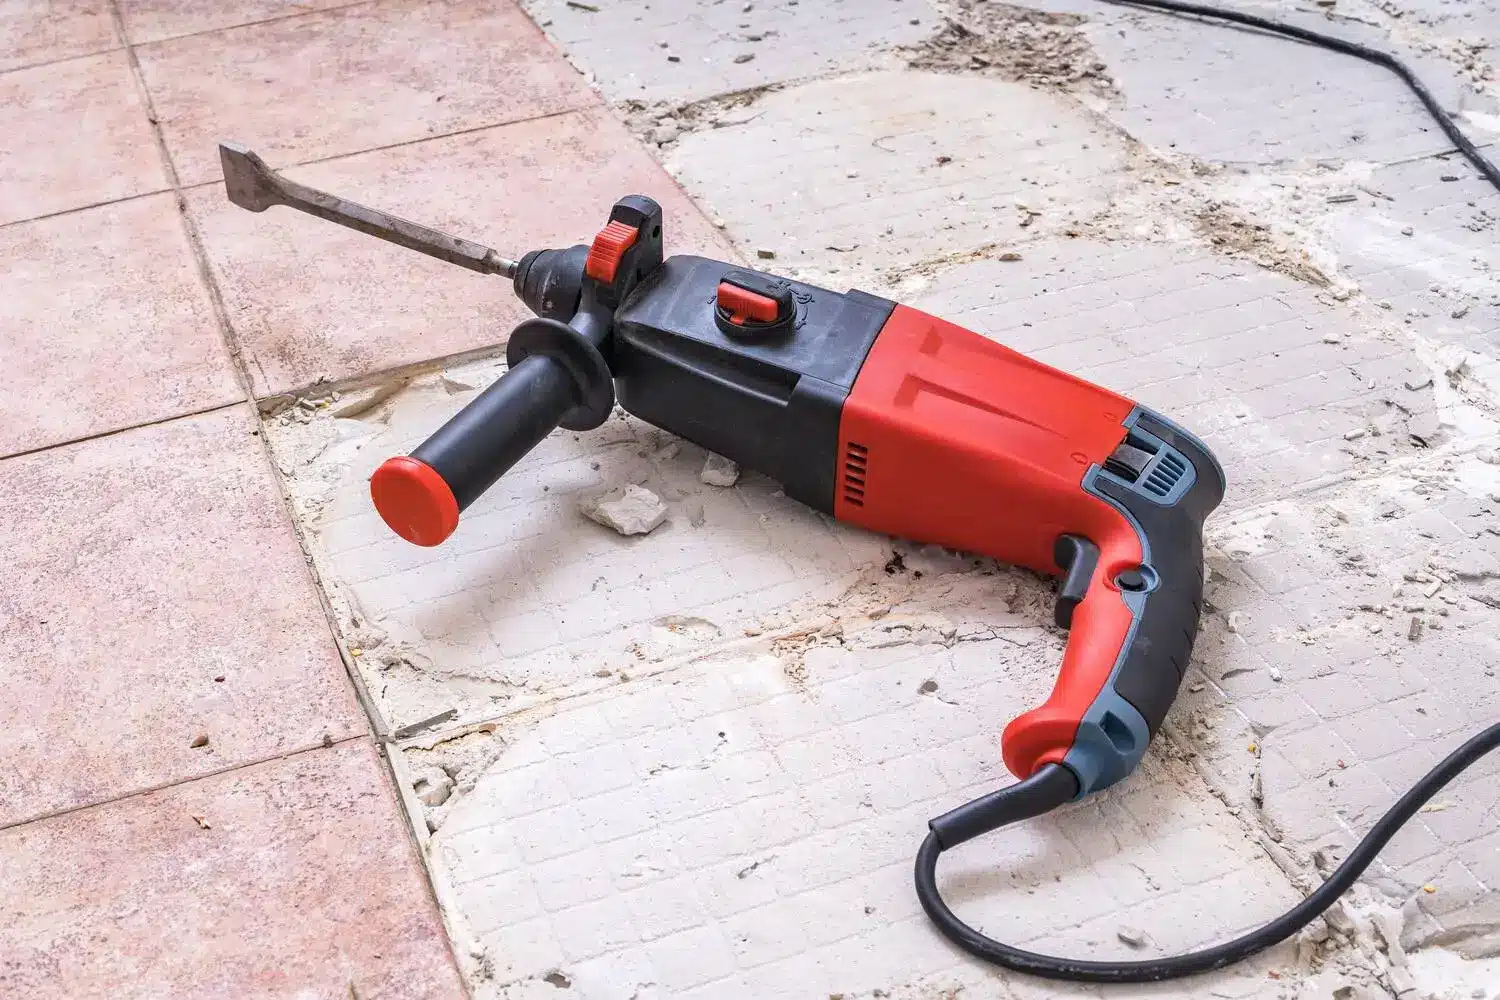
Obviously, the main equipment you will need for removing tile with a hammer drill is a hammer drill. Additionally, you will need safety goggles, a dust mask, a chisel bit attachment for the drill, and a pry bar.
Selecting the Right Hammer Drills
Any professional-grade hammer drill will work for removing tile, as long as it has a hammer-only setting and variable speed control. Look for a drill with a variety of chisel bits available for purchase, to ensure you can find the right one for the job.
Make sure to consider the weight and ergonomics of the drill, as you will be using it for an extended period of time.
Necessary Attachments and Accessories
The most important attachment for removing tile with a hammer drill is a chisel bit, specifically designed for this purpose. Additionally, having a dust extraction attachment can help minimize the amount of dust created during the removal process.
For instance, wearing a dust mask and using a vacuum with a HEPA filter are crucial for protecting yourself from the dangerous dust and debris released during the tile removal process.
Remember to check the manufacturer’s recommendations for necessary attachments and accessories, and always prioritize safety.
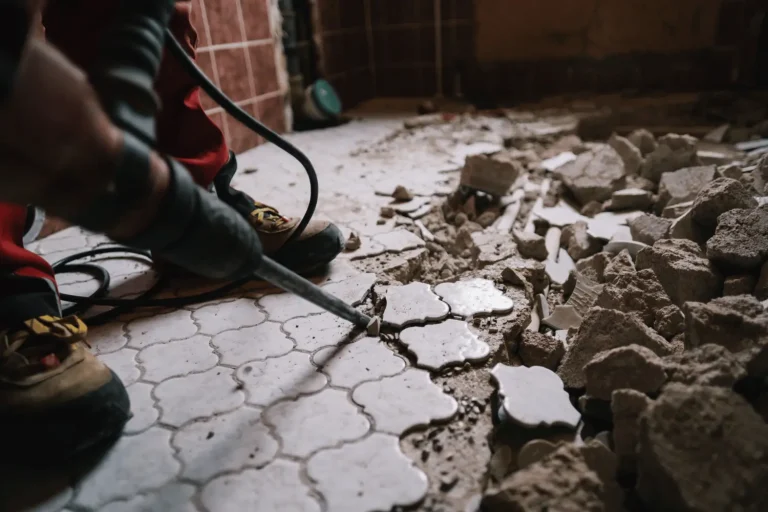
The Tile Removal Process
Now that you have decided to remove the tiles from your space, it is important to understand the process involved in using a hammer drill to complete the task effectively. The tile removal process can be efficient and straightforward when using the right tools and following the correct steps.
Preparing the Hammer Drills
With the right preparation, using a hammer drill to remove tiles can be a smooth process. Make sure to equip the hammer drill with a chisel bit designed for tile removal. Additionally, ensure that the drill is fully charged or connected to a power source to avoid interruptions during the removal process. Proper safety gear, including protective eyewear and gloves, should be worn to prevent any injuries during the tile removal process.
Step-by-Step Guide to Removing Tiles
| Step 1: Preparation | Step 2: Tile Removal |
| With the right preparation, using a hammer drill to remove tiles can be a smooth process. Make sure to equip the hammer drill with a chisel bit designed for tile removal. Additionally, ensure that the drill is fully charged or connected to a power source to avoid interruptions during the removal process. Proper safety gear, including protective eyewear and gloves, should be worn to prevent any injuries during the tile removal process. | With the hammer drill set to the appropriate speed and setting, carefully position the chisel bit at a 45-degree angle to the tile surface. Using a steady, controlled motion, apply pressure to the drill to break the tile and adhesive bond. Take caution to avoid applying excessive force, as this can cause damage to the subfloor. |
The process of removing tiles with a hammer drill requires patience and precision. It is important to apply controlled force and maintain a steady hand to avoid damaging the subfloor. By following the step-by-step guide and using the right tools, the tile removal process can be completed efficiently and effectively.
Tips and Tricks
After removing tile with a hammer drill, there are a few tips and tricks to keep in mind to make the process go smoother and minimize damage. Here are some tips to help you along the way:
- Protect the underlayment with a layer of cardboard
- Use a pry bar to gently lift up stubborn tiles
- Work in small sections to avoid causing unnecessary damage
The key to successfully removing tiles with a hammer drill is to take your time and proceed carefully. The underlayment beneath the tiles is delicate and can easily be damaged if not handled properly.
Minimizing Damage to the Underlayment
Tips for minimizing damage to the underlayment include protecting it with a layer of cardboard or other sturdy material. This will help absorb some of the impact from the hammer drill and prevent it from directly hitting the underlayment. Additionally, working in small sections and using a pry bar to gently lift up the tiles can help prevent unnecessary damage.
Handling Stubborn Tiles
One of the most challenging parts of removing tiles with a hammer drill is dealing with stubborn tiles that don’t want to budge. If you encounter stubborn tiles, try using a pry bar to gently lift them up, being careful not to apply too much force and risking damage to the underlayment.
Underlayment should always be handled with care to avoid causing any unnecessary damage. If you encounter stubborn tiles, take your time and work in small sections to avoid causing damage to the underlayment beneath.
Cleanup and Disposal
Your tile removal project is almost complete, but now it’s time to clean up and dispose of the debris. If you’re wondering how to properly handle the mess and where to dispose of the tile, visit this forum thread for helpful tips on Removing ceramic tile with hammer drill+chisel bits.
Proper Disposal of Tile Debris
To properly dispose of the tile debris, you’ll need to check with your local waste management facility for regulations on disposing of construction materials. Some areas may require you to separate the tile debris from other waste, while others may have specific guidelines for disposal. Additionally, consider renting a dumpster or scheduling a pickup service to ensure the tile debris is removed safely and efficiently.
Once the debris is contained, seal the bags tightly to prevent any dust or particles from escaping during transport. This will help protect the environment and prevent potential hazards from arising.
Preparing the Surface for New Tiles
Debris from the tile removal process should be thoroughly cleaned and removed from the surface before installing new tiles. This will ensure a smooth and even surface for the new tiles to adhere to. Additionally, any adhesive or mortar residue should be scraped and sanded down to create a clean and level base for the new tiles.
This preparation is essential for the longevity and success of your new tile installation. Properly preparing the surface will prevent any issues with adhesion and ensure a professional finish for your project. Be sure to take the time to thoroughly clean and prep the surface before moving forward with your new tile installation.
How do you remove tile with a hammer drill?
Ultimately, removing tile with a hammer drill requires careful planning and precision. By selecting the appropriate chisel bit for the job and securing the necessary safety equipment, you can effectively use a hammer drill to break up and remove old tile. It is important to work in small sections, applying consistent pressure and monitoring the progress to avoid damaging the underlying substrate. With patience and the right technique, a hammer drill can be a powerful tool for removing tile efficiently and effectively.
FAQ
Q: Can I remove tile with a hammer drill?
A: Yes, you can remove tile with a hammer drill, but it requires caution and the right technique to avoid damage to the underlying surface.
Q: What type of drill bit should I use to remove tile?
A: For removing tile with a hammer drill, use a carbide-tip masonry bit. This type of bit is designed to handle the hardness of the tile and help break it apart efficiently.
Q: Do I need to wear any protective gear when removing tile with a hammer drill?
A: Yes, it is essential to wear safety goggles, work gloves, and a dust mask to protect yourself from flying tile fragments and dust particles during the removal process.
Q: How do I prevent damage to the substrate while using a hammer drill to remove tile?
A: To prevent damage to the substrate, start by drilling small holes in the grout lines between the tiles. Then, carefully chip away at the tiles and grout without applying excessive force, as this could result in substrate damage.
Q: What are some tips for a successful tile removal with a hammer drill?
A: Make sure to work methodically, starting from one corner of the area and moving gradually across the surface. Additionally, periodically clean out the dust and debris from the drilled holes to maintain the effectiveness of the hammer drill bit.