Troubleshooting Cordless Drill Issues – Easy Drill Repair
Is your trusty cordless drill suddenly feeling a bit less dependable? Frustrated by power losses, charging glitches, or mysterious motor hiccups? Welcome to our cordless drill repair troubleshooting guide, where we dive headfirst into the labyrinth of cordless drill conundrums.
Picture this: You’re knee-deep into a home improvement project, ready to bore through that stubborn piece of oak, and… silence. Your cordless drill refuses to cooperate. Cue the frustration, right? But hold on, because we’re about to unlock the secrets of getting that drill back in tip-top shape.
Here, we’re not just going to tighten a few screws and call it a day. We’ll demystify the intricacies of charging quirks, motor enigmas, and chuck conundrums. We’re your cordless drill’s best friend, here to help you restore its glory.
Desire to effortlessly conquer DIY projects and action to regain that reliable, trusty cordless drill – that’s what this guide is all about. So, grab your safety goggles and join us on this adventure to become a cordless drill troubleshooting maestro!
Key Takeaways
- Battery-related issues can include improper contact with the charger, worn-out or damaged batteries, and the battery not charging properly.
- Motor-related issues can be caused by a faulty switch, worn-out or damaged motor, or issues with the power cord and connections.
- Chuck-related issues may arise from worn or damaged chuck jaws, a faulty chuck mechanism, or a loose chuck key.
- Overheating and strange noises/vibrations can indicate issues such as overheating, loose screws or bolts, or improper attachment and tightening of the chuck and bit. Regular maintenance and extended use can help prevent these problems and ensure safe and efficient operation of the drill.
Power Source or Battery-Related Issues
If you’re experiencing issues with your cordless drill not charging properly or losing power quickly, there could be several reasons behind these problems.
One possibility is that the battery is not making proper contact with the charger, resulting in a faulty charging process.
Another potential cause could be a worn-out or damaged battery, which may need to be replaced.
Additionally, excessive use or high power demands can cause the drill to lose power quickly, indicating a need for a more powerful battery or a shorter operating time.
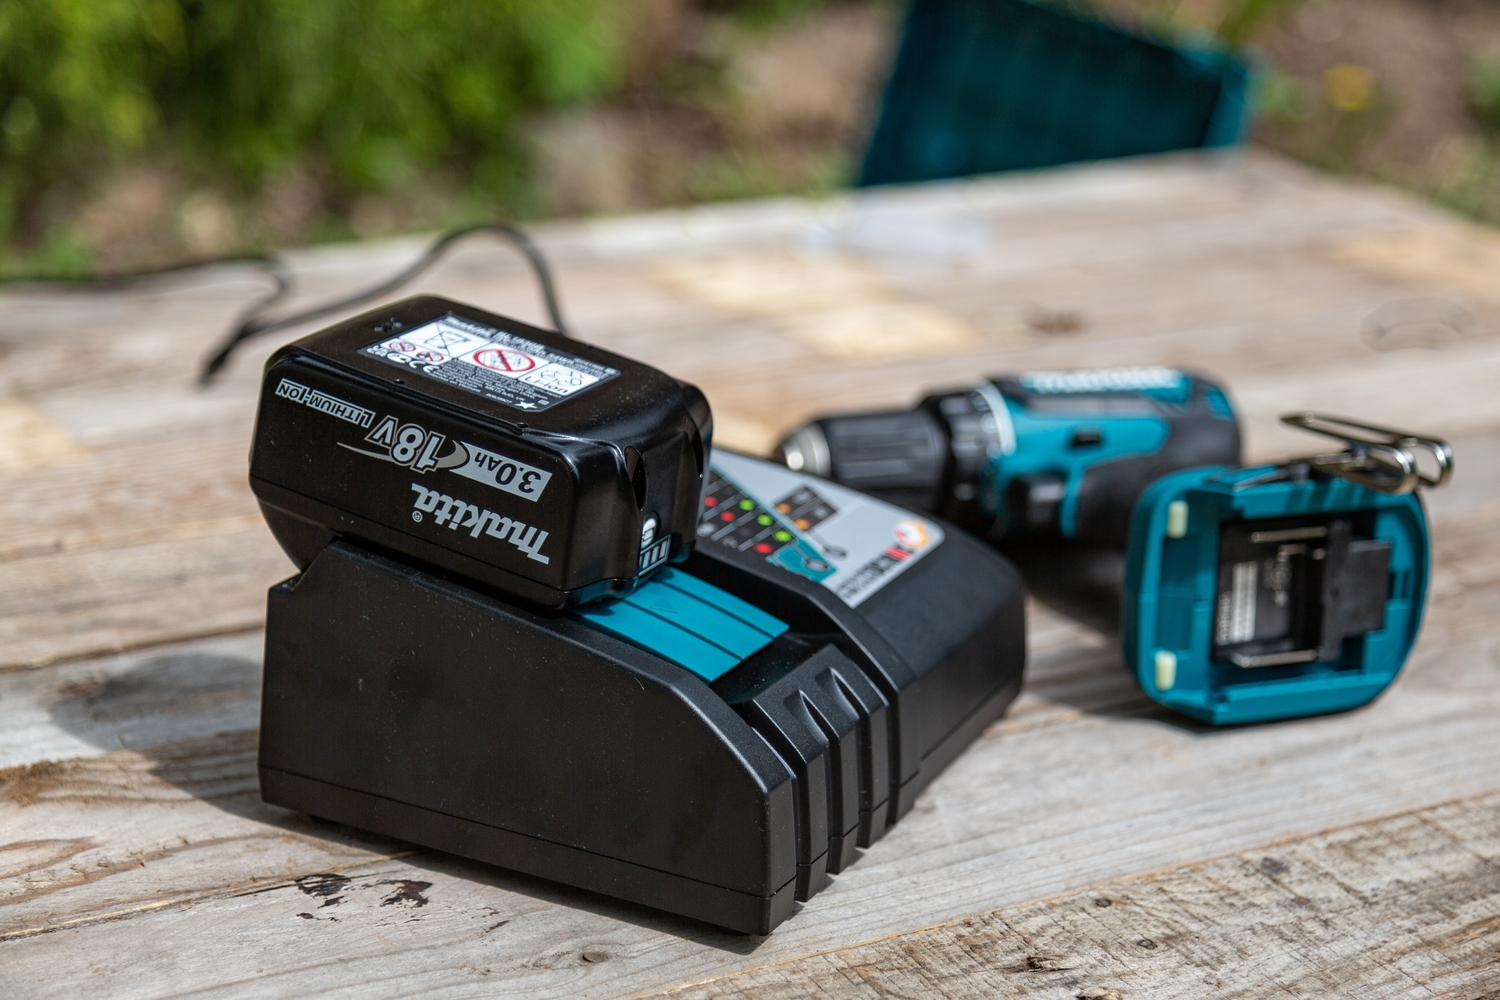
Drill not Charging Properly
If your drill isn’t charging properly, you might want to check the battery connections. Here are four steps to troubleshoot the issue:
- Inspect the battery pack: Remove the battery pack from the drill and visually inspect it for any signs of damage or corrosion. If you notice any issues, it may be necessary to replace the battery pack.
- Check the battery charger: Ensure that the battery charger is plugged in properly and the power source is working. Look for any indicator lights on the charger to confirm that it is functioning correctly.
- Ensure proper charging: Make sure you are charging the battery pack correctly. Refer to the drill’s manual for instructions on how long to charge the battery and any specific requirements.
- Consider replacing the battery: If all else fails, it may be necessary to replace the battery pack. Over time, batteries can lose their ability to hold a charge, and replacing it may solve the charging issue.
Drill Losing Power Quickly
When troubleshooting a cordless drill that is losing power quickly, there are several factors to consider.
First, check the battery to ensure it is fully charged. If the battery is low, recharge it completely before using the drill again.
If the drill battery is fully charged and the drill is still losing power quickly, it could be due to overheating. Allow the drill to cool down before continuing to use it.
Additionally, check the power source to ensure it is providing adequate power to the drill.
If the drill is not turning or starting at all, it may be a sign of a faulty battery or a motor issue, and professional assistance may be required.
Cordless Drill Motor-Related Issues
If you’re experiencing issues with your cordless drill not turning on or running slowly or inconsistently, there could be motor-related problems to address.
One possible cause could be a faulty switch, which may be preventing the drill from receiving power or causing it to operate at a reduced speed.
Another potential issue could be a worn-out or damaged motor, which can result in sluggish or erratic performance.
To troubleshoot these problems, you may need to inspect and potentially replace the switch or motor components, ensuring that they are properly functioning for optimal drill operation.
Drill not Turning On
First, check if the battery is properly inserted in the cordless drill. Sometimes, a simple issue like a loose or improperly inserted battery can prevent your Dewalt cordless drill from starting.
If the battery is securely in place and the drill still won’t turn on, here are four possible reasons and solutions:
- Dead Battery: Ensure that the battery is fully charged. If not, charge it using the appropriate charger. If the battery won’t hold a charge, it may need to be replaced.
- Faulty Switch: Check if the switch is in the correct position. If it’s loose or damaged, it may need to be replaced.
- Motor Issues: If the drill starts but stops working shortly after, it could indicate motor problems. Consult a professional for repair or replacement.
- Electrical Connection: Inspect the power cord and its connections for any damage or loose wires. If necessary, replace the cord.
Drill Running Slowly or Inconsistently
If your cordless drill is running slowly or inconsistently, it can be frustrating and hinder your work.
There are a few common drill problems that could be causing this issue. Firstly, check the power switch to ensure it is fully engaged and functioning properly. A faulty switch can result in a weak or inconsistent power supply.
Additionally, an overheating drill can also cause it to run slowly. This could be due to excessive use or a buildup of debris in the motor or ventilation system. To fix this, allow the drill to cool down and clean any debris.
Lastly, a weak or faulty battery can also contribute to a slow or inconsistent drill performance. Try charging or replacing the battery to see if that resolves the issue.
Drill Bit or Chuck-Related Issues
If you’re experiencing issues with your cordless drill chuck not tightening or loosening properly, there may be a few potential causes to consider.
One possibility is that the chuck jaws may be worn or damaged, preventing them from securely gripping the drill bit.
Another potential cause could be a faulty chuck mechanism or a loose chuck key.
Additionally, if you find that your cordless drill chuck is slipping during drilling, it could be due to insufficient tightening or an incorrect drill bit size for the chuck capacity.
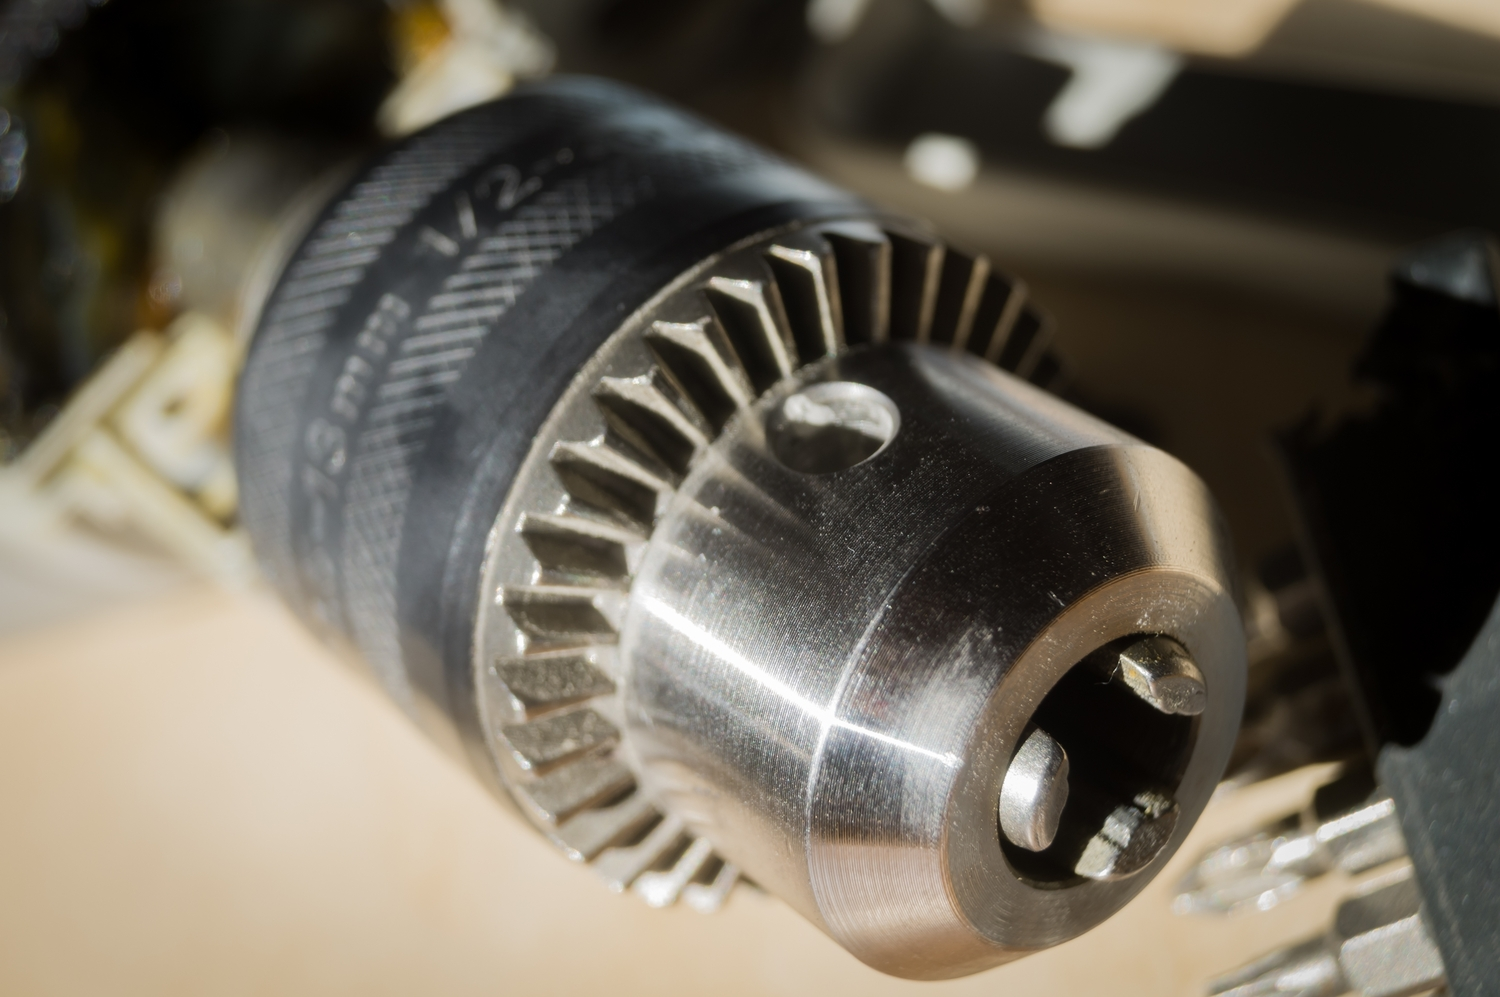
Chuck not Tightening or Loosening Properly
To fix a cordless drill chuck that isn’t tightening or loosening properly, you can try lubricating it with a silicone spray. Here are four steps to troubleshoot and resolve this issue:
- Inspect the Chuck: Examine the chuck for any dirt, debris, or damage. Clean the chuck thoroughly using a brush or compressed air to remove any obstructions.
- Apply Lubrication: Spray a small amount of silicone lubricant directly into the chuck. Rotate the chuck manually to distribute the lubricant evenly. This will help reduce friction and allow the chuck to function smoothly.
- Tighten the Chuck: Insert a drill bit into the chuck and tighten it securely. Ensure that the chuck jaws grip the bit tightly and evenly. If the chuck still doesn’t tighten properly, proceed to the next step.
- Check the Power Cord: Inspect the power cord for any damage or loose connections. If the power cord is faulty, it may affect the chuck’s performance. Replace or repair the power cord if necessary.
Chuck Slipping During Drilling
When your chuck is slipping during drilling, make sure to tighten it securely to prevent any potential accidents. A loose chuck can cause the drill bit to stop working mid-drill, leading to frustration and wasted time. To address this common problem, follow these steps to tighten the chuck properly:
- Ensure the power tool is turned off and unplugged.
- Using a chuck key or your hand, rotate the chuck in the opposite direction of drilling to loosen it.
- Insert the drill bit into the chuck and tighten it by rotating the chuck in the direction of drilling.
- Use a firm grip to ensure the chuck is securely tightened.

Drill is Overheating or Has a Burning Smell
Using a cordless drill for extended periods can cause it to get too hot. This can be a common issue that many users face while using their drills. It is important to understand the reasons behind this overheating and how to troubleshoot it effectively. Here are some steps you can take to address this problem:
- Check for a burning smell: If you notice a burning smell coming from your drill vent, it is a clear indicator of overheating. Immediately stop using the drill and let it cool down before proceeding.
- Reduce torque settings: High torque settings can put a strain on the drill, causing it to heat up quickly. Lower the torque settings to reduce the load on the motor and prevent overheating.
- Use a hammer drill for tough materials: If you are drilling into hard surfaces like concrete or brick, using a hammer drill instead of a regular cordless drill can help prevent overheating.
- Remove the battery: If the drill continues to get hot, even after following the above steps, try removing the battery and letting the drill cool down completely. Then, reinsert the battery and resume using the drill.
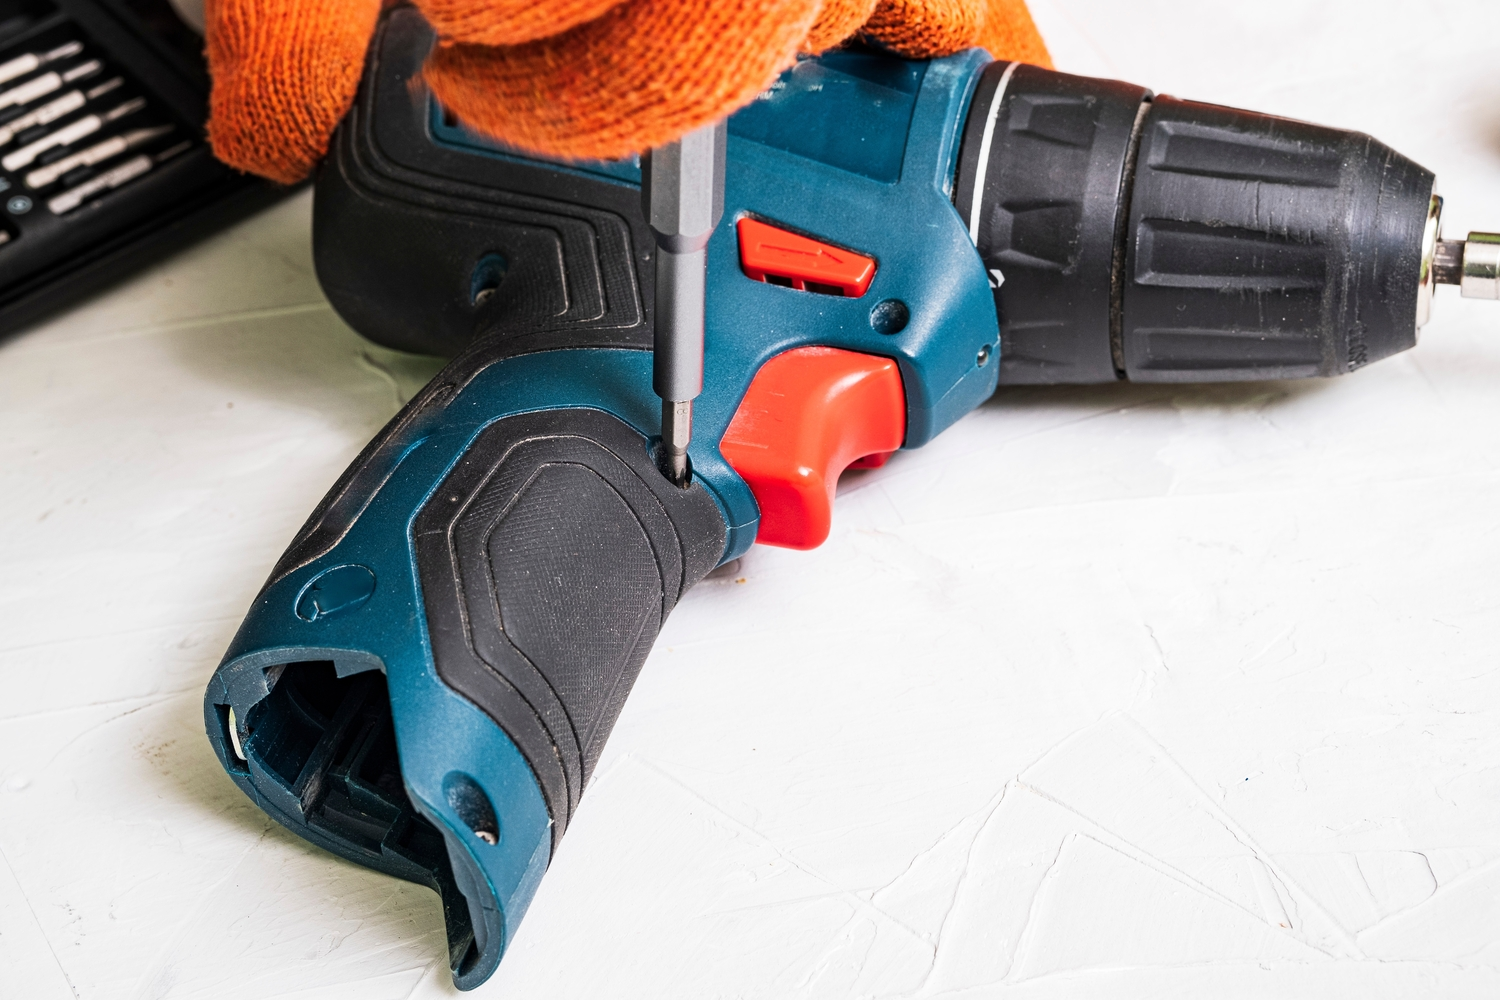
Drill Producing Strange Noises or Vibrations
To address the strange noises or vibrations coming from your cordless drill, try tightening any loose screws or bolts. Loose fasteners can cause rattling or shaking, leading to an unpleasant experience during drilling.
Start by inspecting the drill’s body and handle for any visible signs of looseness. Use a screwdriver or wrench to secure any loose components.
Additionally, check the chuck and bit to ensure they are properly attached and tightened.
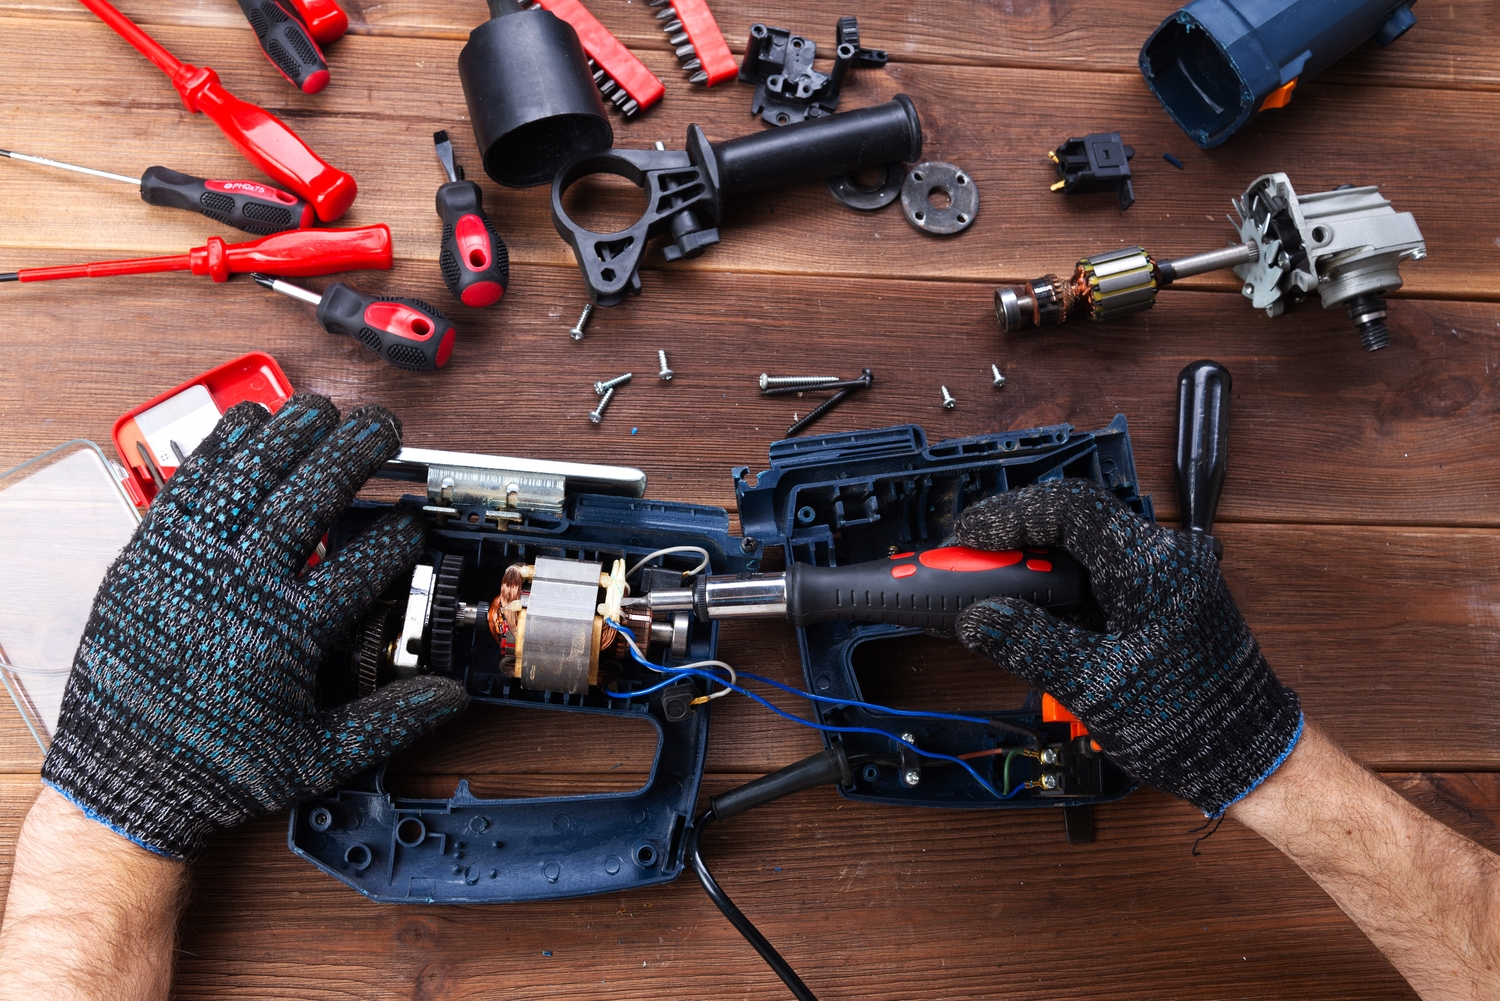
If the noises or vibrations persist, it may be necessary to clean or lubricate the drill’s internal components. Refer to the manufacturer’s manual for guidance on disassembly and maintenance.
Remember to always follow safety precautions and consult a professional if needed.
Frequently Asked Questions
How Do I Know if My Cordless Drill’s Battery Needs to Be Replaced?
If you’re wondering if your cordless drill’s battery needs replacing, look out for signs like reduced run time, difficulty charging, or a battery that won’t hold a charge. These indicate a likely need for a replacement.
Can I Use a Lower Voltage Battery With My Cordless Drill if I Can’t Find the Exact Replacement?
If you can’t find the exact replacement battery for your cordless drill, it is not recommended to use a lower voltage battery. It may not provide enough power and could damage your drill.
Why Does My Cordless Drill’s Motor Overheat After Extended Use?
When your cordless drill’s motor overheats after extended use, it could be due to a variety of reasons such as a clogged ventilation system, worn-out brushes, or excessive strain on the motor.
How Can I Fix a Loose Chuck on My Cordless Drill?
To fix a loose chuck on your cordless drill, start by ensuring the drill is turned off and the battery is removed. Then, use a chuck key or adjustable wrench to tighten the chuck securely onto the spindle.
What Should I Do if My Cordless Drill Is Not Turning on at All?
If your cordless drill is not turning on at all, first check the battery to ensure it’s charged and properly inserted. If the battery is fine, check the power switch and connections for any issues.
Final Thoughts
Cordless drill troubleshooting requires a systematic approach and attention to detail. By addressing battery-related problems, such as insufficient charge or battery failure, you can ensure optimal performance.
Motor-related issues, such as overheating or lack of power, can be resolved by checking the motor and its components.
Additionally, problems with the chuck, such as slippage or difficulty in tightening, can be resolved by inspecting and adjusting the chuck mechanism.
By understanding and addressing these common issues, you can keep your cordless drill in top working condition.