How to Use a Wet Tile Saw to Cut Tile
Welcome to our comprehensive guide on how to use a wet tile saw! If you’ve ever tackled a tile project, you know that achieving precise and clean cuts can be quite challenging without the right tools. That’s where a tile saw comes to the rescue. In this article, we will walk you through the step-by-step process of using this powerful tool to make your tile cutting endeavors a breeze.
Understanding the ins and outs of a tile saw is crucial before diving into your project. We’ll explain the key components and safety precautions to ensure a smooth and accident-free operation. From setting up your workspace to selecting the appropriate tiles for cutting, we’ve got you covered.
We’ll then dive into the nitty-gritty of how to use a tile saw effectively. With detailed instructions on assembling, positioning, and adjusting the saw, you’ll be well-prepared to handle various types of cuts, from straight lines to intricate shapes.
With our expert tips, troubleshooting advice, and maintenance guidelines, you’ll feel confident in mastering the tool and achieving professional-looking results for your tiling projects. Let’s get started!
Understanding the Wet Tile Saw
When it comes to mastering the art of tile cutting, understanding the tile cutter is the first step towards achieving precise and flawless results. Let’s delve into the essential aspects of this powerful tool.
The Components – What Makes it a Wet Tile Saw?
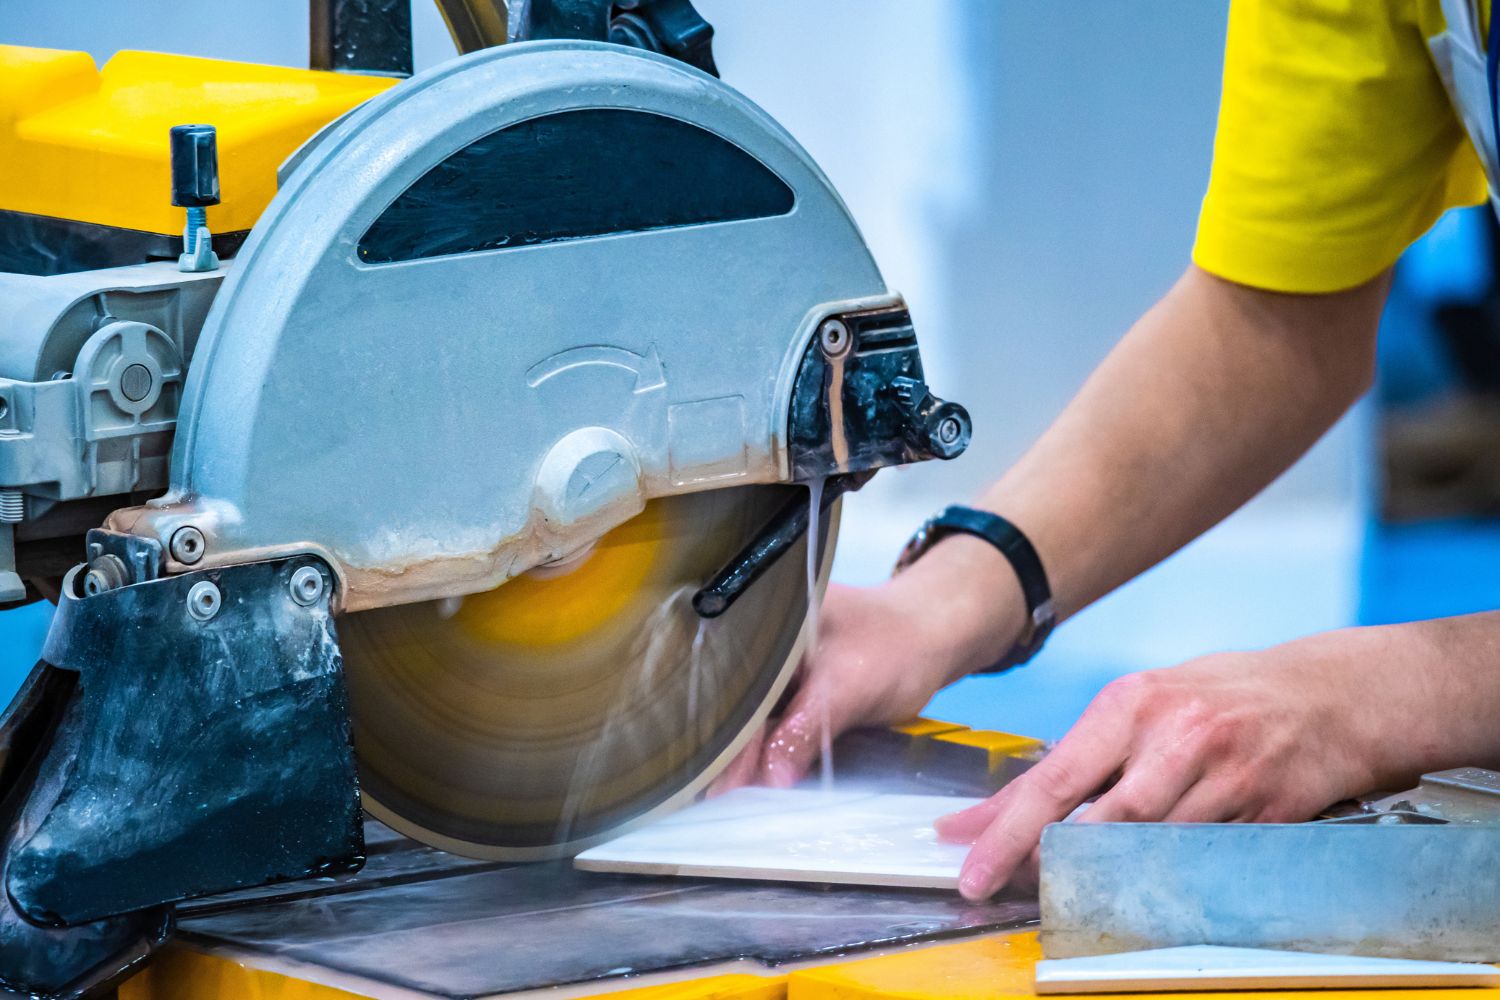
A wet tile saw consists of several key components that work in harmony to facilitate accurate cuts. The primary component is the circular blade, specifically designed for cutting through various types of tiles. The blade’s size and material determine the depth and quality of the cut, making it crucial to select the appropriate one for your project.
Another pivotal element is the water reservoir. As the name suggests, the wet tile saw utilizes water to cool down the blade during operation, preventing it from overheating and maintaining the cutting edge’s sharpness. Additionally, water helps to control the dust generated during cutting, creating a cleaner and healthier work environment.
The motor powers the saw, driving the blade’s rotation. It’s essential to choose a saw with a powerful motor to handle different tile materials and thicknesses effectively.
Different Types and Sizes of Saws
Wet tile saws come in various types and sizes to suit different needs and projects. For smaller, DIY projects or occasional use, small table saw models are ideal, offering portability and easy storage. On the other hand, professional-grade wet tile saws with larger cutting capacities are suitable for extensive or heavy-duty projects.
Furthermore, some wet saws are designed for specific tile materials like porcelain, ceramic, or stone. Choosing the right type of tile saw ensures the best performance and longevity of both the saw and the blades.
Safety Measures
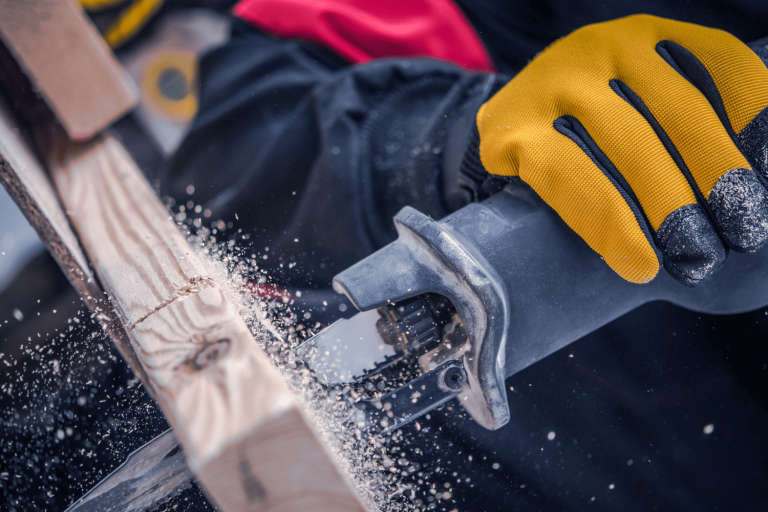
Before diving into your tile cutting project, it’s crucial to be aware of the safety precautions associated with using a wet tile saw. Safety goggles should always be worn to protect your eyes from debris and splashes, and hearing protection can help reduce noise exposure.
Always read the manufacturer’s instructions and guidelines thoroughly before operating the wet tile saw. Make sure the saw is on a stable surface and that all safety features, such as the blade guard and splash guard, are properly in place.
Lastly, avoid wearing loose clothing or jewelry that could get caught in the saw during operation, and keep a first-aid kit nearby in case of any accidents.
By understanding the components, types, and safety measures related to the tile saw, you’ll be better equipped to handle your tile cutting projects with confidence and precision. Now that we’ve covered the basics, let’s move on to the practical steps of how to use it.
Preparing for Tile Cutting
Before you embark on your tile cutting journey with a wet tile saw, proper preparation is key to ensuring a successful and smooth process. Let’s go over the essential steps to get you ready for your tiling project.
Gathering the Necessary Tools and Materials
To begin, gather all the tools and materials you’ll need for the tile cutting task. Besides the wet tile saw itself, you’ll require safety equipment like safety goggles and ear protection, as well as gloves to safeguard your hands. Have a measuring tape, a straight edge or square, and a marker or pencil to mark the tiles accurately.
Additionally, ensure you have an ample supply of water to fill the saw’s reservoir, and have spare blades available in case the current one gets worn out during cutting. Having all the necessary tools and materials at hand will save you time and prevent interruptions during the project.
Choosing the Right Tile Type
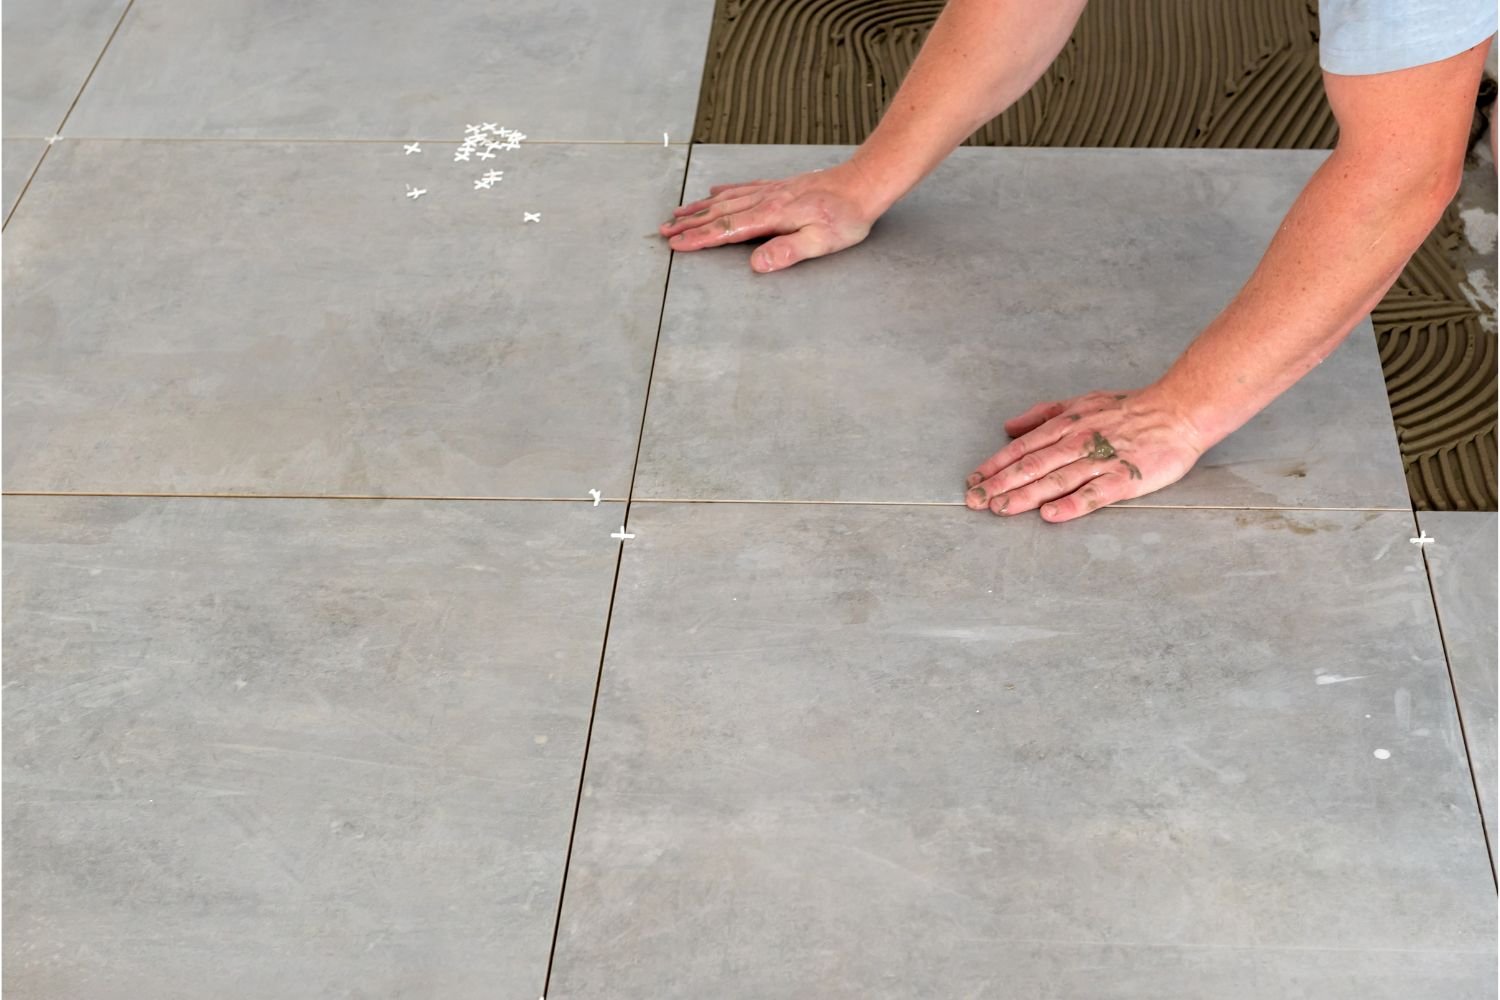
When using a wet tile saw, it’s crucial to choose the right type of tile for cutting. Ceramic and porcelain tiles are commonly cut with a wet tile saw, as they offer clean and precise cuts. However, more delicate materials like a glass backsplash may require special blades and additional care during cutting. Natural stone tiles, on the other hand, may need a wet tile saw designed specifically for handling their hardness and texture.
Before starting your project, identify the tile material and ensure your wet tile saw is compatible with it. Remember, using the appropriate type of tile will significantly impact the final outcome and the overall efficiency of the cutting process.
Choosing the Appropriate Blade for the Tile Job
Selecting the right blade for your tile cutting project is essential to achieve clean and precise cuts while prolonging the life of your wet tile saw. Different tile materials require specific types of blades to ensure optimal performance. Here are some key considerations when choosing the appropriate blade:
- Material Compatibility: First and foremost, ensure that the blade is suitable for cutting the type of tile you are working with. For example, a diamond blade is ideal for cutting through hard materials like porcelain, ceramic, and natural stone, while a continuous rim blade is better suited for cutting softer materials like glass tiles.
- Blade Size: The size of the blade affects the depth and length of the cuts you can make. Choose a blade size that matches the thickness and dimensions of your tiles to ensure smooth and even cutting.
- Wet or Dry Cutting: Some blades are designed for wet cutting, while others are suitable for dry cutting. Using a wet blade for wet cutting will ensure better cooling and dust suppression, leading to cleaner and smoother cuts.
- RPM Rating: Check the blade’s RPM (Revolutions Per Minute) rating and make sure it is compatible with your wet tile saw’s motor. Using a blade with an inappropriate RPM rating can result in inefficient cutting and premature wear.
- Continuous or Segmented Rim: Continuous rim blades provide the smoothest cuts, making them suitable for delicate materials like glass and porcelain. Segmented rim blades, on the other hand, are more suitable for rough cuts on dense materials like natural stone.
- Quality and Price: Investing in a high-quality blade may cost more upfront, but it will result in cleaner cuts and longer blade life, saving you money in the long run.
Always refer to the wet tile saw manufacturer’s guidelines and the blade’s packaging for specific recommendations and compatibility. By choosing the appropriate blade for your tile job, you’ll ensure efficient and precise cutting, making your tiling project a resounding success.
Setting up a Suitable Workspace
Creating a conducive workspace is essential for smooth and safe tile cutting. First and foremost, ensure you have proper ventilation in the area where you’ll be operating the wet tile saw. This will help disperse any dust or fumes created during cutting, providing you with a healthier work environment.
Adequate lighting is equally important, as it enables you to see the cutting lines clearly and make precise cuts. If the natural lighting in your workspace is insufficient, consider using additional lighting sources like LED lamps.
Moreover, establish a stable and level surface for your wet tile saw. Working on an even platform will enhance the accuracy of your cuts and reduce the risk of accidents.
By following these preparation steps, you’ll be well-equipped and ready to tackle your tile cutting project with confidence and efficiency. Now, let’s move on to the step-by-step guide on how to use a wet tile saw effectively.
Step-by-Step Guide on How to Use a Tile Saw
Using a tile saw may seem daunting, but fear not! With our step-by-step guide, you’ll be cutting tiles like a pro in no time. Let’s walk through each essential stage of the process, ensuring you achieve precise and flawless results.
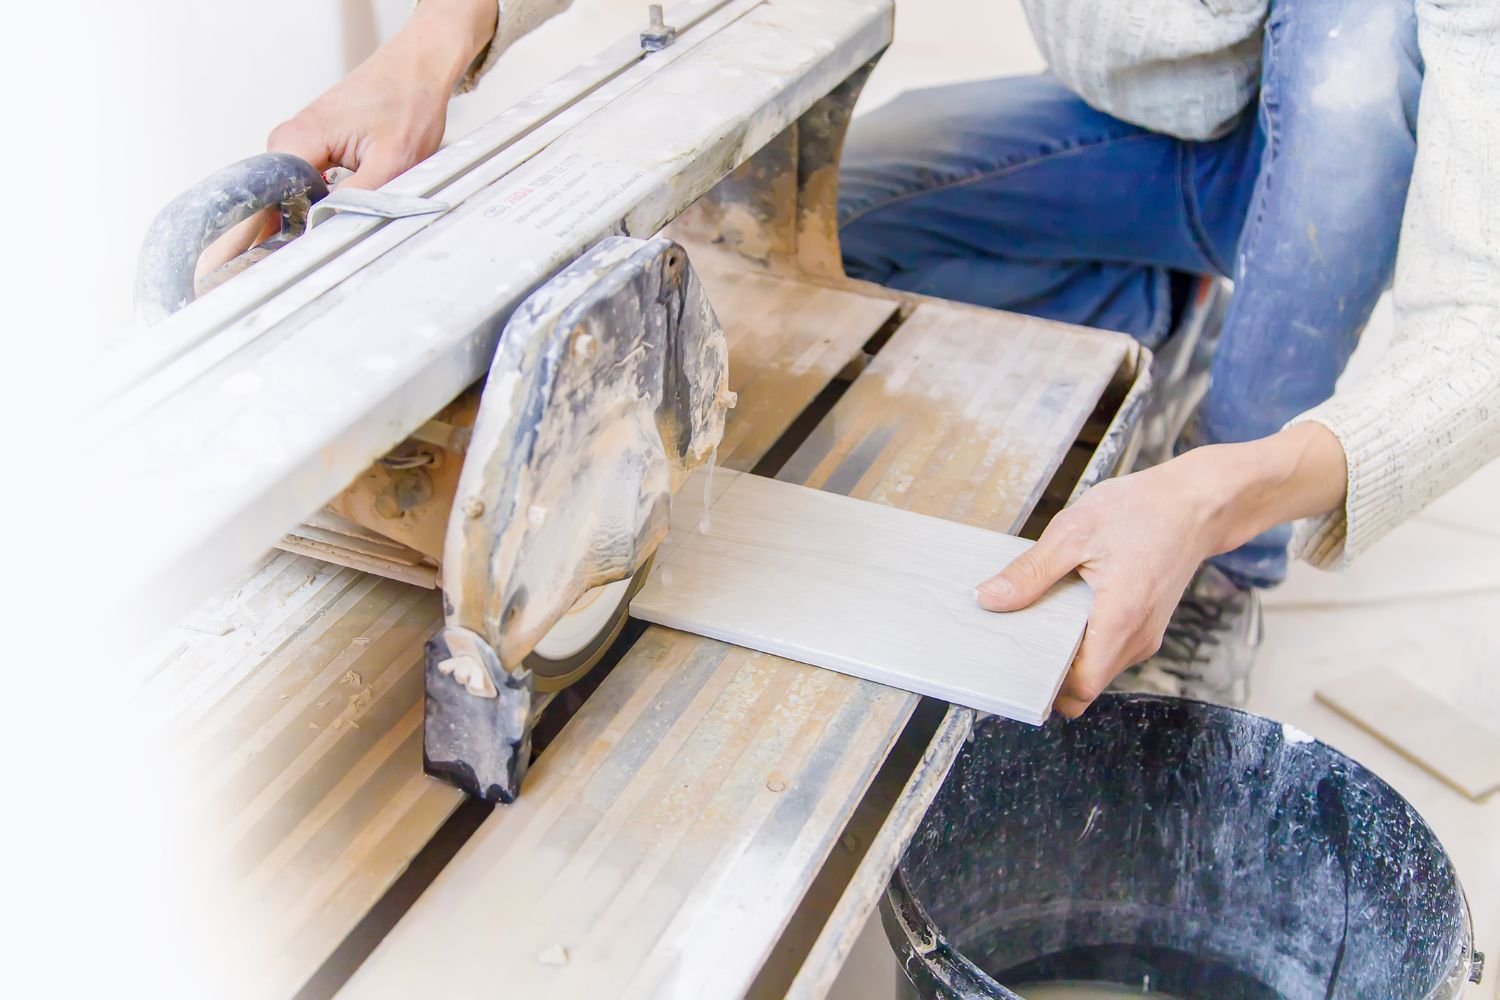
Step 1: Assembling and Positioning the Saw
Begin by assembling your saw according to the manufacturer’s instructions. Once assembled, position the saw on a stable and level surface, ensuring it won’t wobble during operation. This stability is crucial for accurate cuts and your safety.
Step 2: Filling the Water Reservoir and Adjusting Water Flow
Before using the wet tile saw, fill the water reservoir with clean water. Proper water flow is essential for cooling the blade and reducing dust during cutting. Adjust the water flow to ensure a steady stream that reaches the blade adequately. Adequate water flow not only keeps the blade cool but also enhances the longevity of the blade and reduces the risk of chipping or cracking the tiles.
Step 3: Setting the Depth and Angle of the Blade
Determine the desired cutting depth and angle for your tiles. Adjust the saw’s cutting depth to match the thickness of your tiles, ensuring the blade won’t extend too far beyond the tile’s surface. For angled cuts, adjust the saw’s miter gauge or table to achieve the desired angle.
Step 4: Ensuring Safety Features Are in Place
Before turning on the saw, ensure all safety features are properly in place. Check that the blade guard is covering the blade entirely, protecting you from potential accidents. Also, make sure the splash guard is securely positioned to minimize water and debris splatter during cutting.
Step 5: Measuring and Marking the Tiles
Accurate measurements and markings are crucial for precise cuts. Use a measuring tape, straight edge, or square to mark the cutting lines on the tiles. Creating a scored line is also helpful. Double-check the measurements to avoid any mistakes that could lead to wastage.
Step 6: Properly Aligning and Guiding the Tile
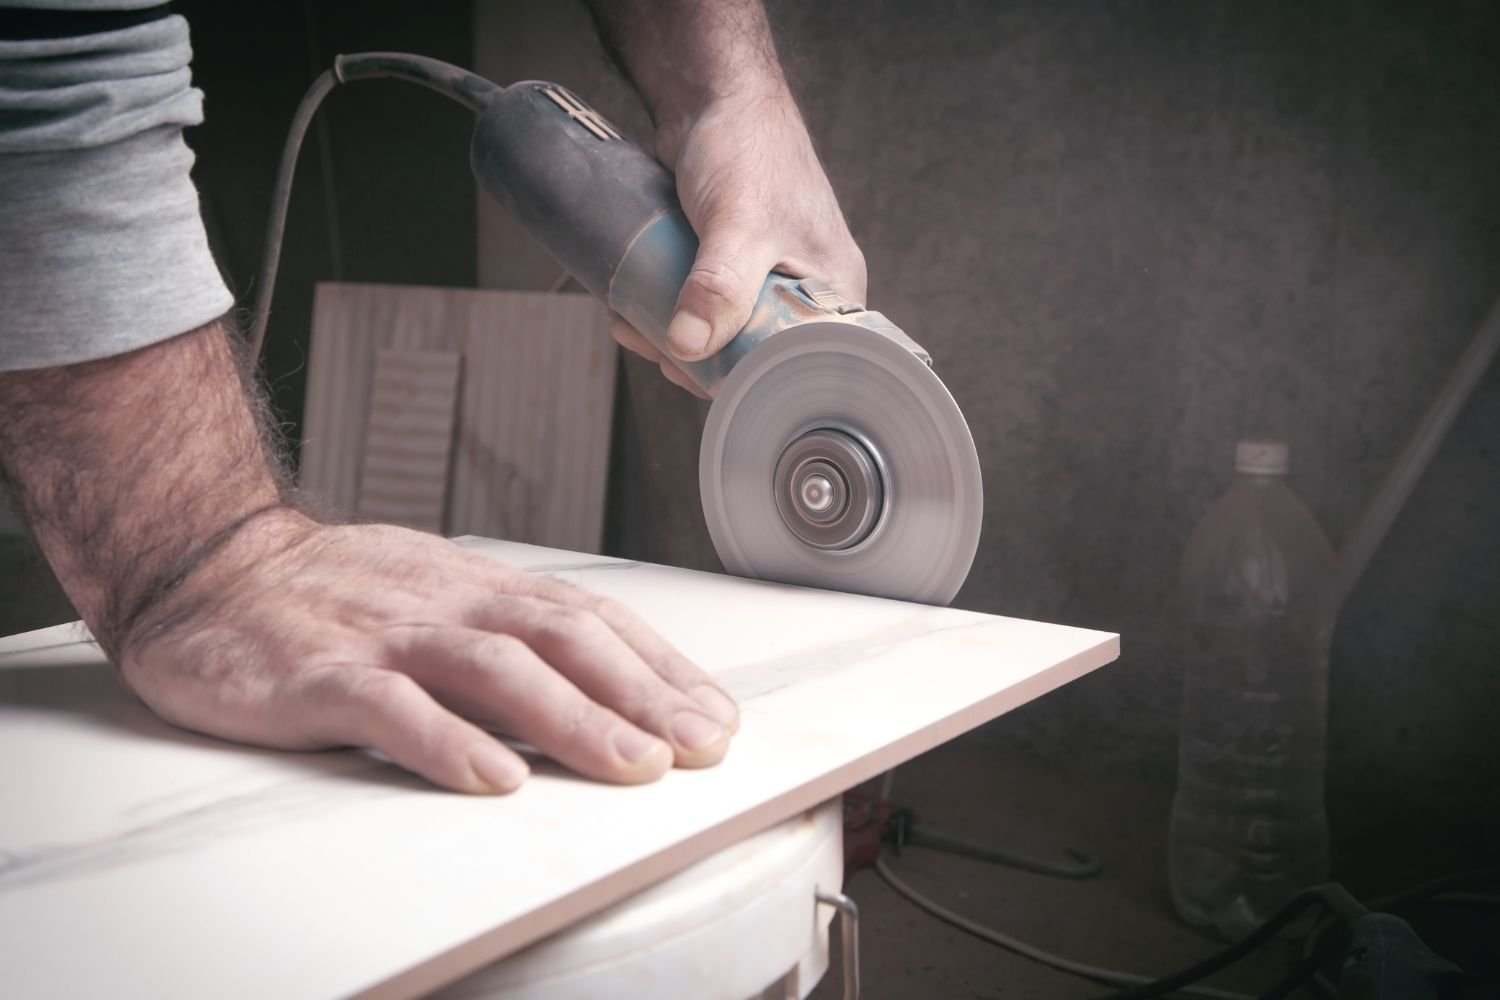
Position the marked tile on the saw table, aligning the cutting line with the blade’s path. Gently and steadily push the tile towards the blade, maintaining control throughout the process. Remember to keep your hands and fingers away from the blade to avoid accidents.
Step 7: Tips for Making Different Cuts
For straight cuts, guide the tile steadily through the saw, letting the saw blade do the work to cut the tile. To make angled cuts, adjust the miter gauge or table accordingly and carefully guide the tile through the blade. For intricate shapes, proceed slowly and steadily, following the marked lines with precision.
Step 8: Handling Large Tiles or Repetitive Cuts
When dealing with large tiles, take your time to ensure stability and precision. For repetitive cuts, use a fence or guide to maintain consistent cuts across multiple tiles. This will help streamline your project and ensure all tiles are uniform.
By following these step-by-step instructions, you’ll harness the full potential of your tile saw and achieve professional-looking results for your home improvement projects.
Troubleshooting and Tips to Cut Tile Successfully
Using a tile saw can be a rewarding experience, but it’s not without its challenges. In this section, we’ll explore some common issues that may arise when using this tool and provide practical troubleshooting solutions. Additionally, we’ll share best practices to maintain the quality and efficiency of your saw, along with valuable tips for handling tricky materials like porcelain and natural stone tiles.
Common Issues and Troubleshooting
- Chipping or Cracking: If you notice chipping or cracking along the cut edges of the tiles, it may be due to a dull blade or improper cutting technique. Consider replacing the blade or adjusting the cutting speed and pressure to prevent excessive stress on the tile.
- Uneven Cuts: Uneven cuts can occur if the tile is not properly aligned or if the blade wobbles during cutting. Ensure the tile is securely positioned, and the saw is on a stable surface. Also, check the blade for any damage that may cause wobbling.
- Excessive Water Spray: If you’re experiencing excessive water spray during cutting, adjust the water flow to strike a balance between keeping the blade cool and preventing excessive water from splashing onto you and your workspace.
- Blade Overheating: An overheating blade can result in poor cuts and may even damage the tile. Ensure the water supply is adequately filled to keep the blade cool throughout the cutting process.
Best Practices for Maintaining Your Wet Tile Saw
- Regular Cleaning: Clean the tile saw after each use to remove debris, sediment, and residue from the water basin and blade. A clean saw will perform more efficiently and extend the life of the blade.
- Blade Maintenance: Regularly inspect the blade for any signs of wear or damage. Replace the blade when it becomes dull or worn to ensure optimal cutting performance.
- Proper Storage: Store your tile saw in a dry and protected area to prevent rust and damage to the components. Consider covering the saw when not in use.
Tips for Handling Challenging Materials
- For Porcelain Tiles: Use a diamond-tipped blade designed specifically for porcelain tiles. Cut at a slow and steady pace to reduce chipping and cracking.
- For Natural Stone Tiles: Natural stone tiles are more delicate and prone to breakage. Opt for a continuous rim blade for smoother cuts, and use minimal pressure when cutting to avoid damage.
By being aware of these common issues and following the troubleshooting tips, implementing best practices for maintenance, and using our valuable tips for challenging materials, you’ll be well-prepared to overcome any obstacles and achieve successful tile cutting results in any project.
By being aware of these common issues and following the troubleshooting tips, implementing best practices for maintenance, and using our valuable tips for challenging materials, you’ll be well-prepared to overcome any obstacles and achieve successful tile cutting results in any project.
Cleaning and Maintenance
- After Each Use: Clean the water basin and remove any debris or sediment from the saw. Wipe down the wet saw to remove any excess water and dust.
- Blade Care: Inspect the blade regularly for any signs of wear or damage. Clean the blade using a soft brush or blade cleaning solution to remove resin buildup and prolong its lifespan.
- Water Pump Maintenance: Regularly check the water pump for proper functioning and clean it to ensure efficient water flow through the hose to the blade.
- Lubrication: Lubricate the moving parts of the tile saw as per the manufacturer’s recommendations.
- Storage: Store the tile saw in a dry and protected area, away from extreme temperatures and humidity.
By performing regular maintenance, you can create a safe working environment and ensure the longevity and optimal performance of your saw.
Now it’s time to venture forth with your wet tile saw, armed with knowledge and best practices. Embrace your creativity, take on new tiling projects, and achieve stunning results with precision and finesse.