Orbital Sander Uses – Unlocking Versatility and Power
Welcome to our article on the versatile world of orbital sanders and their numerous uses! Whether you’re a seasoned woodworker, a DIY enthusiast, or just looking to tackle some home improvement projects, understanding the functions and applications of orbital sanders can greatly enhance your workmanship and efficiency.
An orbital sander is a power tool that has become an indispensable asset in the world of woodworking and surface finishing. Its primary function is to sand various materials, such as wood, plastic, or metal, with exceptional precision and ease. Unlike other aggressive sanders, the orbital sander operates in a circular or orbital motion, ensuring a smoother sanding process while avoiding visible scratches and marks on the surface.
There are two main types of orbital sanders that you might encounter in the market:
Orbital Sanders: These sanders have a square or rectangular sanding pad that moves in a back-and-forth motion in a small orbit. They are ideal for fine finishing, achieving a uniform surface, and are particularly popular in woodworking and furniture restoration projects.
Random Orbital Sanders: As the name suggests, these sanders combine the orbital movement with random patterns, which prevents any noticeable swirl marks on the material. This type of sander is more versatile and suitable for both coarse material removal and delicate finishing, making it an all-around favorite for various applications.
In this handy guide, we’ll unravel the magic behind these fantastic tools and demonstrate how they can be your secret weapon in countless projects. From smoothing rough surfaces to giving a new lease of life to old furniture, orbital sanders have earned their place as a must-have in any workshop. Whether you’re a seasoned woodworker or just starting on your creative journey, we’ve got something special in store for you!
Understanding the Mechanism of Orbital Sanders
Orbital sanders are like the reliable workhorses of the sanding world, but have you ever wondered how they actually work their magic? In this section, we’ll demystify the mechanism behind these handy tools and explore the key differences between orbital and random orbital sanders.
Orbital vs. Random Orbital Sanders
At first glance, these two may sound similar, but they have distinct sanding styles that cater to different needs. The traditional orbital sander moves its sanding pad in a simple back-and-forth motion, creating a small orbit. This movement ensures smooth and even sanding, making it ideal for achieving that flawless finish on woodworking projects and delicate surfaces.
On the other hand, the random orbital sander takes it up a notch. With an added touch of randomness to its orbiting pattern, it prevents any pesky swirl marks on your workpiece. This makes random orbital sanders more versatile, as they can handle both aggressive material removal and fine finishing tasks with finesse.
Components and Features of Orbital Sanders
Orbital sanders may come in various shapes and sizes, but they share common components that enable their efficient performance. The main parts include:
Sanding Pad: This is where the action happens. The sanding pad holds the sandpaper securely and is responsible for the contact with the material being sanded.
Motor: The powerhouse of the orbital sander, the motor drives the sanding pad’s motion and determines the tool’s overall performance.
Dust Collection System: Keeping your work area tidy is essential, and many orbital sanders come equipped with a dust collection system to suck up those fine particles, keeping both your lungs and workspace cleaner.
Variable Speed Control: Some models offer adjustable speed settings, allowing you to fine-tune the sander’s RPM (revolutions per minute) to suit different materials and sanding tasks.
How Orbital Sanders Work
Now that we know what makes up an orbital sander let’s delve into how it gets the job done. When you switch on your orbital sander, the motor springs to life, transferring its energy to the sanding pad. As the pad moves in an orbital motion, it ensures consistent contact with the material, removing imperfections and creating a smooth surface.
In the case of the random orbital sander, the added random pattern prevents the sandpaper from wearing down unevenly and eliminates the risk of leaving behind those undesirable circular marks.
The combination of precision and efficiency in these sanders makes them a favorite among craftsmen, hobbyists, and DIY enthusiasts alike. Whether you’re sanding down a wooden tabletop or preparing a wall for a fresh coat of paint, orbital sanders simplify the process and deliver outstanding results.
Now that you’ve gained insights into the mechanics of orbital sanders, let’s move on to exploring their various applications and the exciting projects they can help you accomplish!
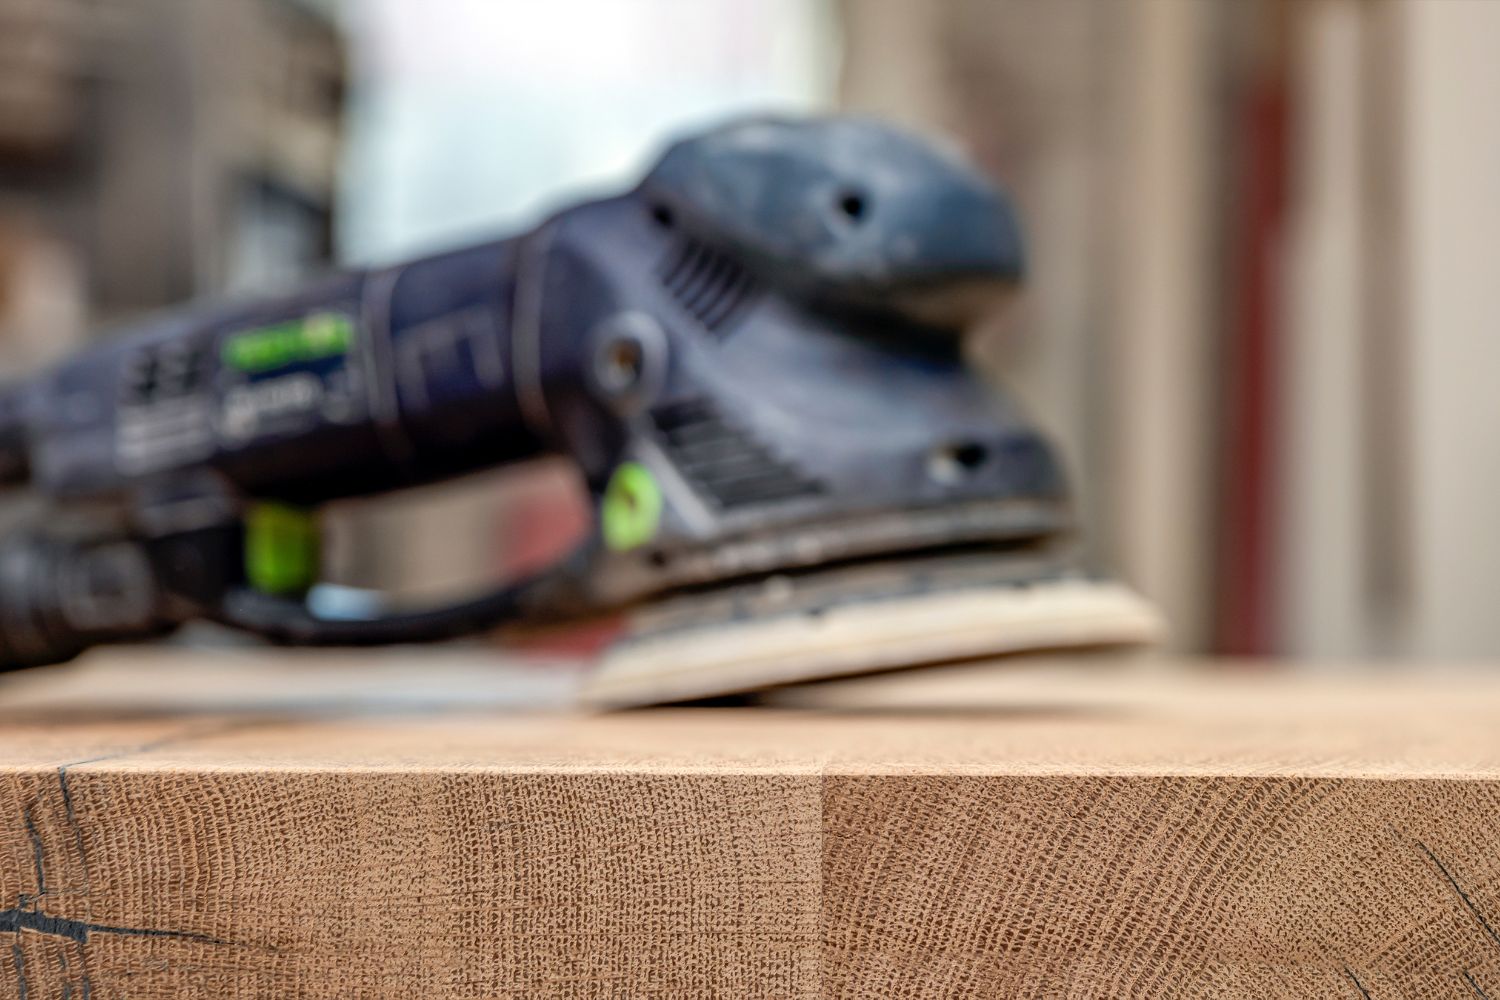
Use an Orbital Sander on Wood
Surface Preparation
Removing Old Paint, Varnish, or Rough Spots from Wood: Orbital sanders are a game-changer when it comes to stripping away old paint, varnish, or stubborn blemishes on wooden surfaces. Their oscillating motion, combined with the right sandpaper grit, allows for efficient material removal without damaging the underlying wood. Say goodbye to tedious manual scraping and hello to a quicker, more effective method!
Choosing the Right Sandpaper Grit: Selecting the appropriate sandpaper grit is key to achieving the desired surface texture. For heavy material removal, opt for lower grits (e.g., 40-80) to tackle rough spots or thick layers of paint. As you progress to finer grits (e.g., 120-220), you’ll achieve smoother surfaces suitable for painting or staining. Always remember to start with a coarser grit and work your way up for optimal results.
Smoothing and Refinishing
Smooth surfaces are a hallmark of professional woodworking, and this is where orbital sanders truly shine. They are the perfect companions for achieving sleek, even finishes on a variety of wooden surfaces.
Smoothing Out Uneven Surfaces: Uneven tabletops, furniture, or other wooden projects can be easily tamed with an orbital sander. The consistent back-and-forth motion ensures uniform sanding, leveling out imperfections, and leaving you with a beautifully smooth surface.
Professional Finish and Imperfection Removal: The ability to achieve a professional-grade finish is where orbital sanders excel. They erase surface blemishes, scratches, and minor flaws, bringing out the natural beauty of the wood. Your woodworking projects will take on a new level of sophistication with the help of these versatile sanders.
Restoring and Refinishing Old Wooden Furniture: Orbital sanders breathe new life into old wooden furniture pieces. Whether it’s a treasured heirloom or a garage sale find, these sanders help you strip away old finishes, sand down imperfections, and get the piece ready for a fresh coat of paint or stain. Your refurbished furniture will look as good as new!
Shaping and Contouring
Beyond surface preparation and finishing, orbital sanders display their versatility in shaping and contouring wooden objects.
Creating Curves, Bevels, or Chamfers: With skillful handling, orbital sanders can be used to shape wooden pieces, adding elegant curves, bevels, or chamfers to the edges. They provide precise control, allowing you to shape the wood according to your artistic vision.
Indispensable in Unique Woodworking Projects: Orbital sanders are indispensable for various specialty woodworking projects. Whether you’re crafting intricate wooden bowls or sculpting captivating wooden sculptures, these sanders play a crucial role in achieving smooth, artistic shapes.

Other Applications – Prep, Strip, Polish
Metalworking
Orbital sanders aren’t just limited to woodworking; they also prove their mettle in the world of metalworking! Whether you’re working on a metal art project or restoring a classic car, orbital sanders are valuable assets in sanding and finishing metal surfaces.
Sanding and Finishing Metal Surfaces: Metal surfaces can often be rough, uneven, or marred with imperfections. Orbital sanders come to the rescue, effortlessly smoothing out metal sheets, removing burrs, and achieving a consistent finish. Whether you’re dealing with stainless steel, aluminum, or mild steel, these versatile sanders ensure an immaculate outcome.
Choosing the Right Sandpaper Grits and Techniques: Metalworking requires precision, and selecting the appropriate sandpaper grit is crucial. Coarser grits (e.g., 60-100) are ideal for removing welding marks or heavy rust, while finer grits (e.g., 180-400) give the metal a polished, smooth appearance. Additionally, using light, consistent pressure and letting the sander do the work ensures optimal results without damaging the metal surface.
Automotive Projects
Automotive enthusiasts, rejoice! Orbital sanders play a pivotal role in various automotive restoration and refinishing projects, helping you bring vintage beauties back to their former glory.
Sanding Body Panels and Removing Paint: When it comes to automotive bodywork, precision and efficiency are paramount. Orbital sanders are your allies in sanding body panels, smoothing out dents and imperfections, and prepping surfaces for new paint jobs. They are particularly useful in automotive paint removal, making the process less labor-intensive and more manageable.
Preparing Surfaces for Painting: A smooth surface is essential for achieving a flawless paint finish on your car. Orbital sanders ensure that your car’s surface is perfectly primed for a fresh coat of paint, enhancing the overall appearance and longevity of the new finish.
Drywall and Home Renovation
Orbital sanders are not only for large-scale projects; they also come in handy for home renovation tasks, particularly when dealing with drywall and various surfaces.
Smoothing and Finishing Drywall Joints and Patching Compounds: Drywall installation often leaves behind unsightly joints and patches that need to be smoothed before painting. Orbital sanders make this job a breeze, leveling out joint compounds and ensuring seamless, professional-looking walls.
Benefits in Home Renovation Projects: In home renovation, the devil is often in the details. Orbital sanders simplify the process of sanding cabinets, trim, or any other wooden or metal surfaces, giving them a fresh, smooth appearance. They save time and effort, allowing you to focus on other aspects of your renovation project.
Tips and Techniques for Efficient Orbital Sander Use
Using an orbital sander efficiently is not only about achieving great results but also ensuring your safety throughout the process. In this section, we’ll share practical tips and techniques to help you make the most out of your orbital sander, delivering top-notch outcomes while taking care of yourself.
Proper Sanding Techniques:
Appropriate Speed Setting: Start with a moderate speed setting and adjust it based on the material and sandpaper grit you’re using. High speeds are best for heavy material removal, while lower speeds work better for finishing touches.
Even Pressure: Apply consistent and even pressure on the sander to avoid uneven sanding or leaving swirl marks on the surface. Let the sander do the work; there’s no need to push down too hard.
Keep It Moving: Always keep the sander in motion while it’s in contact with the material. Leaving the sander stationary on one spot can create sanding marks, so maintain a smooth back-and-forth or circular motion.
Dust Collection is Essential: One of the major advantages of orbital sanders is their ability to minimize dust production. Many models come equipped with a dust collection system or have the option to connect to a vacuum. Ensure you use this feature, as it not only keeps your workspace tidy but also protects your respiratory health by reducing airborne dust.
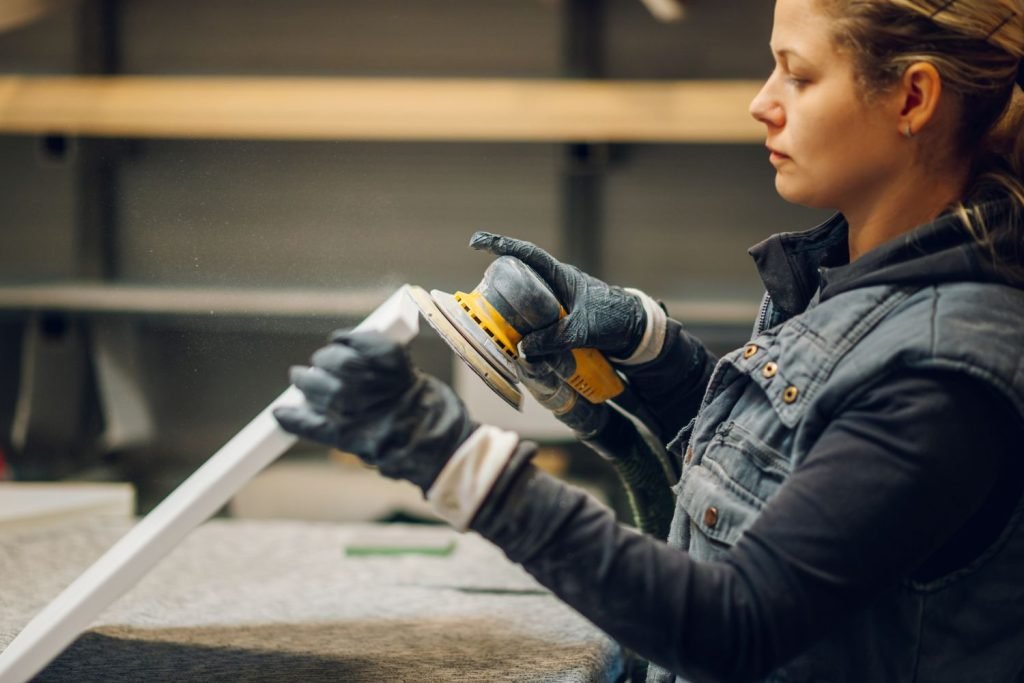
Wear Personal Protective Equipment (PPE): Before firing up your orbital sander, remember to gear up properly. Wear safety goggles or glasses to protect your eyes from flying debris, especially when sanding metal or dense wood. Additionally, consider wearing a dust mask or respirator to prevent inhaling fine particles.
Practice on Scrap Material: If you’re new to using an orbital sander or tackling a delicate project, it’s always a good idea to practice on scrap material first. This gives you the opportunity to get comfortable with the sander’s feel and adjust your technique before working on your actual project.
Maintain the Sandpaper and Sander: Regularly inspect and change the sandpaper when it becomes worn or clogged with debris. A fresh sandpaper ensures efficient sanding and a smooth finish. Additionally, keep the sander clean and free from dust buildup to maintain its performance and longevity.
Mind the Grain Direction: When sanding wood, always follow the grain direction to achieve the best results. Sanding against the grain can lead to unsightly scratches and damage the wood fibers.
Use a Sanding Block for Precision: For more delicate and intricate work, consider using a sanding block along with your orbital sander. A sanding block allows for better control and prevents over-sanding on small or delicate surfaces.
By implementing these tips and techniques, you’ll make the most out of your orbital sander and create beautifully finished projects with ease.
Final Thoughts
As you embark on your next project, armed with the knowledge and tips from this article, we hope you’ll approach your orbital sander with confidence and creativity. Remember to practice on scrap materials, maintain your sander and sandpaper, and always prioritize safety.
Whether you’re refining wooden masterpieces, restoring vintage cars, or enhancing your home’s aesthetics, an orbital sander will be your reliable companion, ensuring impeccable results and a smooth finish every time. So, go ahead and unleash your creativity, for with an orbital sander in hand, the possibilities are limitless!